Safe Deletion After HEIC Conversion
The moment after conversion is the part that makes most people hesitate. Saving space is easy. Trusting that you can remove the original RAW without losing edits, metadata, or library organization is harder. That is why safe deletion after HEIC conversion matters more than the conversion itself.
If your photo library lives in Apple Photos, the real question is not just whether a HEIC looks good enough. It is whether the smaller file still belongs exactly where the RAW did, with the same albums, captions, favorites, locations, and editing context you already built over time. If that part breaks, the storage savings are not worth it.
What safe deletion after HEIC conversion actually means
A lot of tools treat conversion and deletion as two separate jobs. First they export files out of your library. Then they make new copies somewhere else. Then they leave you to compare versions, re-import, reorganize, and manually delete the originals if you feel brave enough. That is where mistakes happen.
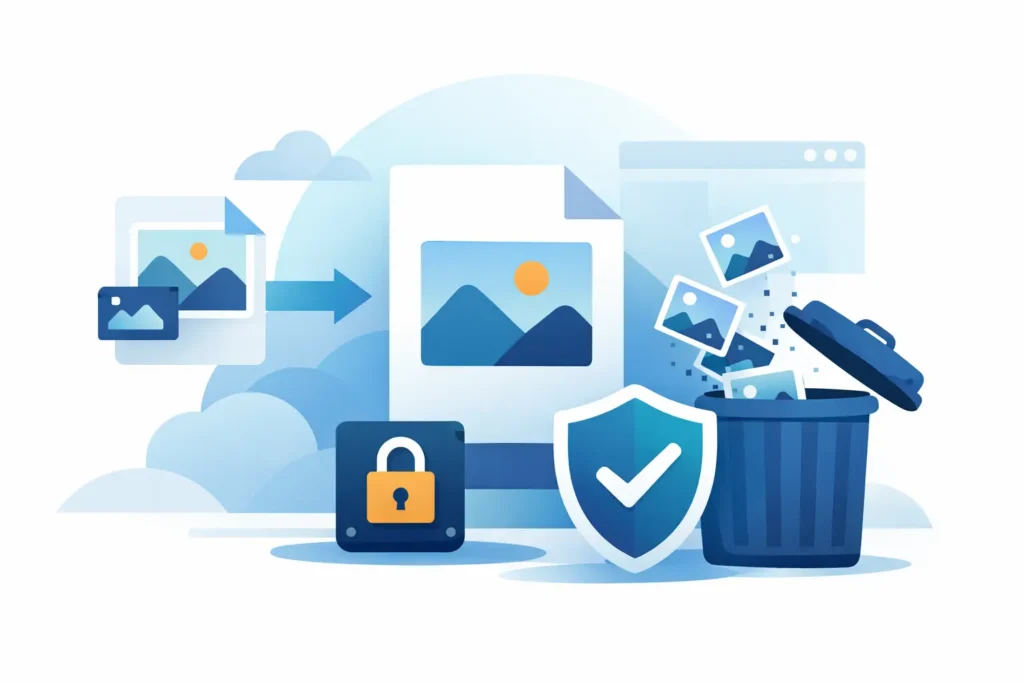
Safe deletion after HEIC conversion means something more specific. It means the converted image has been created correctly, preserved the information that matters, and can replace the original in a way that does not force you into a loose-file workflow. Deletion should happen only after verification, not as a blind cleanup step.
For Apple users, this standard is higher because Photos is more than a folder of images. It is your albums, search history, favorites, people recognition, dates, locations, captions, and edit history. A smaller file is useful. A smaller file that stays native to Photos is the real win.
Why deletion feels risky in the first place
RAW files are large, but they also feel like insurance. They hold editing latitude, original sensor data, and a sense that you can always go back if needed. Once you delete them, that door closes.
That does not mean you should never delete RAWs. It means you should be clear about which photos still need RAW flexibility and which ones are finished enough to live comfortably as HEIC. For many everyday shots, travel selects, family photos, and even a large share of enthusiast work, keeping the final image in a high-efficiency format is a practical decision. For portfolio work, commercial work, or images you may want to radically re-edit later, keeping the RAW may still make sense.
So the right approach is not delete everything or keep everything. It is selective, verified replacement.
What to verify before deleting the original
Safe deletion after HEIC conversion starts with a few checks that should feel boring. Boring is good here. You want a predictable process.
First, confirm visual quality. HEIC is extremely efficient, but the point is not just a smaller file. The converted image should still look right in the ways that matter to you – detail, color, dynamic range, and overall rendering. If your workflow depends on HDR support, that should be preserved where supported.
Second, confirm metadata. Dates, camera information, location data, captions, and other descriptive fields matter more than many people expect. Once they are gone, the library becomes harder to search and organize.
Third, confirm library context. This is the part many file-based converters miss. If the converted image does not remain properly integrated with your Photos library, you can end up with duplicates, broken albums, or a manual sorting project you never wanted.
Fourth, confirm that the deletion step itself is intentional and reversible long enough to catch mistakes. Any workflow that removes originals immediately, without a meaningful verification checkpoint, is asking you to trust too much.
The safest workflow is the one with the fewest moving parts
Every extra handoff increases risk. Exporting to Finder, converting in another app, re-importing to Photos, checking for duplicates, and then deleting the RAWs manually can work, but it creates too many points of failure. Files get misplaced. Metadata changes. Versions become confusing. Albums do not always behave the way you expect.
That is why Photos-native conversion is safer by design. When conversion happens on device and inside the library you already use, there is less room for disconnect between the original and the replacement. You are not juggling side folders or wondering which copy is the right one.
A utility like RawToHEIC is built around that exact principle. The conversion happens directly in Apple Photos, on device, with verified deletion safeguards designed to reduce the risk that comes from manual export-import workflows. That matters because safety is not just about the final delete button. It is about avoiding the mess that leads to the wrong file being deleted in the first place.
Safe deletion after HEIC conversion in Apple Photos
In Apple Photos, people usually care about three things after conversion: whether the image still looks right, whether it still behaves like part of the library, and whether storage actually drops in a meaningful way. A safe process should satisfy all three.
When a converted HEIC remains tied to the Photos environment you already manage, the decision to delete the RAW becomes much less stressful. You are not evaluating an orphaned export. You are evaluating a library item in context.
This is also where on-device processing matters. Privacy-first workflows are not just about data collection policies. They are also about control. If your originals stay on your device during conversion, the process is easier to trust. For photographers with personal archives, client-adjacent images, or family libraries, that is not a minor detail.
When deleting the RAW makes sense
If you have already finished editing, do not expect to revisit the image heavily, and mainly want to reduce storage pressure, deleting the RAW after a verified HEIC conversion is often the smart move. This is especially true for large libraries where thousands of completed images are consuming expensive iPhone, iPad, or Mac storage.
The savings can be substantial. HEIC files are often dramatically smaller than RAW while still delivering excellent quality for viewing, sharing, and everyday use. In practical terms, that means more usable device space, lower pressure on iCloud storage, and a Photos library that feels easier to keep long term.
It also makes sense if your main goal is preserving the finished photo rather than preserving every possible future editing option. Many users do not need RAW flexibility forever. They need a clean, efficient library that still feels complete.
When you should keep the RAW
There are cases where deletion is the wrong call. If the image is a top-tier keeper, paid work, a once-in-a-lifetime capture, or something you may want to reprocess from scratch later, keeping the RAW is reasonable. The same goes for images with extreme lighting challenges where future software might pull out more detail than today’s edits.
Some photographers also prefer a hybrid rule: delete RAWs for everyday finished images, keep RAWs for selects and hero shots. That is often the best balance between storage savings and creative flexibility.
Safe deletion after HEIC conversion should support that kind of judgment. It is not an all-or-nothing policy. It is a controlled decision based on how you actually use your library.
The hidden cost of unsafe deletion
People usually think the risk is losing image quality. More often, the bigger loss is organizational damage. A library that no longer reflects your albums, favorites, captions, or edits becomes harder to trust. Then storage savings come with a time penalty, because you are forced to rebuild structure manually.
That is why the best conversion workflow feels almost invisible. The finished image stays where you expect it. Your library remains organized. Your storage drops. Nothing gets weird.
A deletion step is safe only when it preserves that normalcy.
A practical standard for trust
If you are deciding whether a conversion workflow is safe enough to let go of RAW originals, use a simple standard. The converted HEIC should be visually acceptable, metadata-complete, properly integrated in Photos, and verified before deletion. If any one of those is missing, the workflow is not safe enough yet.
This is also why no-subscription utility software appeals to so many Apple users in this category. You want a tool that does one specific job well, respects your library, processes on device, and does not create ongoing friction around a routine maintenance task.
Storage management should feel controlled, not nerve-racking. That is the whole point.
The best time to delete a RAW is not when you are desperate for space. It is when the replacement has already earned your trust.
Shrink your RAW library, right inside Photos.
RawToHEIC converts camera RAW and iPhone ProRAW to HEIC up to 10× smaller — keeping every edit, album, favorite, and location. On-device, no account, one purchase for iPhone, iPad, and Mac.

Not sure yet? Convert a few sample photos free — no install, nothing uploaded.
Try it free — no install →