Shrink iPhone Photo Storage Fast Without Chaos

A few hundred ProRAW files can consume more iPhone storage than every app on your device combined. The problem is not that you shot in RAW. RAW and ProRAW give you editing latitude when it matters. The problem starts after the edit is finished and those large originals keep occupying space in a library you use every day.
To shrink iPhone photo storage fast, start with the photos that are already complete: edited keepers, delivered images, and shots you want available in Photos without carrying the weight of their original RAW data. Converting those images to HEIC can reduce their footprint dramatically while keeping the library organized, searchable, and ready to use.
Why RAW Files Fill an iPhone So Quickly
RAW files contain far more image information than a typical finished photo. That is the point. A single iPhone ProRAW image can be tens of megabytes, while a high-resolution RAW file from a Canon, Sony, Nikon, Fujifilm, Olympus, or Panasonic camera can be even larger.
That size is justified while you are deciding exposure, recovering highlights, adjusting white balance, or refining color. Once that work is done, however, the original may be more editing headroom than you need for a photo you simply want to keep, share, or revisit.
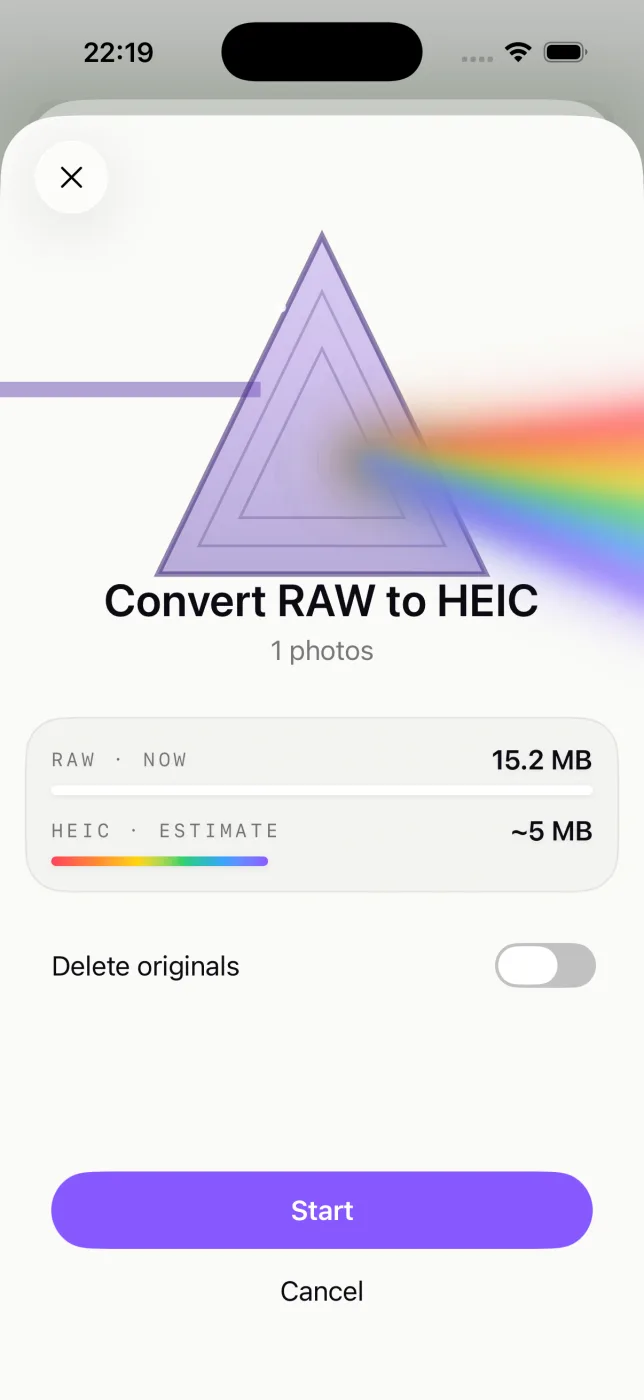
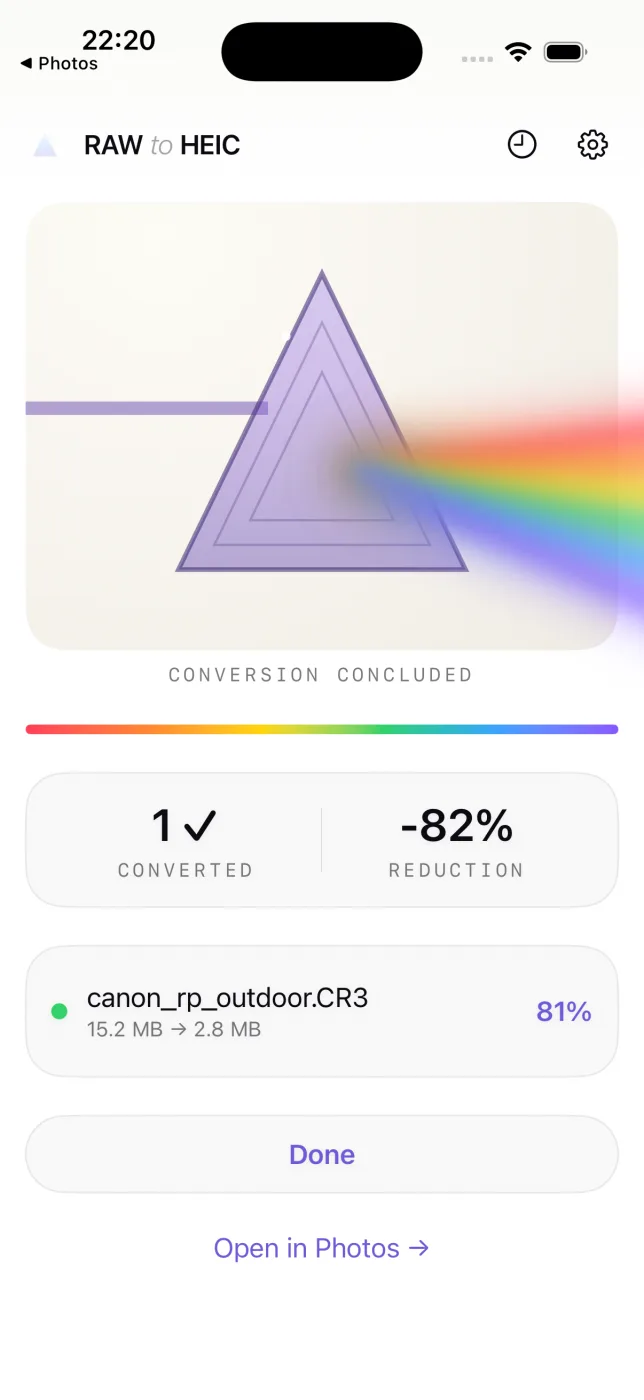
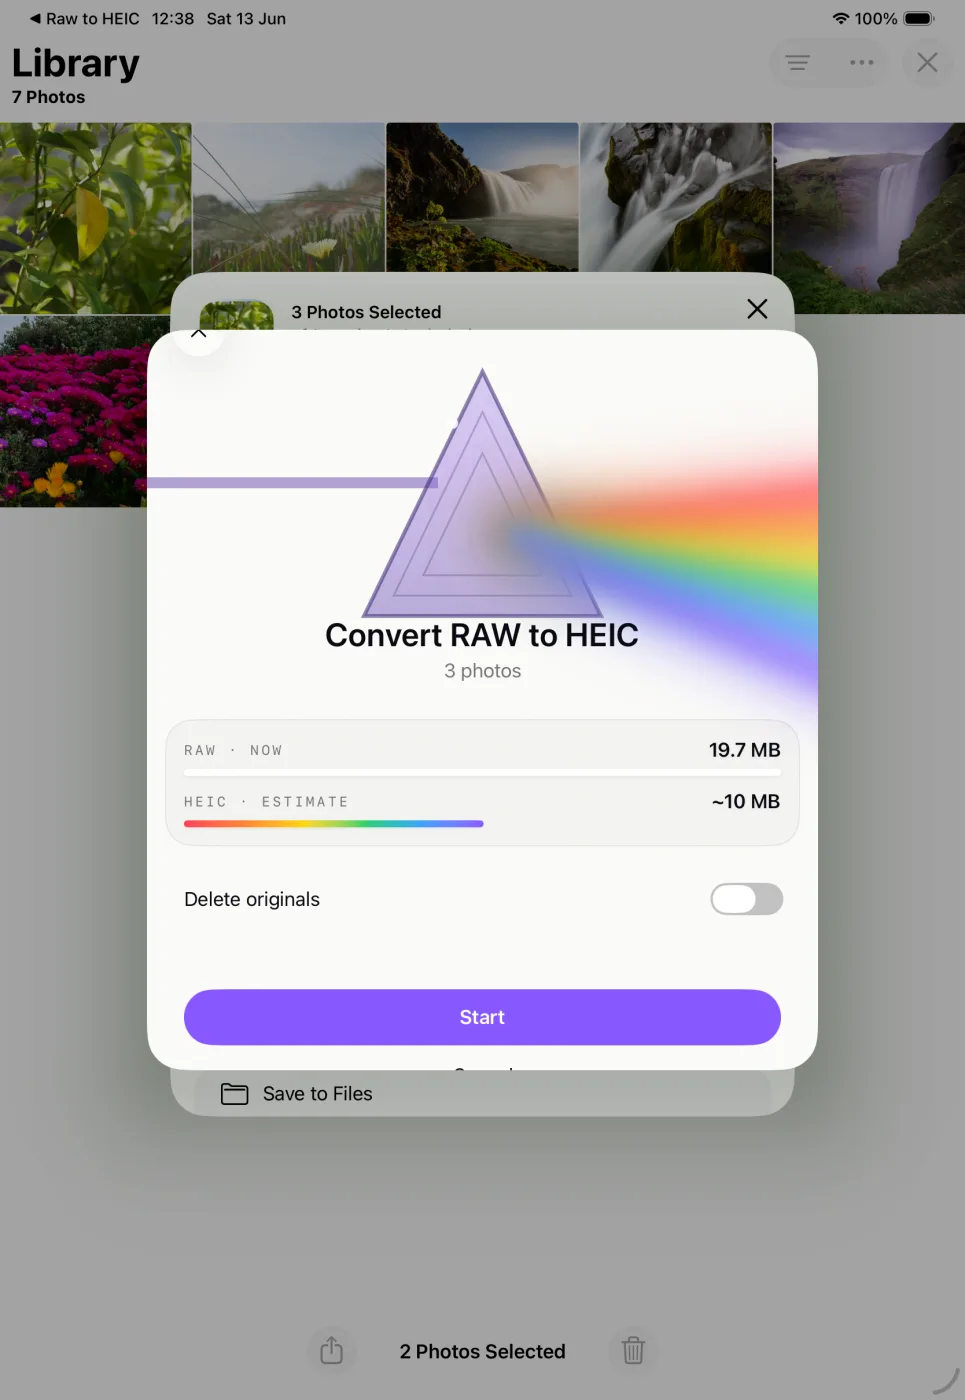
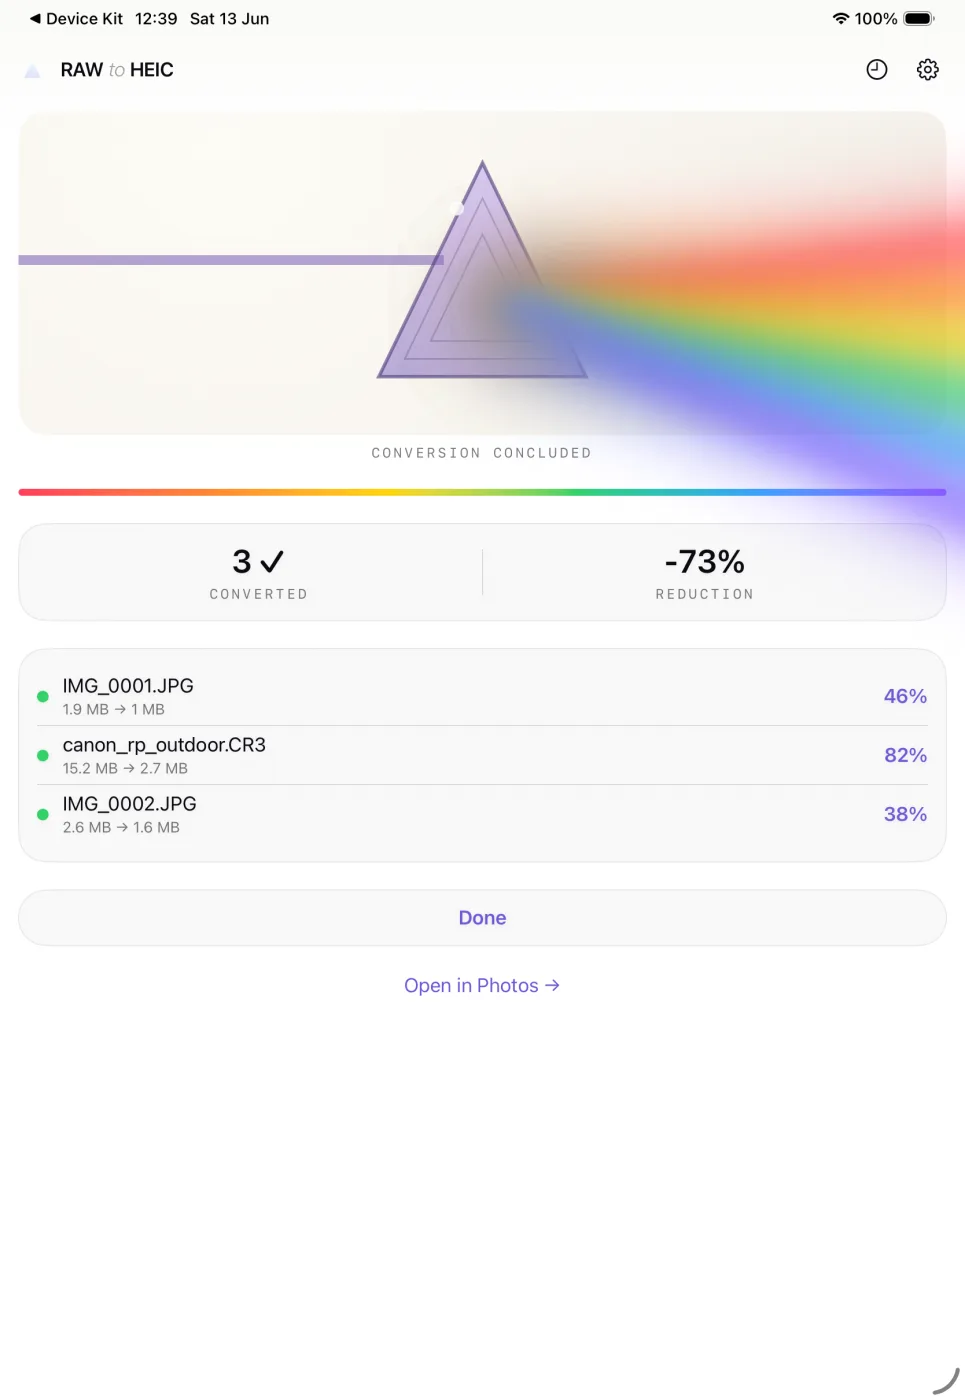
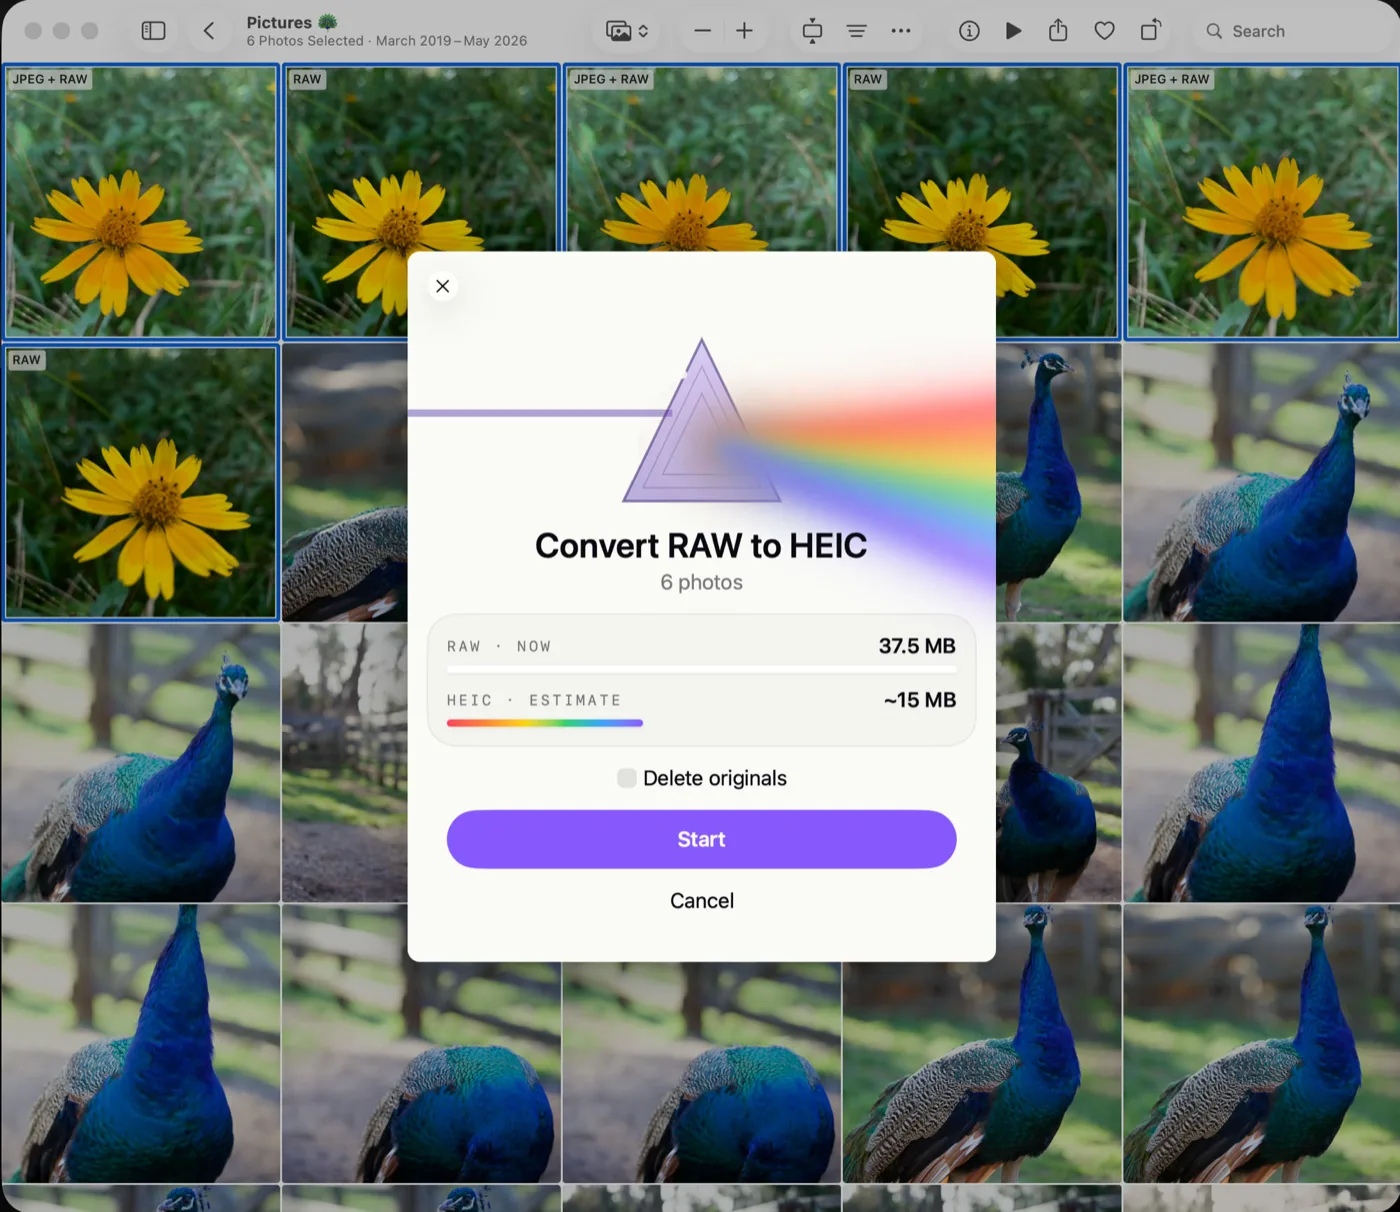
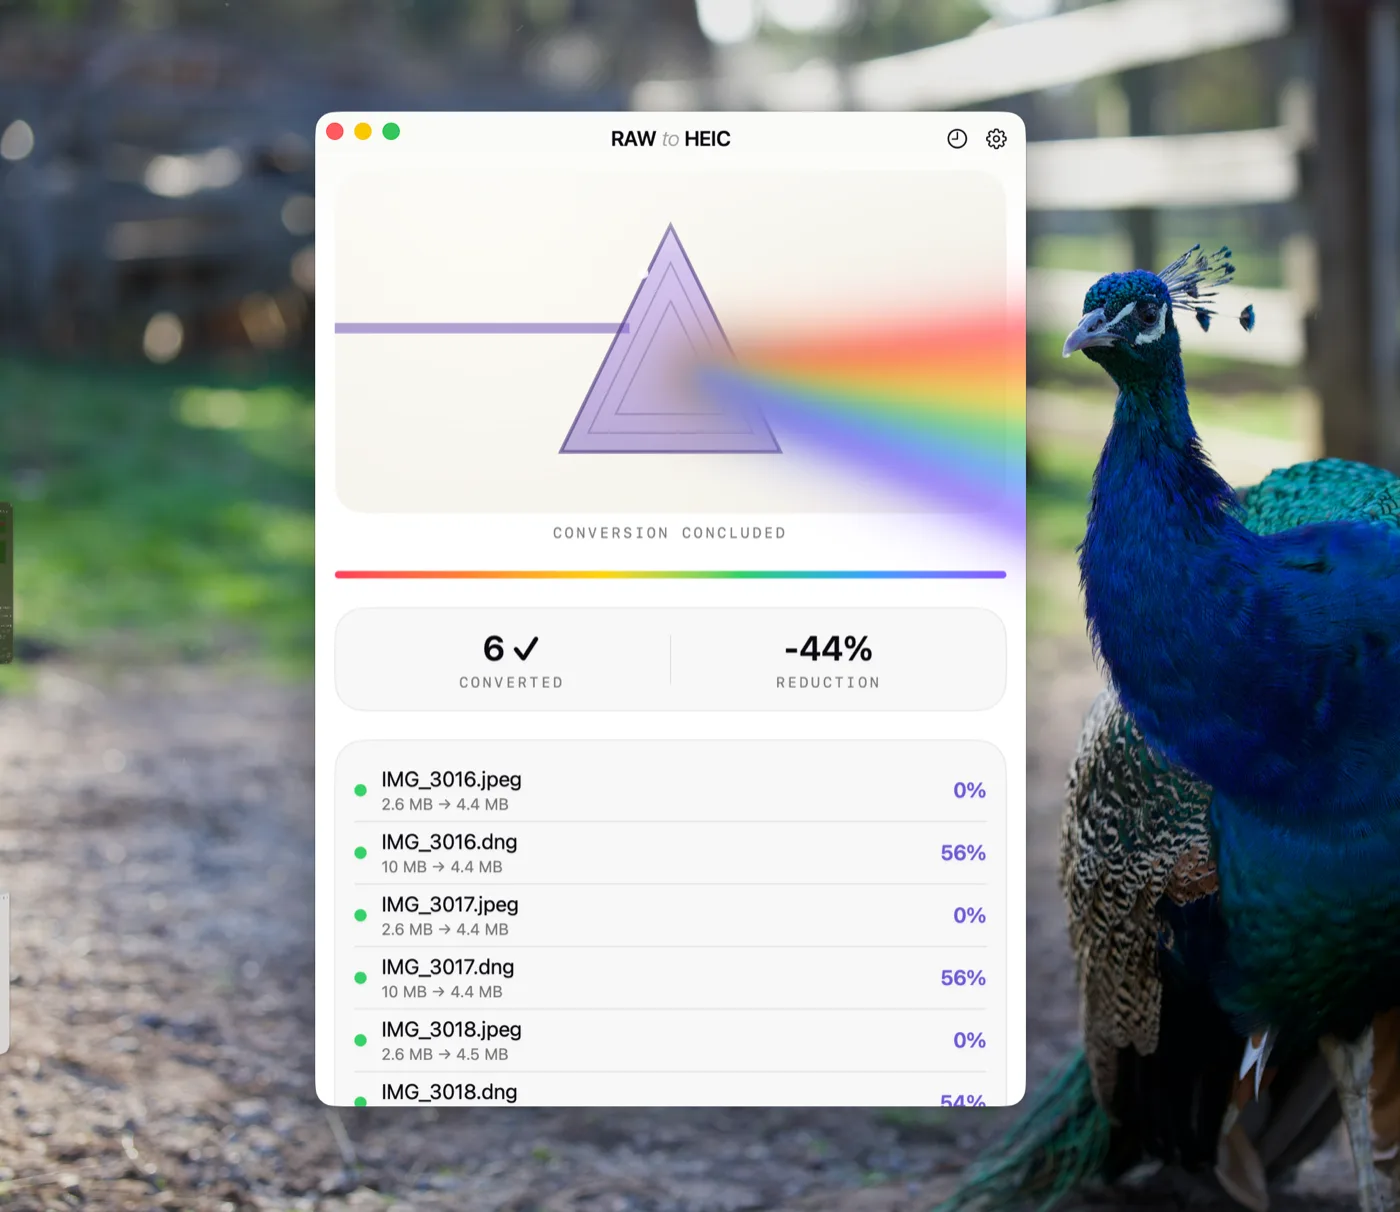
HEIC is Apple’s efficient modern photo format. It is designed for excellent visual quality at a much smaller size than RAW. For finished images, the difference can be substantial – often up to 10x smaller, depending on the source file, resolution, and image detail.
This is not a reason to convert every RAW photo blindly. Keep the originals for portfolio work, images you may re-edit heavily, client deliverables with long-term requirements, or files with unusual technical value. But for the large middle of a photo library, finished RAW files are often the fastest storage win available.
Shrink iPhone Photo Storage Fast With the Right Order
The fastest cleanup is selective, not destructive. Do not begin by deleting random photos, clearing albums, or exporting your library to folders you will never open again. Start with the largest files that no longer need their full RAW flexibility.
First, identify completed work. These may be photos you have already edited, favorited, added to albums, captioned, or shared. A recent trip, a family event, or a finished personal project is a good place to start because you can review a meaningful group at once.
Next, decide which originals deserve to remain RAW. If an image is a key print, a creative favorite, or a file you expect to revisit in an editor, retain it. If it is a finished image that looks exactly how you want it to look, it is a strong candidate for HEIC conversion.
Then convert in batches. A batch-based approach creates visible storage savings quickly without turning photo management into a weekend project. Convert one completed album, confirm the results, and repeat when you are ready.
The key is to treat HEIC as your efficient finished format, not as a replacement for every source file you capture.
Avoid the Loose-File Workflow
Many conversion tools create a frustrating detour: export the RAW photo, convert it elsewhere, import a new file, find the duplicate, rebuild the album placement, and manually delete the original. That workflow is slow, easy to interrupt, and risky when your Photos library contains years of organization.
Your photo library holds more than pixels. It may include albums, favorites, captions, locations, dates, keywords, People recognition, and non-destructive adjustments. These details are why Photos works as a library instead of a folder full of filenames.
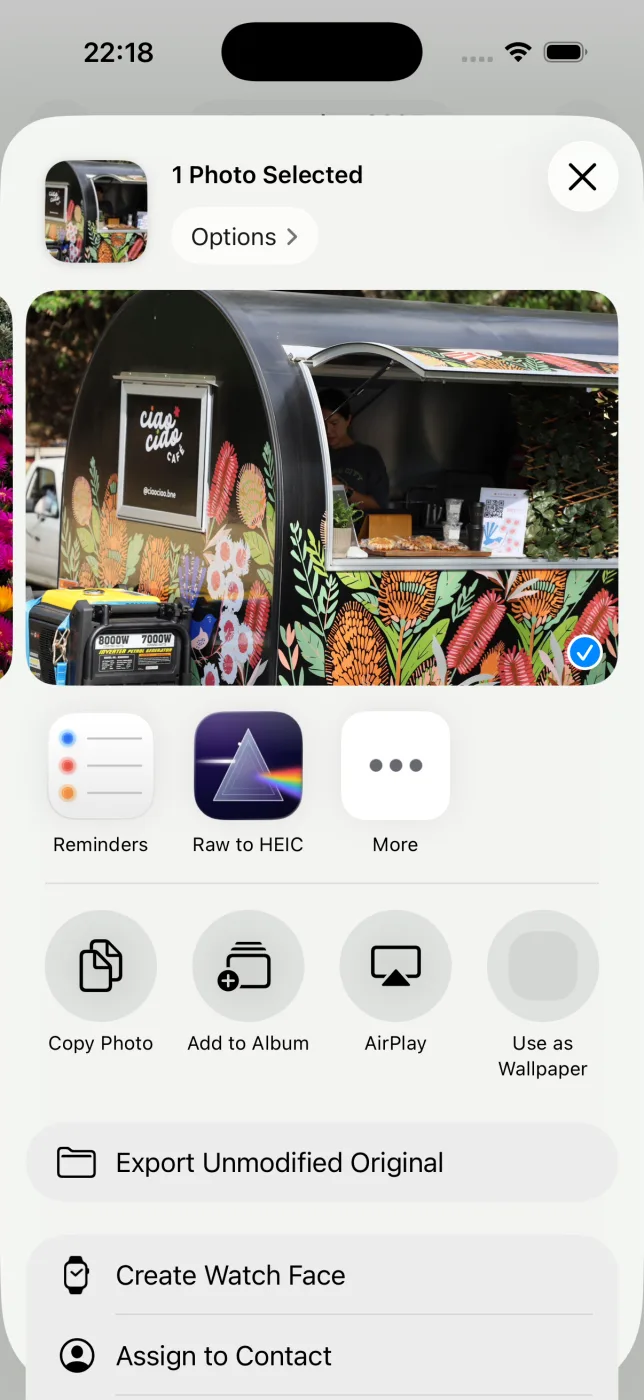
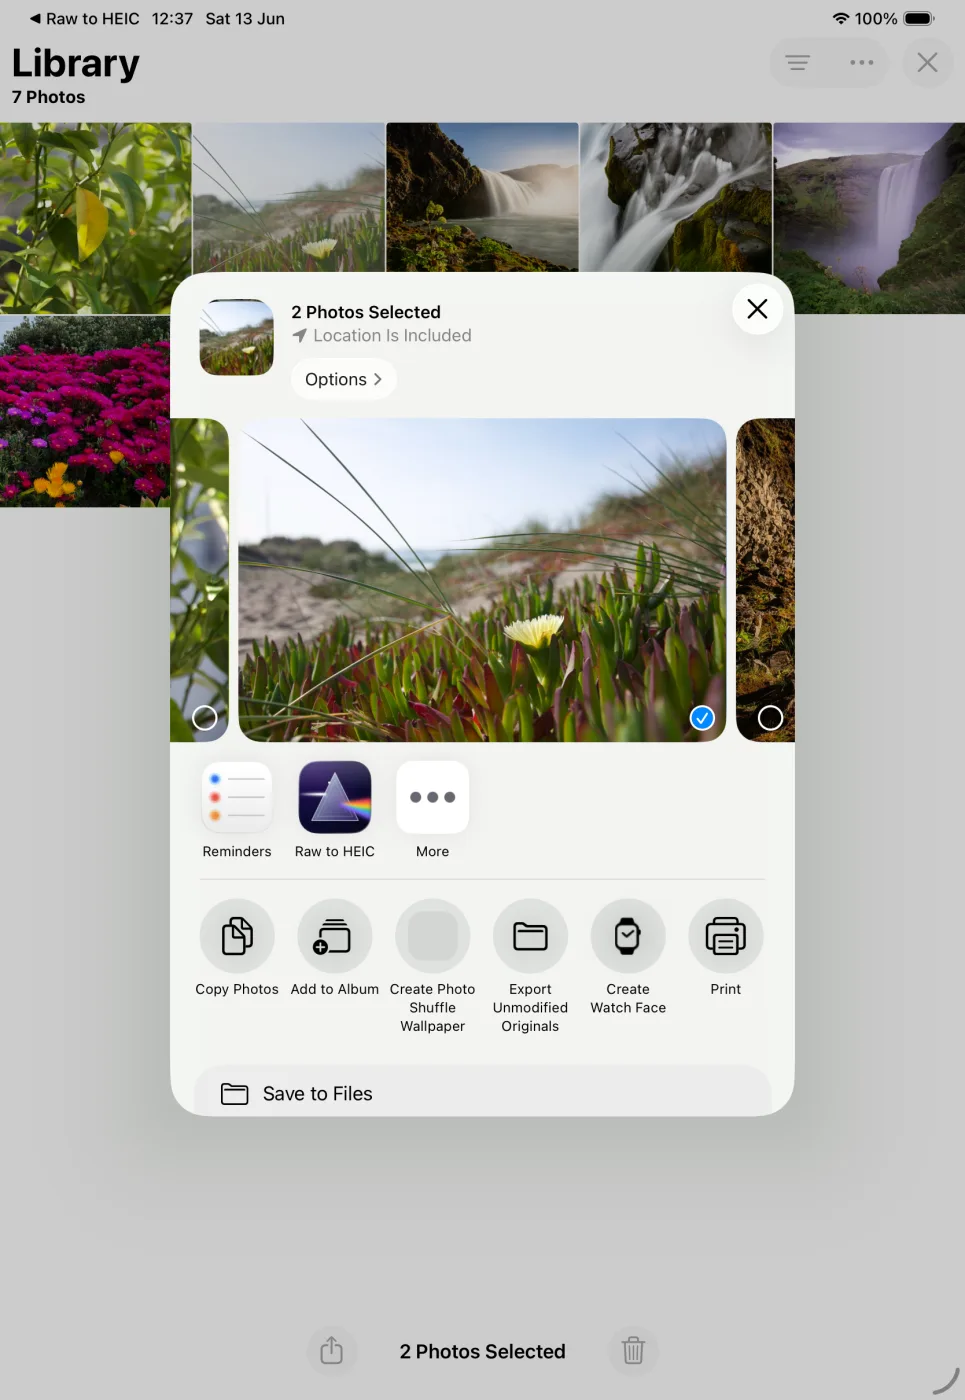
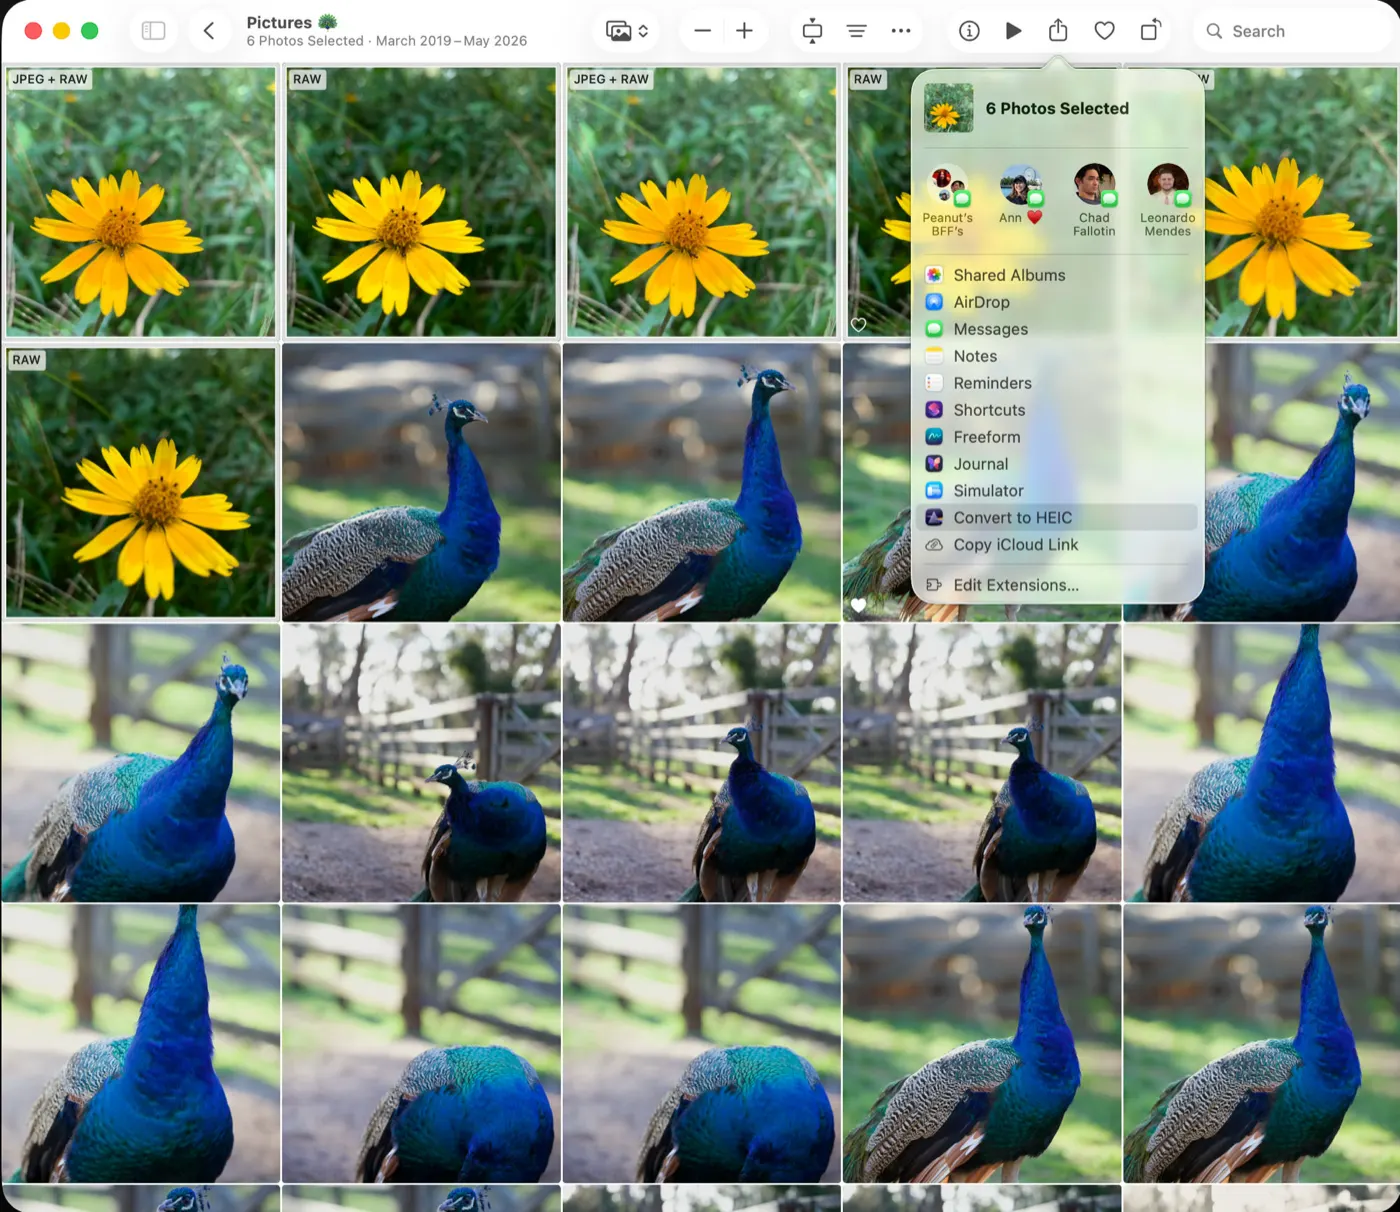
A Photos-native conversion workflow is different. The goal is to create a compact HEIC version directly in Photos while preserving the context you have already built around the image. No loose-file workflow. No round trip through a desktop folder. No need to reconstruct your library after the fact.
RawToHEIC is built for this exact use case. It converts supported camera RAW files and iPhone ProRAW directly inside Apple Photos, preserving the existing Photos workflow instead of asking you to export and re-import your images. The resulting HEIC stays where your photo belongs, with its organization and visual edits intact.
What to Preserve Before You Remove RAW Originals
Storage recovery only feels like progress if the photo library still works afterward. Before removing any RAW original, confirm that the converted image has the information you care about: the finished appearance, capture date, location, caption, favorite status, and album membership.
For many photographers, edits are the most important consideration. A RAW file may look ordinary before adjustment, while the edited version reflects the final intent. A good conversion process renders that finished look into the HEIC rather than leaving you with an unedited substitute.
HDR is another consideration. If you shoot or edit HDR images, use a converter designed to preserve HDR output where supported. Flattening an HDR image into a standard image can remove highlight detail and tonal impact you intended to keep.
Finally, do not delete originals until the conversion has been checked. Verified deletion safeguards matter because storage pressure can make a destructive action feel tempting. A proper workflow separates conversion from removal, giving you a chance to confirm that the smaller replacement is present and correct first.
iPhone Storage vs. iCloud Storage: Know What You Are Fixing
Converting large files to HEIC can reduce the size of your photo library, but the immediate result depends on how you use iCloud Photos.
If your iPhone is set to Optimize iPhone Storage, the device may already keep smaller local versions while full-resolution originals remain in iCloud. In that case, you may not see every saved gigabyte appear as free phone storage immediately. You are still reducing the size of the full library and the amount of iCloud storage it requires over time.
If you keep Download and Keep Originals enabled, the impact on device storage is more direct. Replacing large RAW files with compact HEIC versions can free meaningful space on the iPhone itself, especially after a large shoot or imported camera batch.
Either way, format conversion solves a different problem from deleting photos. Deleting reduces the number of memories you keep. Converting reduces the storage cost of the memories you have already decided are worth keeping.
A Practical Workflow for ProRAW and Camera RAW
A simple routine prevents storage creep from becoming an emergency. After a shoot, edit and choose your keepers as usual. Let the RAW originals remain while you are still experimenting. When the project feels finished, convert the images that no longer need deep RAW adjustments to HEIC.
Keep a smaller RAW set for the images with the highest long-term value. This might include your best landscape from a trip, an image you plan to print large, or a portrait you may refine later. Convert the supporting images that are finished but do not require permanent RAW headroom.
For imported DSLR or mirrorless files, the same rule applies. Camera RAW files often arrive in Photos as some of the largest items in the library. If Photos is where you organize, edit, and enjoy those images, you should not have to abandon that system just to reclaim storage.
This approach also respects privacy. Conversion can happen on-device, without uploading your photos to a third-party processing service or building a separate cloud archive. For personal photos, family images, and professional work, that distinction is practical, not cosmetic.
Do Not Wait for the Storage Warning
The worst moment to manage a photo library is when your iPhone refuses a new photo, an iCloud backup fails, or an OS update needs space you do not have. At that point, rushed deletion becomes more likely.
Instead, make conversion part of the finish line for completed work. Your RAW originals do their job during capture and editing. Your compact HEIC files do their job afterward: keeping finished photos easy to access without letting storage dictate what stays in your library.
A smaller library is not a lesser library. When the photos, edits, and organization remain in place, it is simply a library with room for what you shoot next.
Shrink your RAW library, right inside Photos.
RawToHEIC converts camera RAW and iPhone ProRAW to HEIC up to 10× smaller — keeping every edit, album, favorite, and location. On-device, no account, one purchase for iPhone, iPad, and Mac.
Not sure yet? Convert a few sample photos free — no install, nothing uploaded.
Try it free — no install →