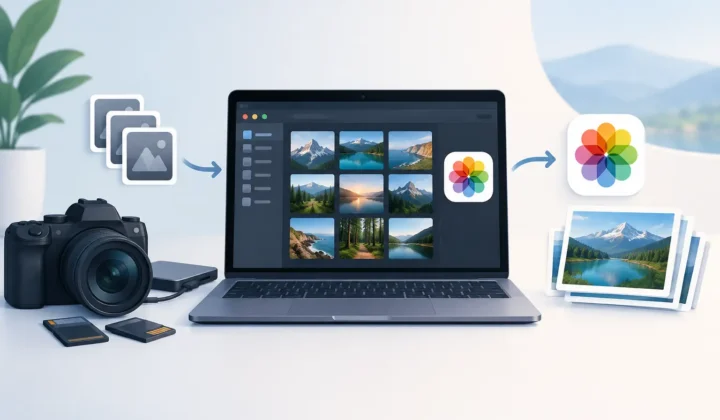
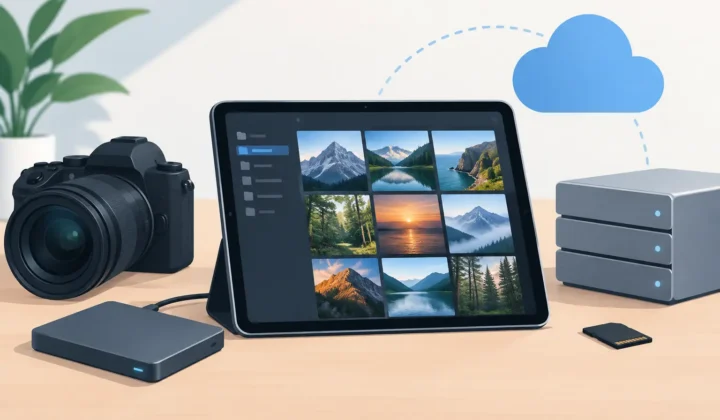
RAW Editing Versus Archival for Apple Photos
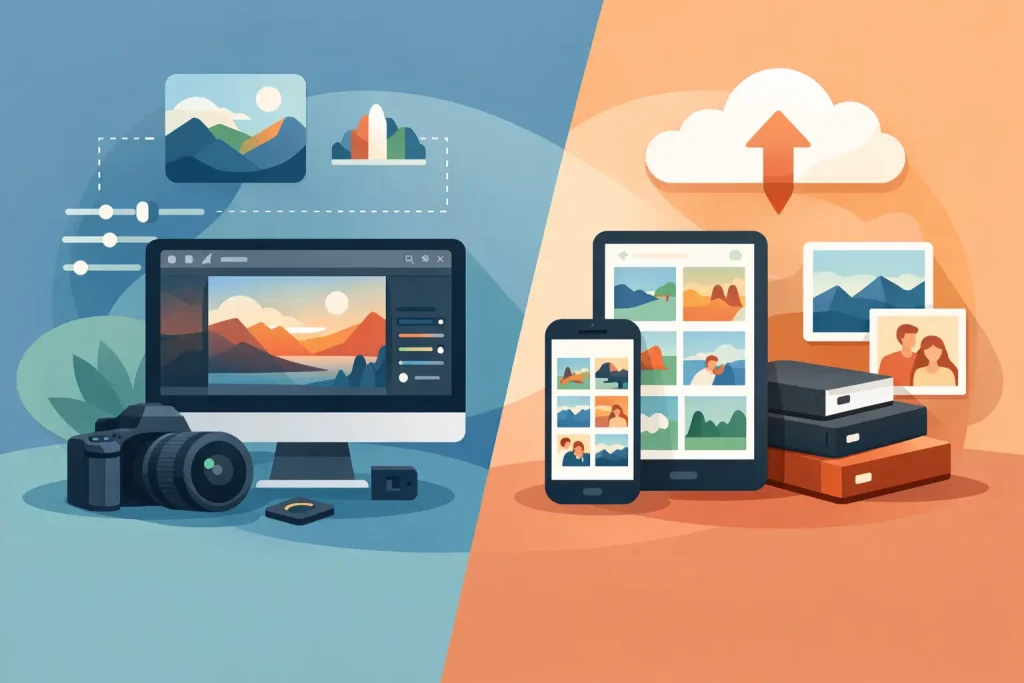
A 24-megapixel RAW file can be the right file when you are correcting exposure, recovering highlights, or refining color. It can also be an expensive file to keep forever once the image is finished. RAW editing versus archival is really a question of intent: which photos still need maximum flexibility, and which photos need a compact, dependable place in your Apple Photos library?
For many photographers, the answer is not “keep everything” or “convert everything.” It is a practical split. Keep RAW where it protects future creative options. Archive finished images in a high-efficiency format when you want to reduce storage pressure without breaking the albums, favorites, captions, locations, and memories you already manage in Photos.
RAW editing versus archival: two different jobs
RAW is a capture format, not an archival strategy by default. It retains the sensor data your camera recorded, giving editing tools more room to interpret a scene. A backlit portrait, a high-contrast sunset, or an indoor image with mixed lighting can often be improved dramatically from RAW because you have more latitude to adjust exposure and white balance.
That flexibility has a cost. RAW files are large, and a growing library can consume local device storage, iCloud storage, backup space, and transfer time. A camera RAW file may be tens of megabytes. ProRAW images from an iPhone can also add up quickly, especially after a trip or a long season of shooting.
Archival has a different goal. Once you have made the creative decisions that matter, you need a version that is easy to store, view, share, and keep organized for years. For many completed photos, a high-quality HEIC is a better day-to-day library file than the original RAW.
When RAW earns its storage cost
Keep the original RAW when the image has ongoing commercial, creative, or sentimental value and you may want to reinterpret it later. That includes portfolio work, paid client images, once-in-a-lifetime events, difficult lighting situations, and photos you expect to print large.
RAW also makes sense when your edit is not truly settled. If you are still deciding between a warm and cool color grade, expect new editing tools to change your approach, or plan to make multiple crops for different uses, the original remains useful. A finished-looking image is not always a finished file.
There is also a simple emotional test: if losing the ability to redo this photo from the sensor data would bother you, retain the RAW. Storage is cheaper than regret for a small number of irreplaceable frames.
When HEIC is the smarter archive format
For images you have edited, approved, and are unlikely to revisit at a deep technical level, HEIC can be the sensible long-term working archive. It delivers excellent visual quality at a fraction of RAW’s storage footprint and supports modern Apple features, including wide color and HDR where supported by the source and workflow.
This is particularly useful for travel sets, family photos, everyday iPhone captures, and successful outtakes that are worth keeping but do not need unlimited editing latitude. These are the photos you want to search, browse, include in memories, and send to family without carrying the storage cost of a camera negative for every frame.
The goal is not to claim that HEIC replaces RAW in every situation. It does not. HEIC is a high-efficiency finished-image format. RAW is an editable source. Choosing between them depends on what you need next.
Decide after the edit, not before it
The most efficient point to make an archival decision is after you have culled and edited. At that stage, you know which photos are misses, which are keepers, and which deserve original-file protection.
Start by removing obvious duplicates and unsuccessful frames. Then identify your small set of future-proof originals: hero images, client selects, meaningful family moments, and anything likely to be printed or re-edited. Keep those RAW files.
For the rest, ask whether your current edit represents the version you want to preserve. If the answer is yes, a HEIC archive can be the right fit. You retain a high-quality image that is easy to use in Photos while freeing meaningful storage on your iPhone, iPad, or Mac.
This approach avoids two common mistakes. The first is hoarding every RAW file because it feels safer, even though most will never be opened again. The second is converting everything without protecting the few files where RAW flexibility is genuinely valuable.
Archiving inside Photos matters
File conversion is easy. Keeping your photo library intact is the difficult part.
A typical file-based workflow exports images from Photos, converts them in another app, imports the results, and then asks you to clean up the originals manually. That creates duplicate files, detached versions, uncertain metadata, and a real chance of deleting the wrong photo. It can also leave your carefully organized library less organized than before.
A Photos-native workflow changes the experience. The converted image stays where you already work, rather than becoming a loose file somewhere else. Your existing library context – albums, favorites, captions, dates, locations, and metadata – should remain central to the process. That is the difference between simply making a smaller file and actually maintaining a smaller, usable photo library.
RawToHEIC is built for this exact use case on iPhone, iPad, and Mac. It converts supported camera RAW formats and iPhone ProRAW directly within Apple Photos, with on-device processing and no loose-file workflow. Its verified deletion safeguards are designed to help you confirm the converted result before removing an original, so storage cleanup does not have to feel like a gamble.
Build a storage policy you can live with
The best archive policy is one you will follow after every trip, event, or editing session. It does not need to be complicated. Think in terms of tiers.
Your first tier is the permanent RAW collection: the images that justify their original size. Your second tier is finished HEIC images: photos you want to keep accessible in Photos at high quality with far less storage use. Your third tier is everything you do not need: duplicates, test frames, accidental captures, and near-identical variations.
Use a consistent review point. Some photographers archive after each shoot. Others wait until the end of a month or after importing a trip. Either can work. The useful habit is deciding while the shoot is still familiar enough that you can recognize what deserves the RAW original.
Before removing any original, confirm the converted photo looks right on the device you use most. Check fine detail, highlight-heavy areas, skin tones, and HDR appearance if the image was captured in high dynamic range. For a small set of critical images, compare at full zoom or keep both versions until you have completed a backup cycle.
Privacy deserves a place in this policy too. Personal photo libraries contain more than pixels: faces, locations, dates, and private moments. An on-device conversion workflow keeps that processing on your Apple device rather than sending your library through an unnecessary cloud service. That is a practical advantage, not just a preference.
Keep RAW when the future is uncertain
There are images where the right answer is simply to keep the RAW, even if it uses more space. Do not convert away your only original if you expect a client request, a major print, a future portfolio review, or a new edit based on a different visual direction.
The same applies to technically challenging photos. An image that looks good now may benefit from better noise reduction, improved masking tools, or a different interpretation years from now. RAW keeps that door open.
But uncertainty should be specific. Keeping every RAW because something might someday matter is not a plan. Protect the files with a clear reason, then let the rest of your library become lighter, easier to sync, and easier to enjoy.
A photo library should support your photography, not quietly dictate how much storage you have left. Keep the originals that preserve real creative options. Archive the finished images that deserve a place in your life. Then let Apple Photos stay what it should be: the place where your best work is easy to find, safe to keep, and ready to enjoy.
Shrink your RAW library, right inside Photos.
RawToHEIC converts camera RAW and iPhone ProRAW to HEIC up to 10× smaller — keeping every edit, album, favorite, and location. On-device, no account, one purchase for iPhone, iPad, and Mac.

Not sure yet? Convert a few sample photos free — no install, nothing uploaded.
Try it free — no install →