How to Shrink Apple Photos Library Size

If your Mac says storage is full right after a shoot, the problem usually is not Photos itself. It is what lives inside it. A library packed with RAW files, ProRAW images, long videos, and years of duplicates can grow fast. If you want to shrink Apple Photos library size, the right fix is not random deletion. It is choosing what to keep at full weight, what to compress, and what to remove without breaking your library.
What actually makes a Photos library so large
For most Apple users, the biggest storage culprit is RAW. A single HEIC from an iPhone might take a few megabytes. A ProRAW or mirrorless camera RAW file can be many times larger. Multiply that by thousands of images, then add edited versions, burst shots, videos, and synced iCloud content, and the library balloons.
Photos can also feel larger than expected because it preserves a lot of context. That is usually a good thing. Albums, favorites, captions, keywords, locations, and non-destructive edits make the app useful. The catch is that many people try to save space by exporting files out of Photos, converting them somewhere else, then importing them back. That often creates duplicates, strips context, or leaves a loose-file mess on disk.
If your goal is to shrink Apple Photos library storage without creating new workflow problems, the best approach is to reduce the weight of the original assets while preserving the library structure you already rely on.
Start with the biggest wins first
The fastest way to save meaningful space is to target media types with the worst size-to-value ratio. In practical terms, that usually means old RAWs you no longer need for active editing, duplicate shots, and videos you forgot were there.
On Mac, open Photos and sort through your library with size in mind. Recently imported camera RAWs and iPhone ProRAW images are usually the easiest place to start because they consume the most space per photo. Ask a simple question: do you still need the RAW for future editing flexibility, or is the edited result already final enough for everyday use?
That distinction matters. RAW is worth keeping when you are still color grading, recovering highlights, or planning large prints. It is often overkill for finished travel photos, family shots, reference images, and many keepers that are mostly being stored, shared, and viewed on Apple devices.
The safest way to shrink Apple Photos library files
There are two broad ways to make a library smaller. One is deletion. The other is conversion. Deletion gives the largest immediate gain, but only works when you truly do not need the photo. Conversion is often the better middle ground because you keep the image in Photos while replacing a much larger source file with a more efficient format.
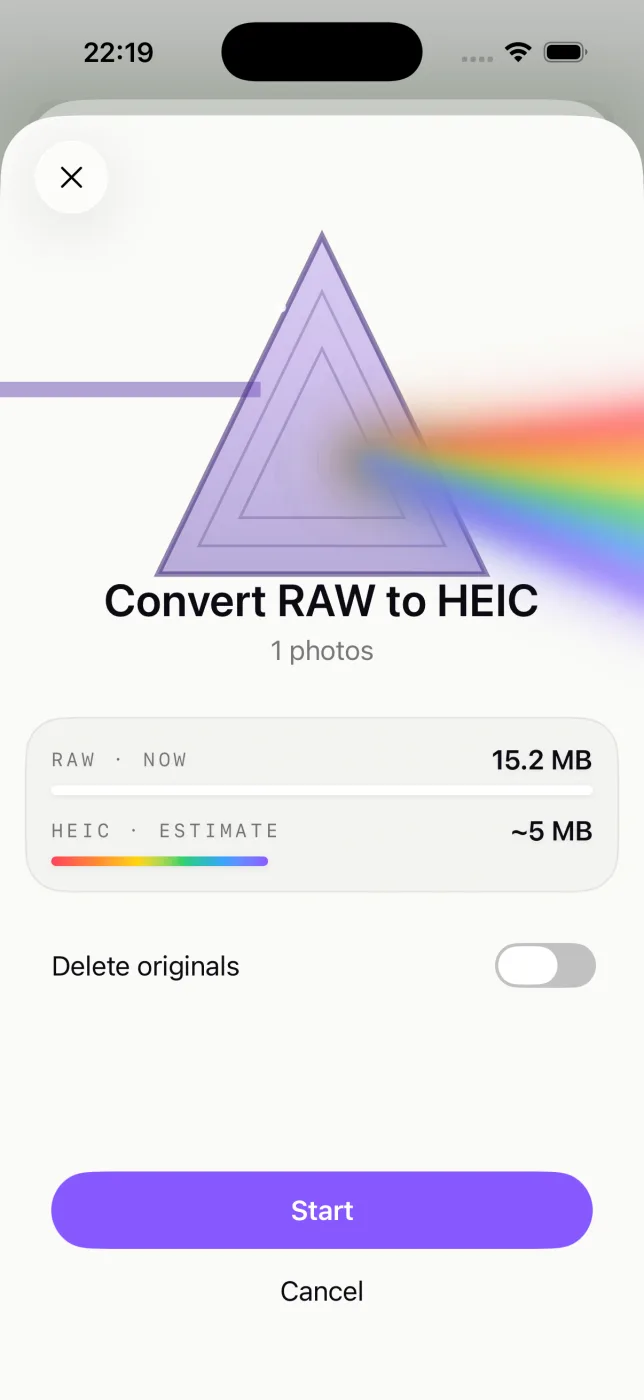
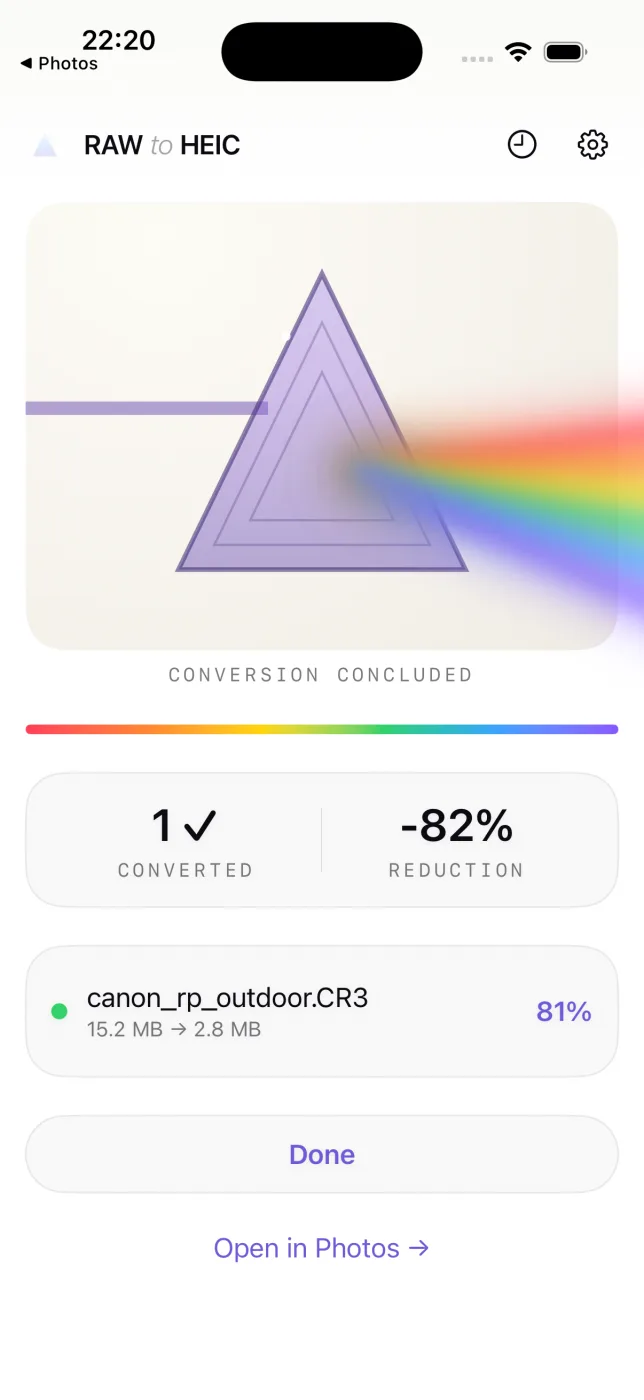
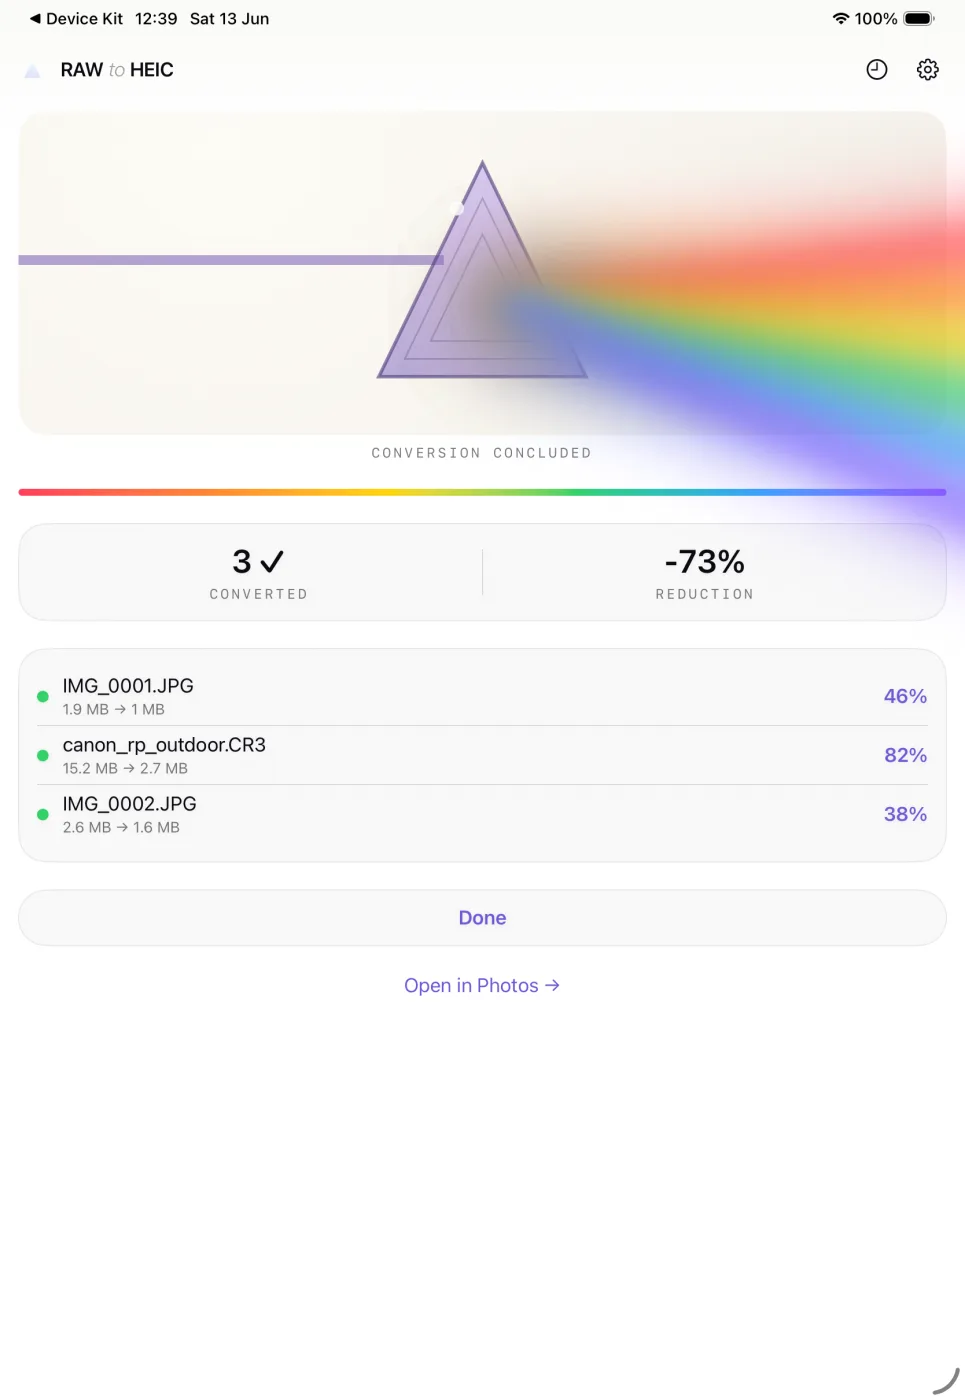
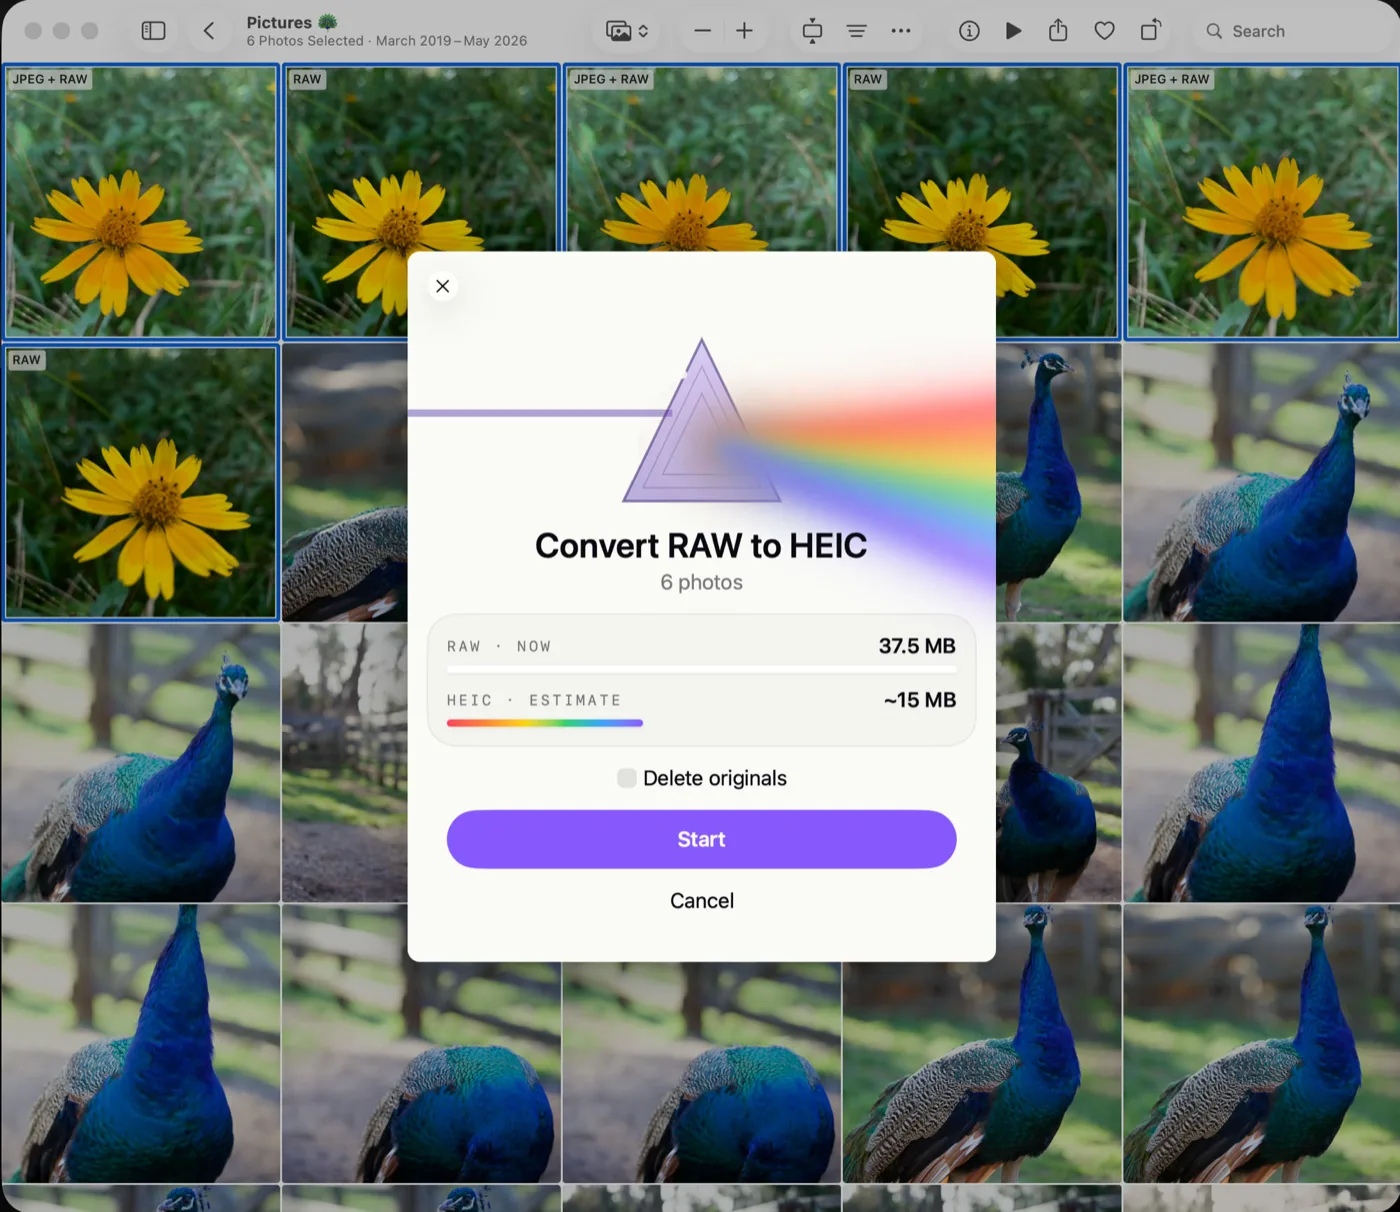
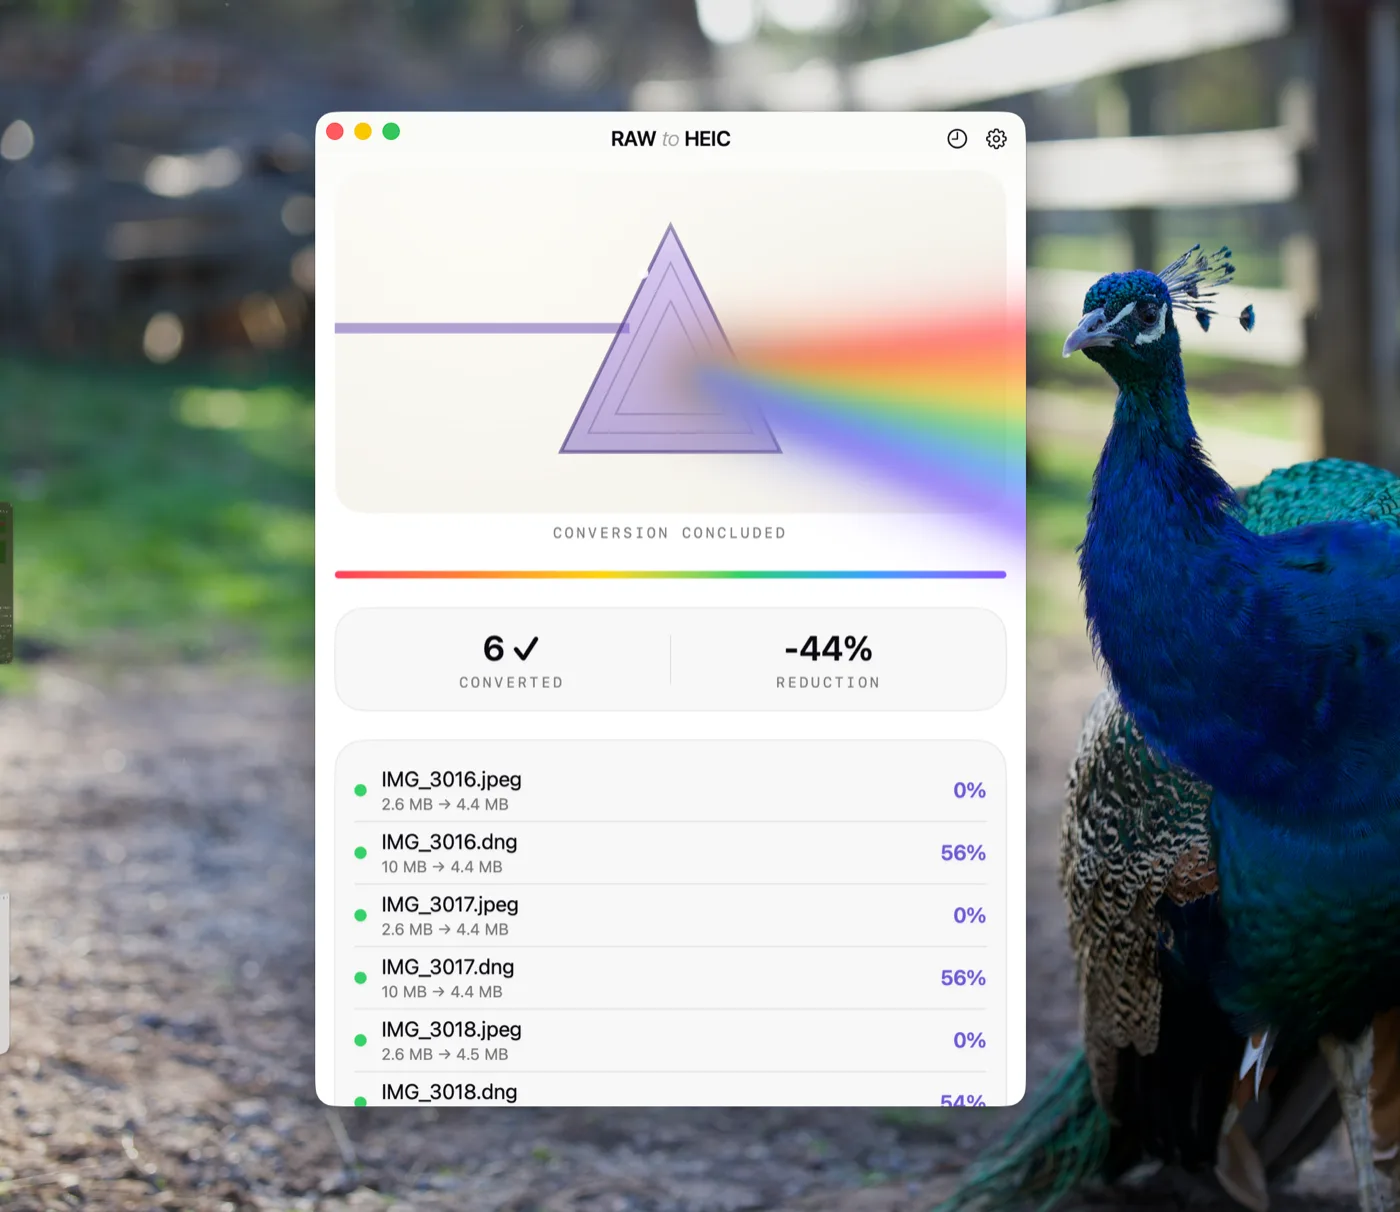
That is where HEIC makes sense. It is Apple-native, highly efficient, and designed for exactly this balance of quality and storage savings. For many finished photos, HEIC can look visually excellent at a fraction of the size of RAW. In real libraries, that can mean dramatic savings, often up to 10x smaller depending on the source format and image content.
The trade-off is simple. You are giving up some of the editing latitude that RAW preserves. If a photo is still in active post-processing, keep the RAW. If the photo is done and mainly needs to stay organized inside Photos, conversion is usually the smarter storage decision.
Why export-import workflows create new problems
A lot of photo tools solve storage pressure in the most awkward way possible. They make you export your originals, convert them in a separate app, then manually import the smaller files back into Photos. That may work on paper, but it is a poor fit for people who actually use Photos as their main library.
The moment you step outside the library, things can get messy. You can lose album placement, favorites, captions, locations, and the editing context tied to the original item. You may end up with duplicates or spend hours confirming what is safe to delete. For users who care about privacy and clean workflows, that is friction you do not need.
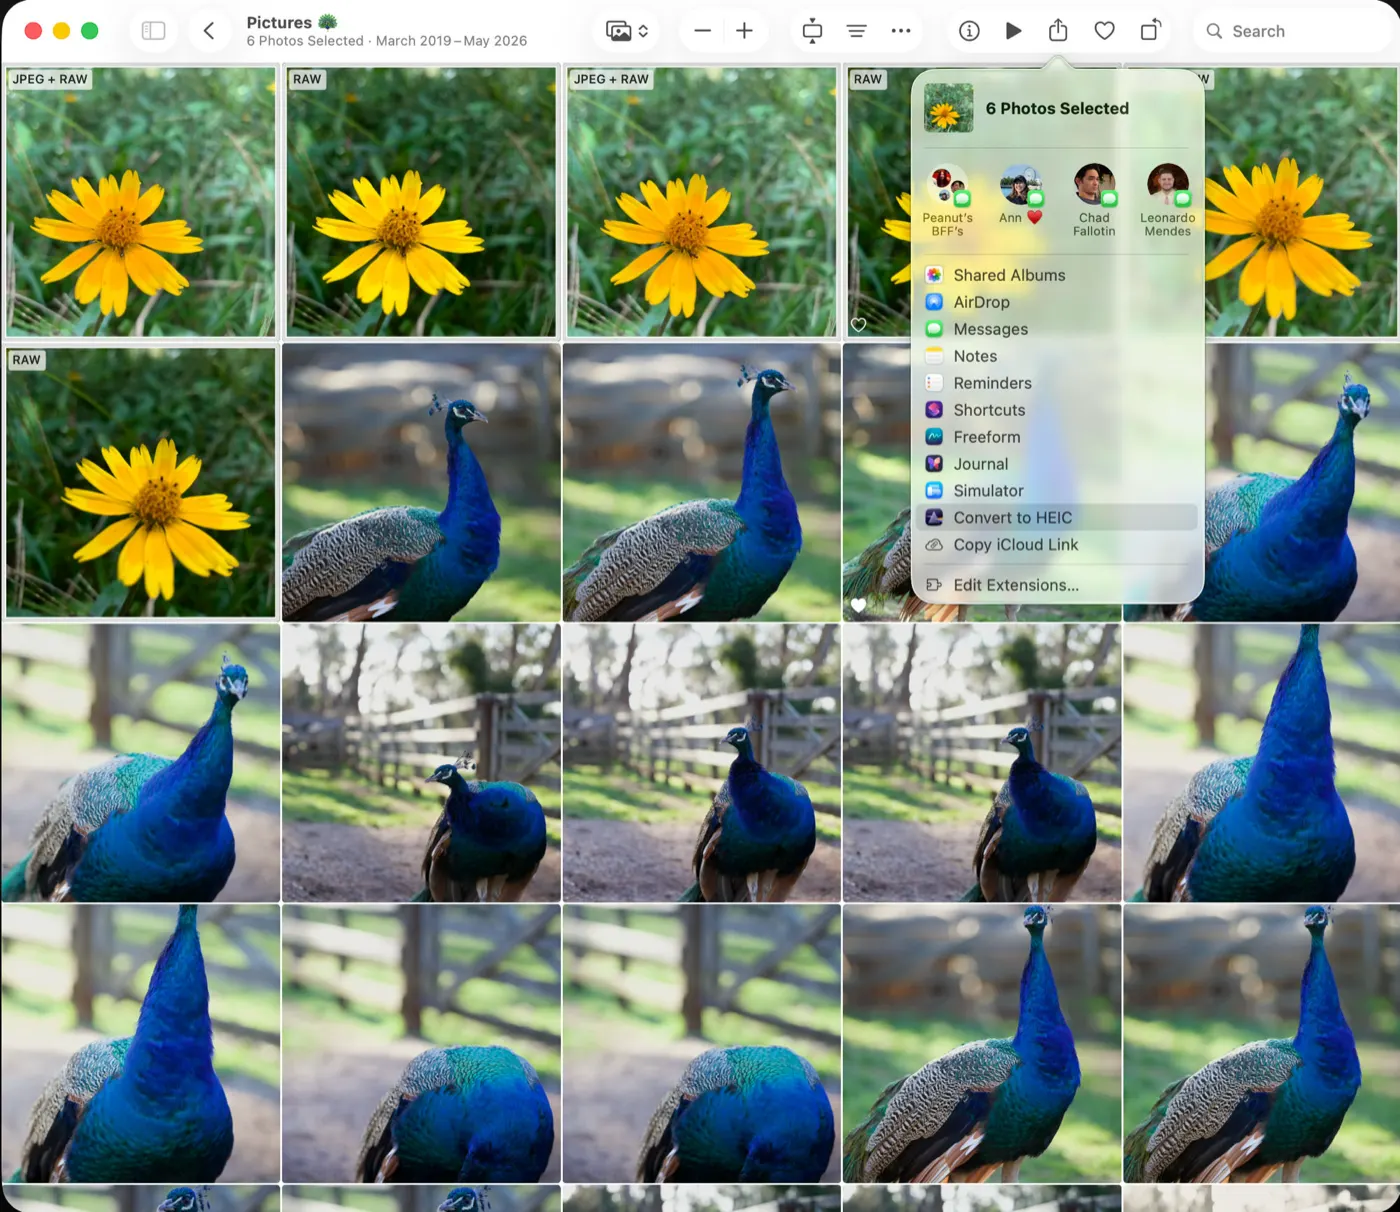
A Photos-native conversion workflow is different. Instead of creating loose files and hoping you clean them up later, it works directly with the library you already have. That means less manual handling, fewer mistakes, and far less risk of turning a storage problem into an organization problem.
A practical workflow that keeps your library intact
If you want a clean result, work in stages.
First, identify the heaviest part of your library. For many users that is DSLR, mirrorless, or ProRAW content imported over months or years. Next, separate active work from finished work. The photos you may still re-edit should stay in RAW for now. The rest are candidates for conversion.
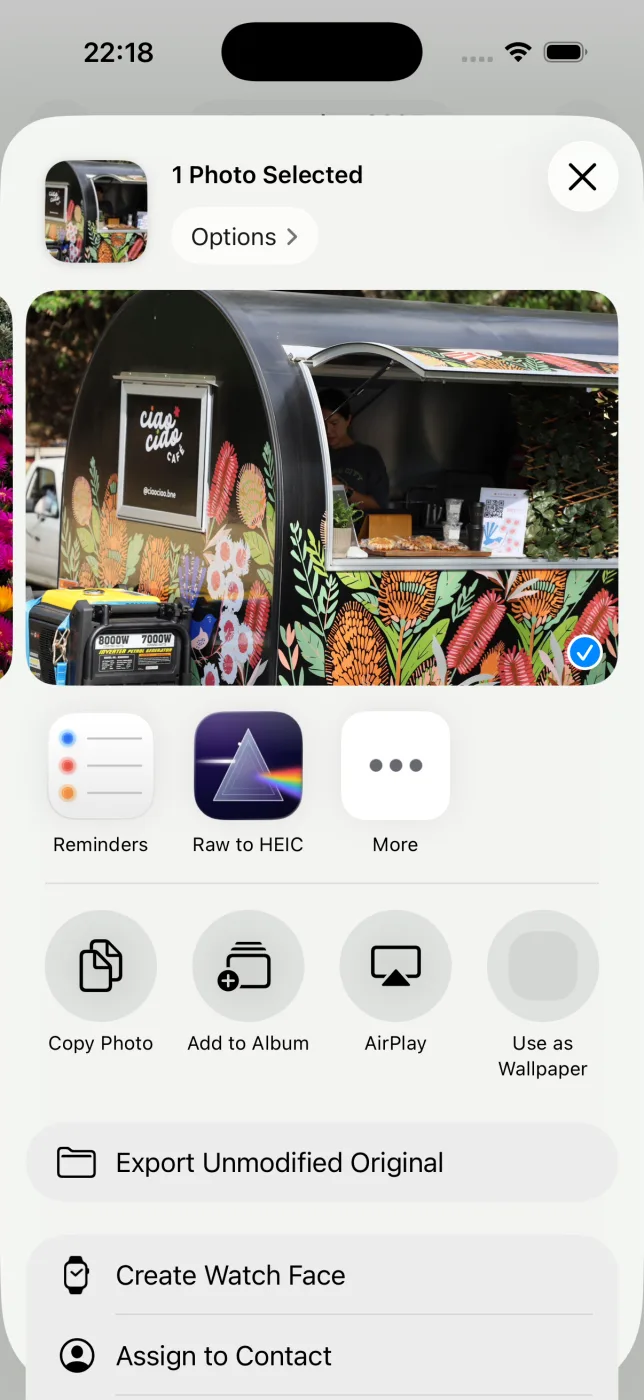
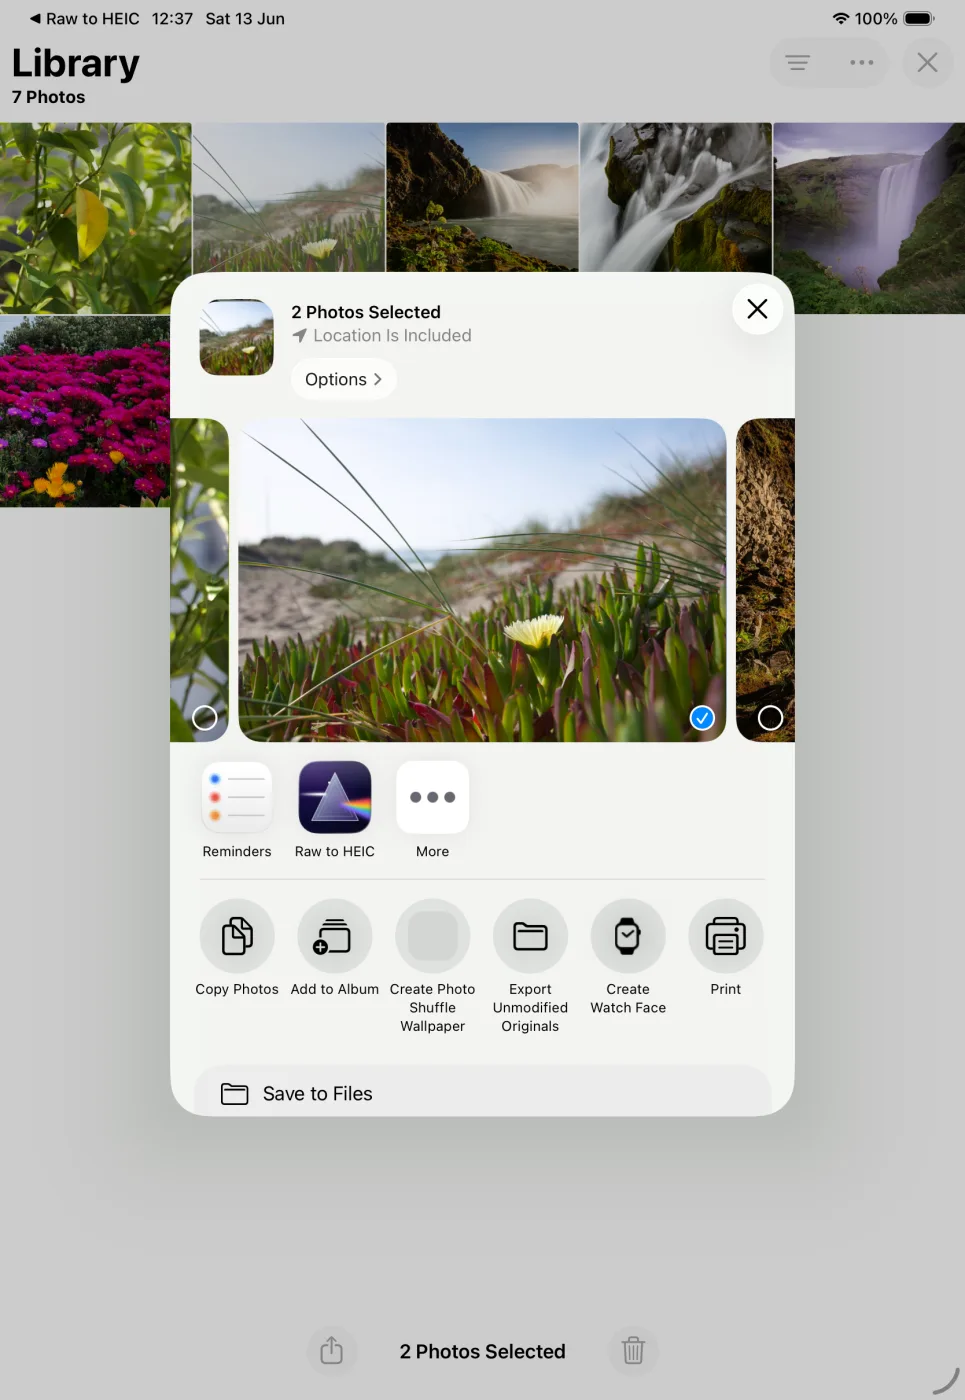
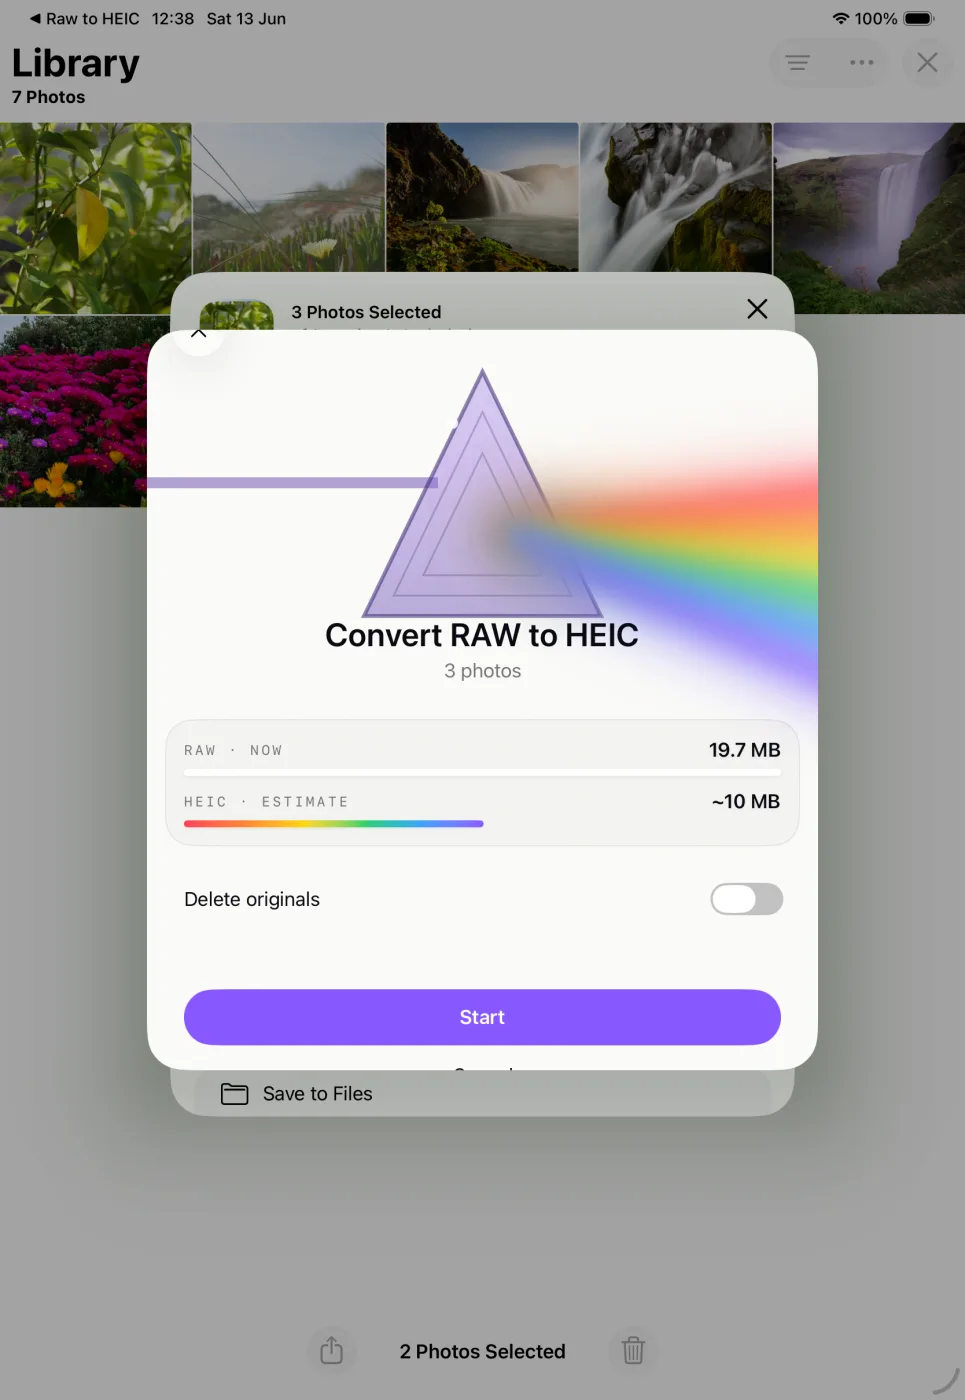
Then convert those finished RAW images to HEIC inside Photos, not through a desktop file shuffle. This is the key step because it lets you keep the photo where it already lives, with its existing organizational context. A tool like RawToHEIC is built specifically for this. It converts supported RAW formats and iPhone ProRAW directly in Apple Photos on iPhone, iPad, and Mac, preserves HDR where available, and avoids the export-import cycle entirely.
That matters for more than convenience. It means your albums, favorites, captions, locations, metadata, and non-destructive edits stay attached to the photo rather than getting stranded in a side folder somewhere. It also means processing stays on-device, which is the right default if your library contains personal or client images.
What else you should clean up
RAW conversion will usually deliver the largest storage savings, but it is not the only lever.
Duplicates are worth removing, especially after years of imports, AirDrop transfers, edits, and shared-library activity. Burst sequences are another common source of silent bloat. Many people keep ten nearly identical frames when one would do.
Video deserves its own pass as well. A few overlooked 4K clips can consume more space than hundreds of stills. If you use Photos for mixed media, review videos separately from photos so you can decide what belongs in the library and what can be archived elsewhere.
Also check whether your Photos settings match your actual device usage. On smaller Apple devices, optimized storage can help with local pressure, but it does not reduce the total cloud footprint of your photo library. If your iCloud bill is climbing, shrinking the source media itself is what changes the math.
What not to do when storage gets tight
When people panic about space, they often make the wrong move first. They delete photos in bulk before checking whether those photos exist anywhere else. Or they export converted copies to Finder, keep the originals in Photos, and accidentally make the storage problem worse.
Another common mistake is converting everything. That is rarely the best answer. Some photos should remain RAW. Portfolio images, commercial work, difficult lighting scenes, or anything you may want to re-edit aggressively later still benefits from the original sensor data.
A smaller library is not the same as a stripped-down library. The goal is to remove waste, not future flexibility.
When shrinking your library is worth it
If your library is mostly JPEGs and casual phone photos, space savings may be modest. But if you shoot ProRAW, use a mirrorless or DSLR, or keep years of finished RAWs inside Photos, reducing file weight can change how your devices feel day to day. Backups get lighter. Sync pressure drops. Free space returns without forcing you into a new app or a monthly subscription.
That is the real benefit. A smaller Photos library is not just about gigabytes. It is about keeping the Apple workflow you already like while removing the storage penalty that came with shooting high-quality formats.
The cleanest fix is usually the one that respects your library instead of working around it. Keep the photos you still need in RAW. Convert the ones that are done. Remove the duplicates and the dead weight. Your storage comes back, and your library stays yours.
Shrink your RAW library, right inside Photos.
RawToHEIC converts camera RAW and iPhone ProRAW to HEIC up to 10× smaller — keeping every edit, album, favorite, and location. On-device, no account, one purchase for iPhone, iPad, and Mac.
Not sure yet? Convert a few sample photos free — no install, nothing uploaded.
Try it free — no install →