Skip to content

HEIC vs HEIF Differences When Converting RAW

HEIC vs HEIF Differences When Converting RAW

A 45 MB RAW photo does not become a different kind of image merely because its new filename ends in .HEIC instead of .HEIF. For Apple Photos users, the differences of HEIC and HEIF files converted from RAW are mostly about terminology, compatibility, and the conversion settings behind the file – not a quality contest between two separate formats.

That distinction matters when you are reducing a large RAW library. You want meaningful storage savings without losing the image quality, HDR appearance, metadata, or Photos organization that made the library useful in the first place.

HEIF Is the Format Family, HEIC Is the Image File

HEIF stands for High Efficiency Image File Format. Think of it as a modern file container specification: it defines how an image and related data can be stored together. A HEIF file can hold still images, image sequences, metadata, depth data, thumbnails, and more.

HEIC is the extension most commonly used for a HEIF still image encoded with HEVC, also known as H.265. Apple uses .HEIC extensively across iPhone, iPad, and Mac because it can deliver excellent image quality at much smaller file sizes than JPEG.

In practical Apple use, people often say “HEIF” when they mean “HEIC,” and vice versa. If two files were created from the same RAW original with the same settings, there is usually no visible quality difference simply because one is called HEIF and the other HEIC. The meaningful questions are which codec was used, what bit depth and color settings were retained, and how the app handled the original RAW image.

What Changes When RAW Is Converted to HEIC or HEIF

A RAW file is not a finished photograph. It contains sensor data that must be interpreted through a RAW processing pipeline. White balance, demosaicing, color rendering, noise reduction, lens correction, highlight recovery, and sharpening all affect the final result.

When you convert a RAW photo to HEIC, the result is a rendered image. The RAW sensor data is no longer available for the same level of adjustment. You can still edit the HEIC in Photos non-destructively afterward, but you cannot return to the original sensor data and change RAW-specific decisions with the same latitude.

This is the central trade-off. RAW keeps maximum editing flexibility and consumes substantial storage. HEIC keeps a high-quality rendered result in a far smaller footprint, making it a strong choice for photos that are already edited, delivered, or unlikely to need deep RAW reprocessing later.

The HEIC or HEIF label does not change that trade-off. Both describe the efficient output side of the workflow. The conversion process determines how faithfully your RAW appearance carries over.

The rendered appearance matters more than the extension

A well-made conversion should reflect the photo you see in Photos before conversion. That includes the intended crop, exposure adjustments, color work, and compatible edits. A weak conversion may look flatter, lose highlight detail, alter color, or export a lower-quality version than expected.

This is why a Photos-native workflow matters. Converting from inside the library can preserve the context of the image you have already organized and edited, rather than forcing you to export loose files, process them elsewhere, and import them as disconnected copies.

File size depends on the image, not just the format name

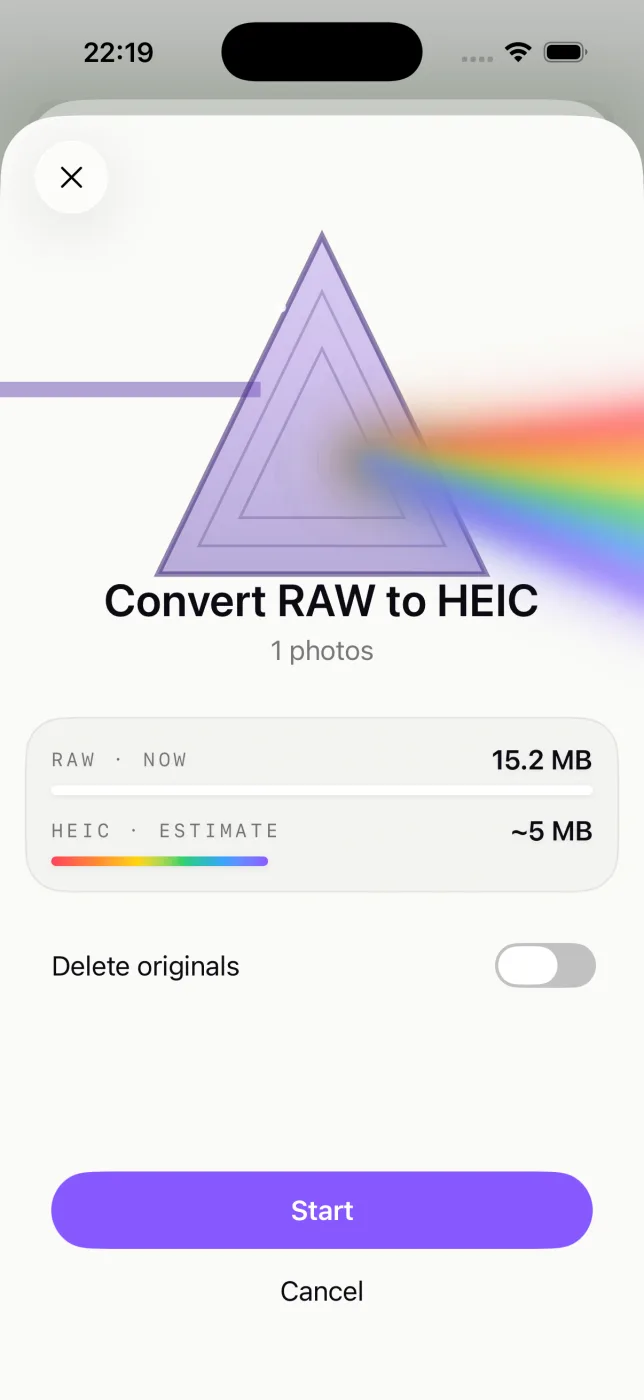
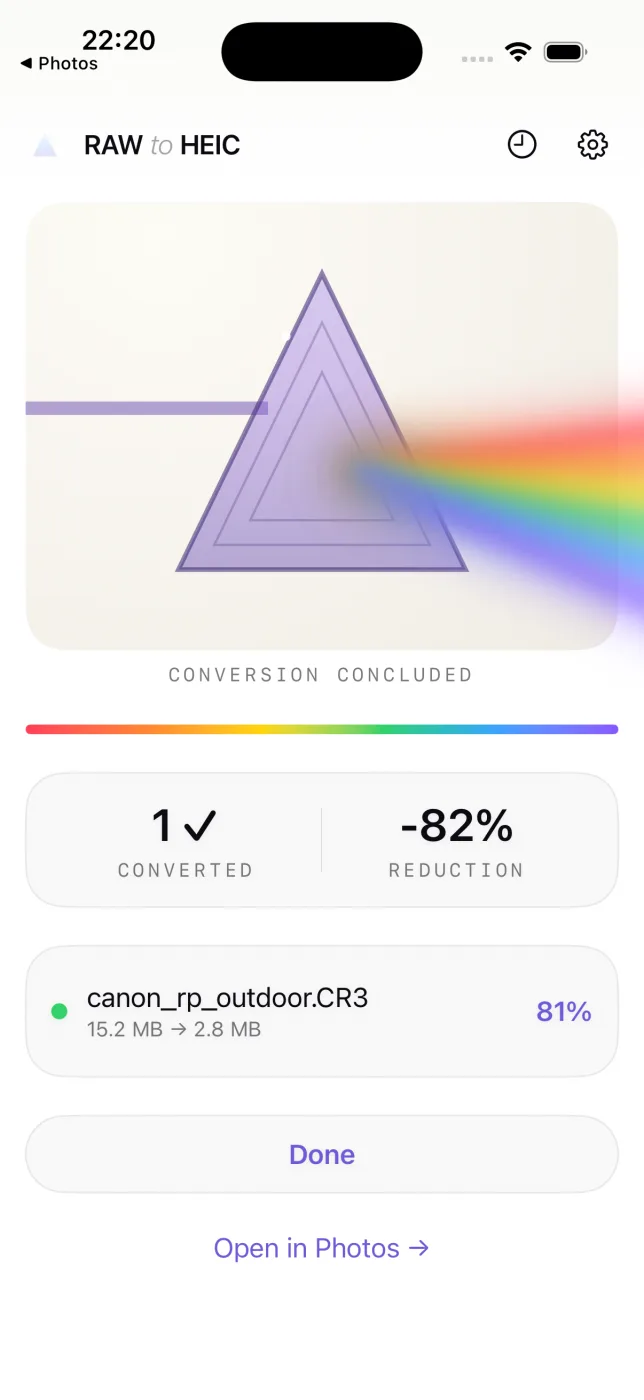
HEIC is often dramatically smaller than RAW because it stores a finished, compressed image rather than original sensor information. Depending on the camera, subject matter, resolution, and settings, the resulting file may be up to 10x smaller than the RAW source.

But HEIC is not a fixed-size outcome. A detailed landscape with leaves, water, and fine texture generally needs more data than a clean studio background. A high-resolution ProRAW or mirrorless camera file will also produce a larger HEIC than a standard iPhone photo. The useful comparison is not “HEIF versus HEIC.” It is the storage cost of your original RAW versus the quality level of the rendered HEIC you choose to keep.

HEIC and HEIF Differences From RAW: Quality, HDR, and Color

For a converted photo, quality is governed by the source image and conversion settings. HEIC supports efficient, high-quality image compression, including 10-bit color workflows where supported. This can make it particularly well suited to modern Apple displays and HDR photography.

A standard JPEG can be an acceptable delivery format, but it is often larger at comparable visual quality or more prone to visible artifacts at smaller sizes. HEIC offers a better storage-quality balance for many Photos libraries.

HDR requires more care. If a RAW image or edit is HDR-capable, the converter and destination workflow must support preserving that range. A file extension alone is not a guarantee. Some tools flatten HDR into standard dynamic range during export; others preserve it when the source, device, operating system, and destination all support the required image representation.

For Apple users, the practical check is simple: compare the converted image in Photos on an HDR-capable display. Look at bright skies, sunlit clouds, reflections, and saturated highlights. If those areas retain their natural separation instead of becoming flat white patches, the conversion has likely maintained the intended HDR appearance.

Color is similarly dependent on the pipeline. HEIC can carry color profile information, but an image can still look wrong if a conversion tool mishandles wide-gamut color or applies a different RAW rendering engine. For photos you care about, convert a small test set first: portraits with skin tones, sunsets, deep shadows, and high-detail scenes reveal problems quickly.

Metadata Is Not the Same as Photos Organization

Metadata is the information attached to or associated with a photo. It can include capture date, camera model, lens details, location, dimensions, copyright fields, and sometimes editing-related information. A careful RAW-to-HEIC conversion should retain the metadata that remains relevant to the rendered image.

Your Photos library also contains context that is broader than embedded file metadata. Albums, favorites, captions, keywords, relationships between images, and non-destructive edits are part of how you manage your library. A typical export-import workflow can create a new file that lacks much of this context, leaving you to rebuild organization manually.

That is the real operational difference for most Apple photographers. A loose HEIC file on disk may be technically fine, yet still be inconvenient if it returns to Photos without its album placement, favorite status, caption, or other library-level details.

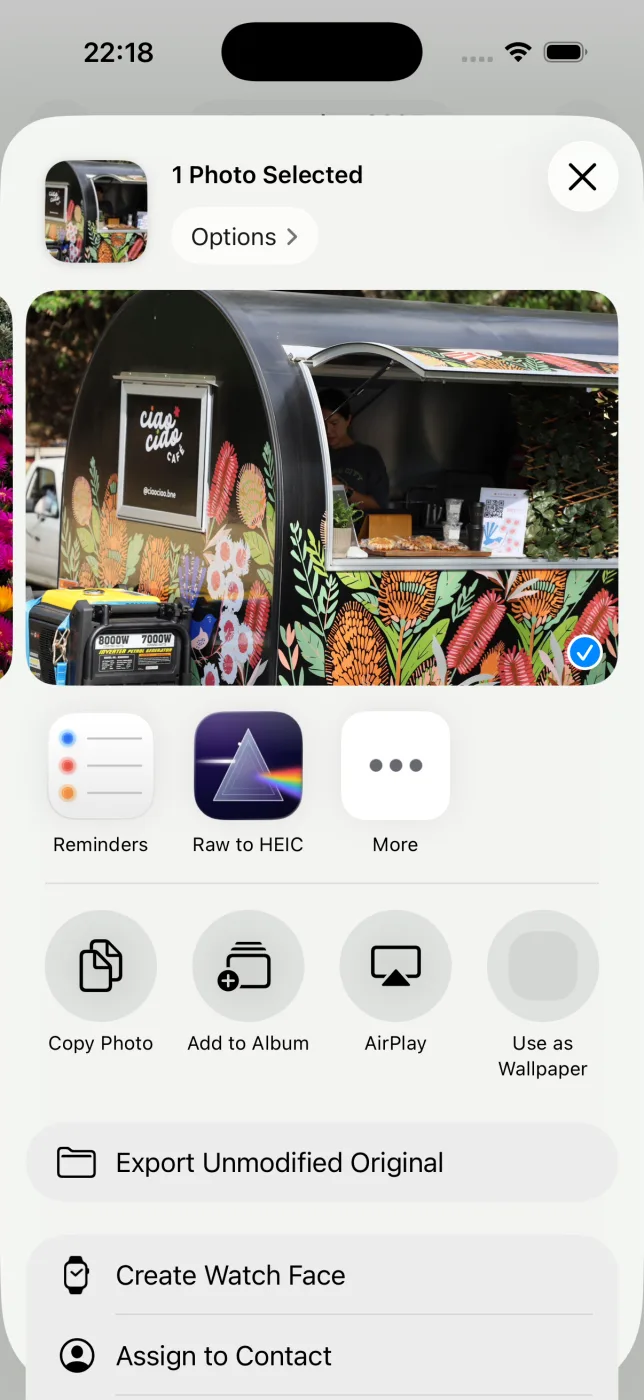
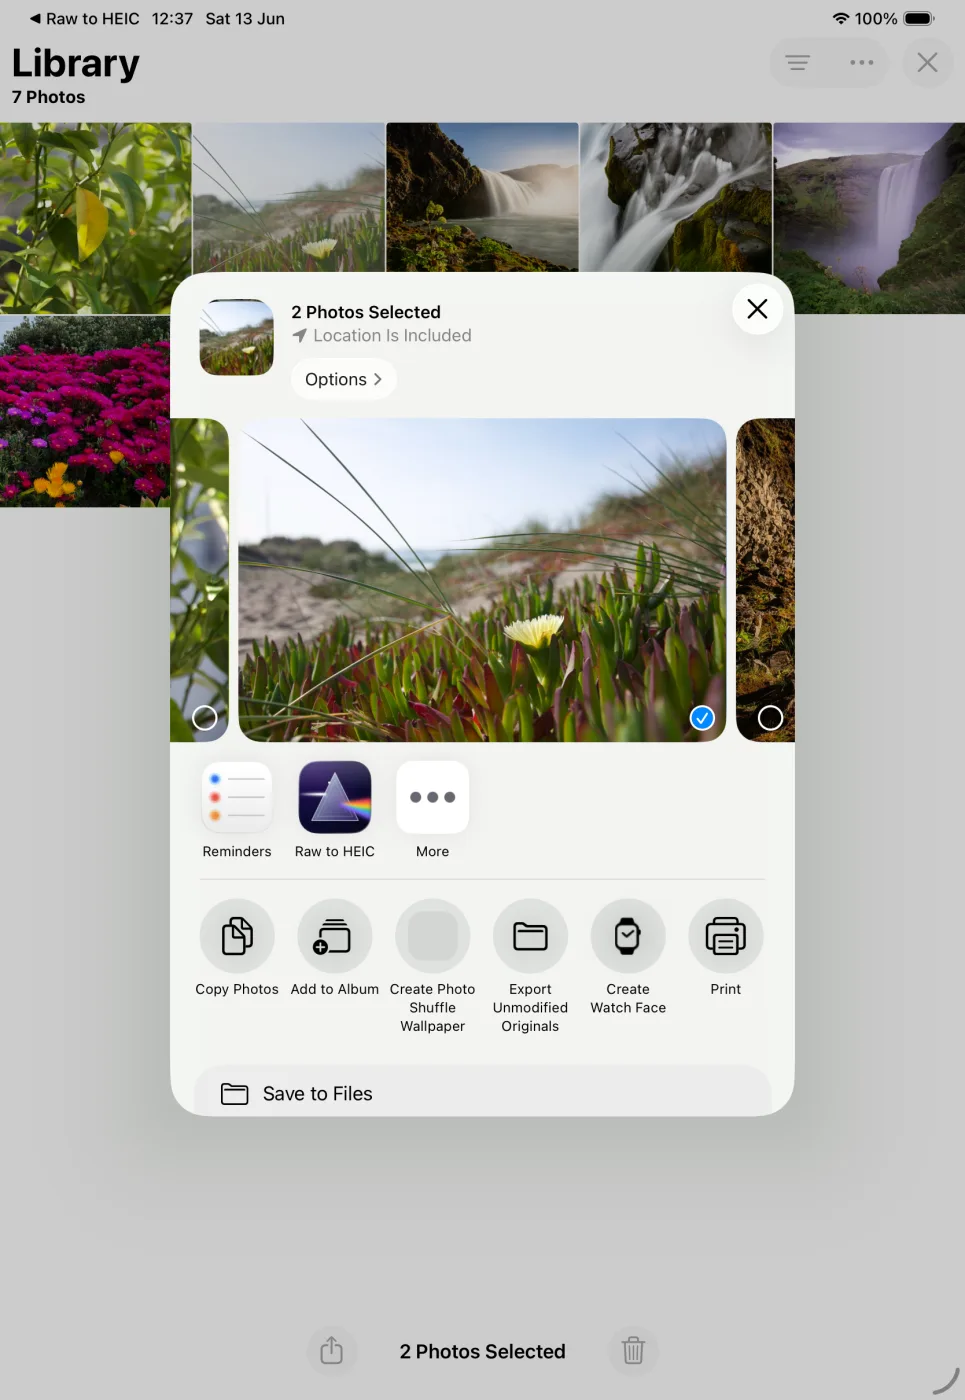
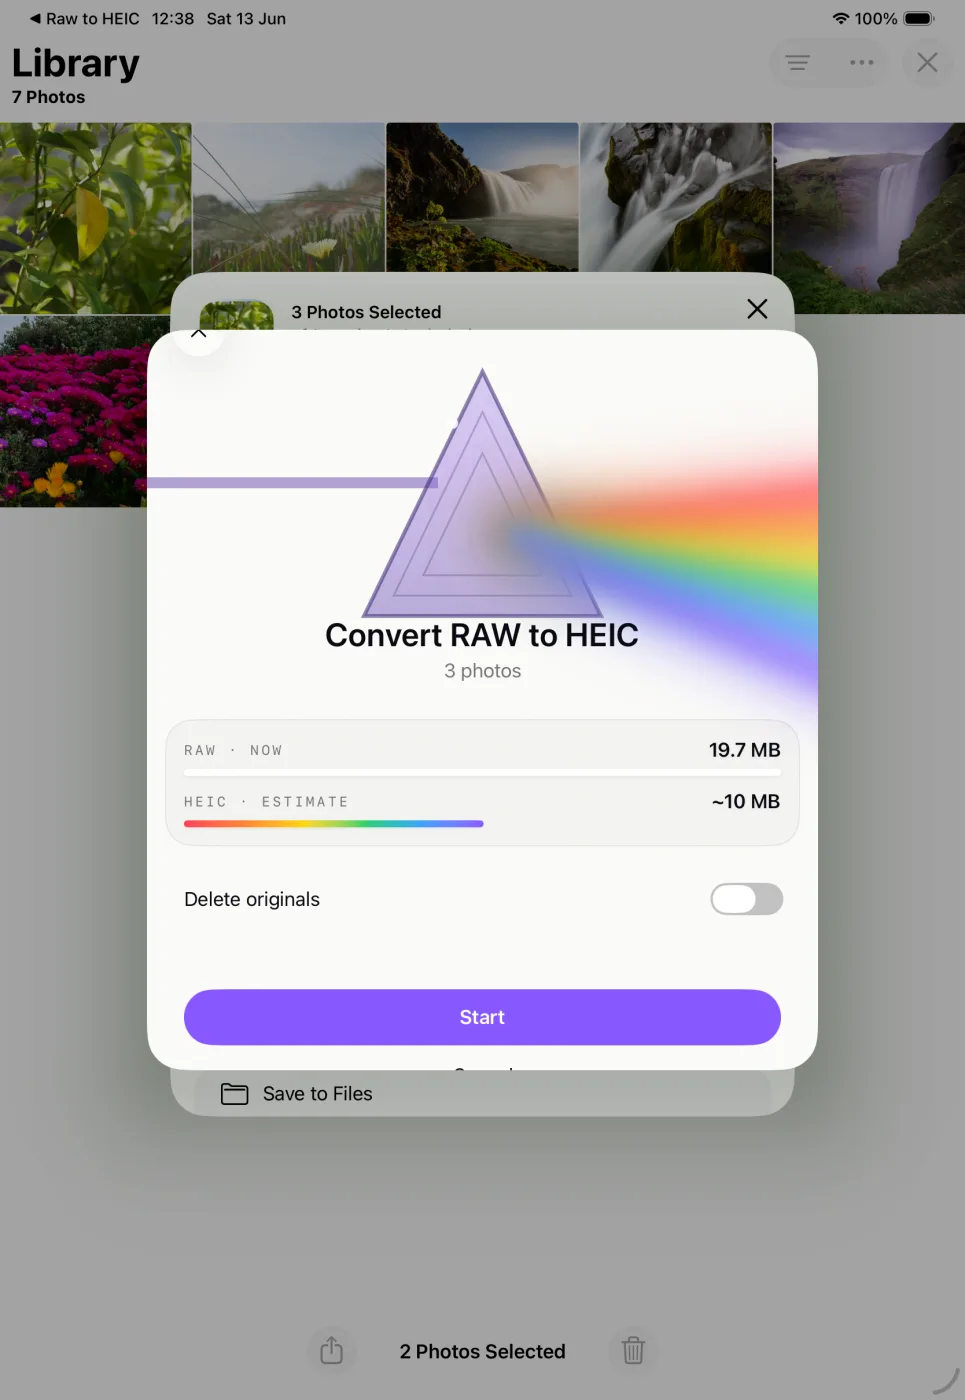
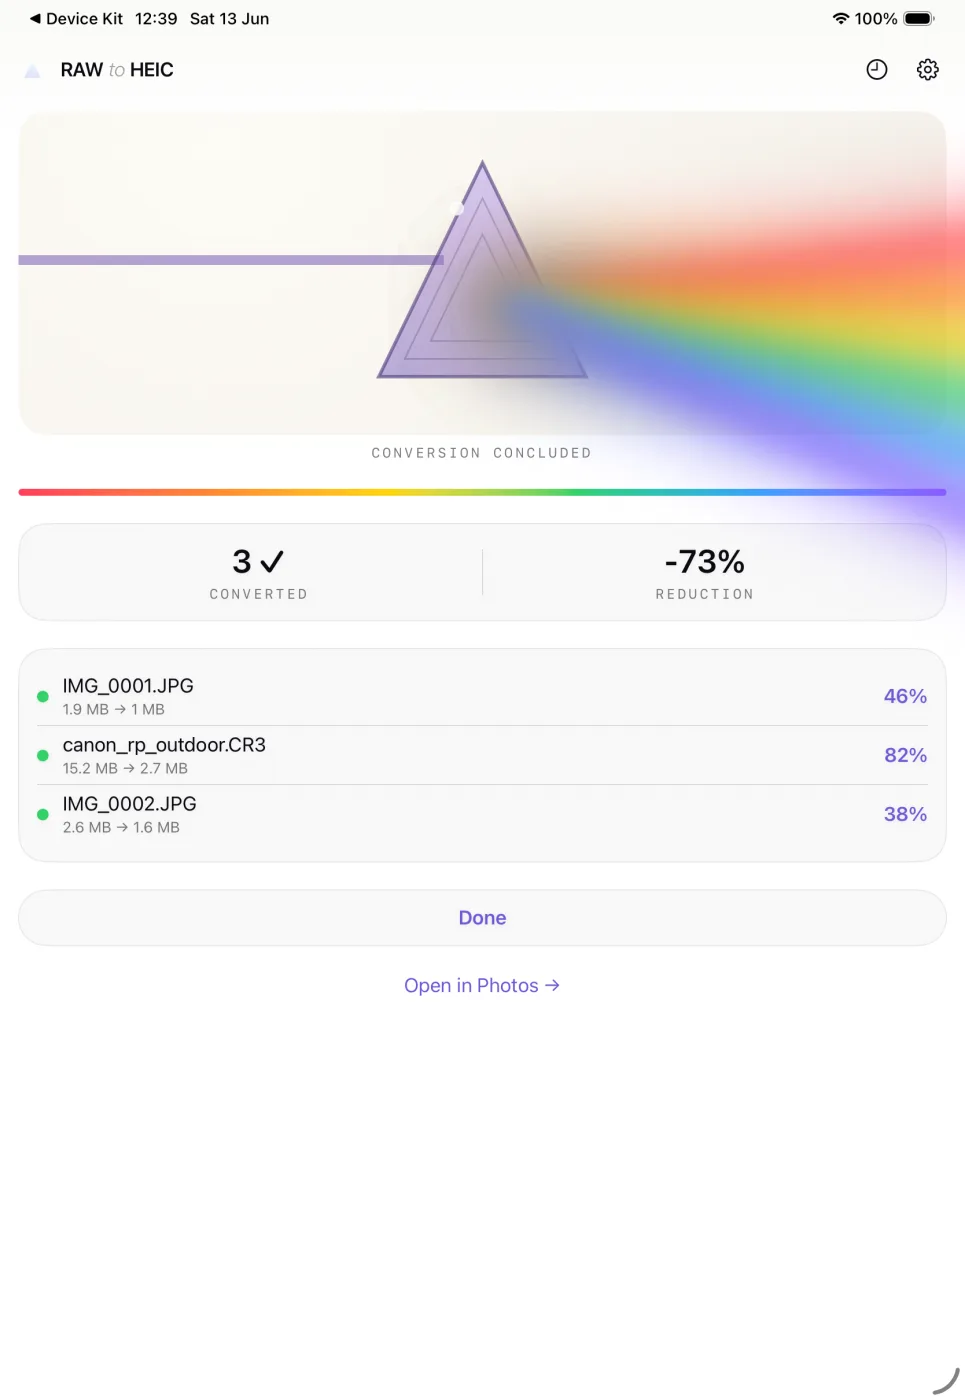
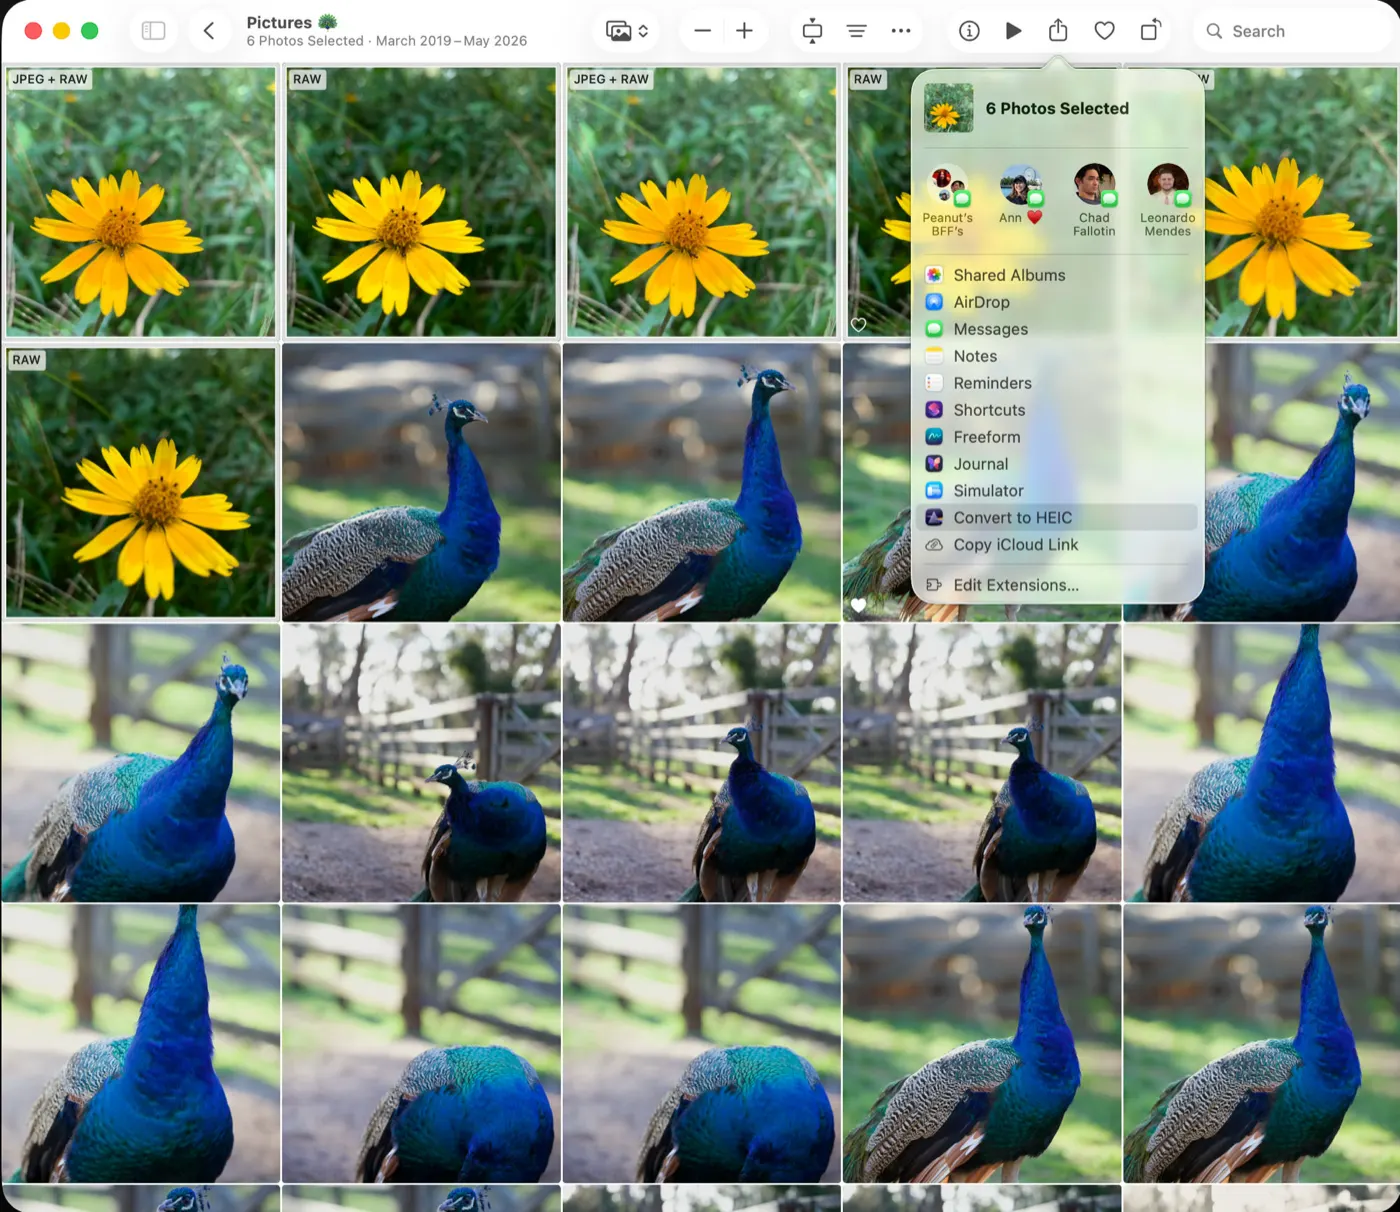
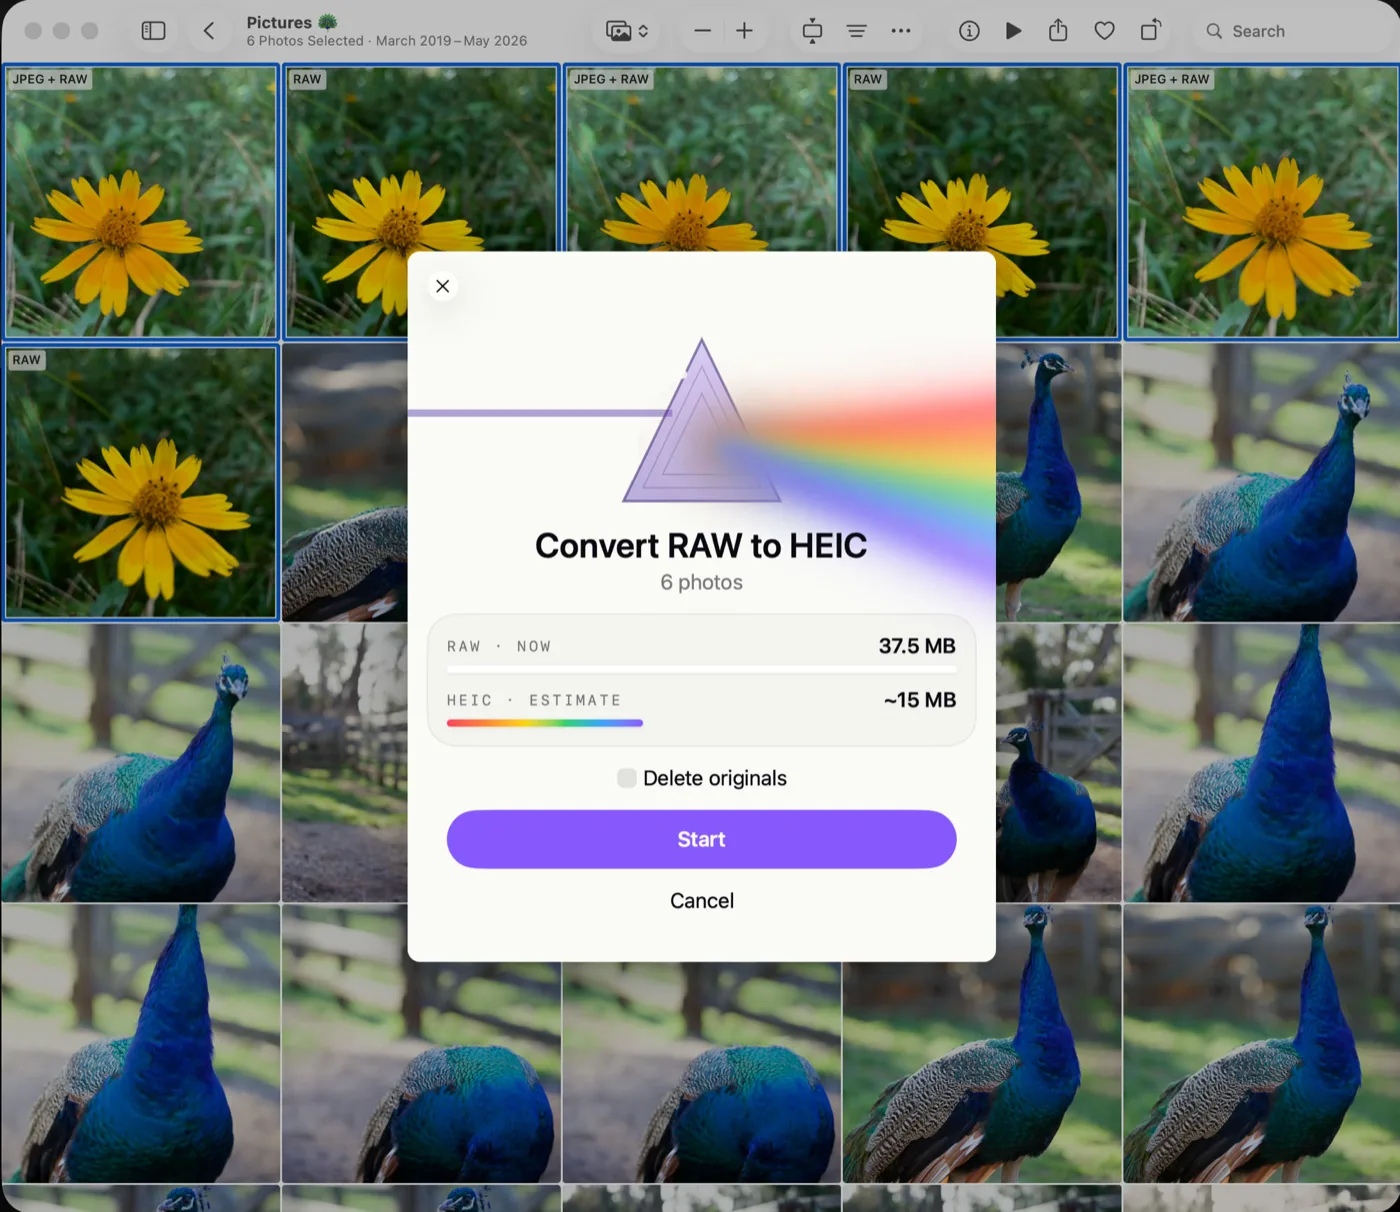
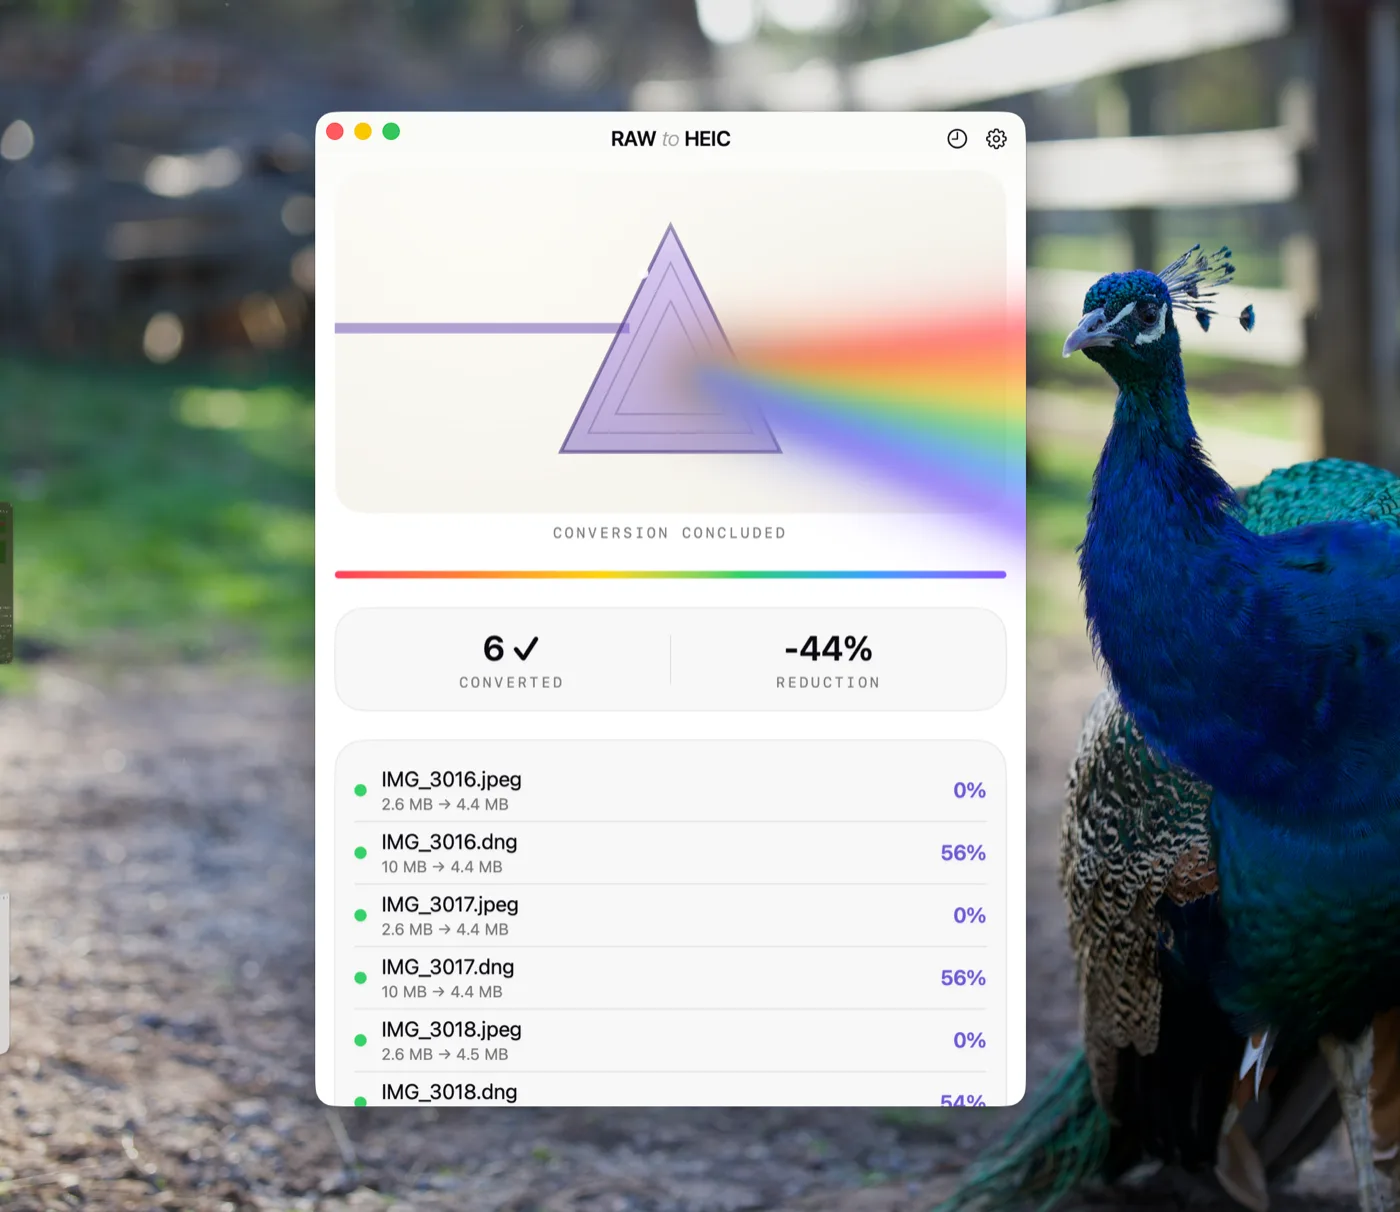
RawToHEIC is designed around that problem. It converts supported RAW photos directly in Apple Photos, keeping the work inside the library instead of pushing you through a separate export folder and reimport step. The result is a smaller, usable version of the photo without turning your library into a cleanup project.

Compatibility: When the Extension Can Matter

Within current Apple software, HEIC is a native format. Photos, Finder, Quick Look, iCloud Photos, iPhone, iPad, and Mac are built to work with it. For an Apple-centered library, it is usually the natural choice.

Outside that ecosystem, support can vary. Older computers, certain websites, legacy business systems, and some client delivery requirements may still expect JPEG. In those cases, keeping or exporting a JPEG copy for sharing can be sensible. That does not mean your library needs to store every completed image as JPEG. It means you should choose the delivery format based on where the image is going.

The same principle applies to HEIF terminology. Some apps may display “HEIF” in a menu but save a file with the .HEIC extension. Others may accept HEIC but describe their support as HEIF. Read the app’s actual output settings and test the resulting file in the destination you use. Do not assume the wording alone reveals image quality or compatibility.

A Safer Way to Decide Which RAW Files to Convert

Not every RAW image should be replaced. Keep originals for portfolio work, paid assignments, major family milestones, images you may print large, and photos you expect to revisit with new editing tools. RAW remains the better master file when future flexibility is the priority.

Conversion makes the most sense for finished images that you want available everywhere in Photos without carrying the full storage burden of the RAW file. Travel selects, already-delivered sessions, duplicate RAW captures, and completed iPhone ProRAW edits are common candidates.

Before deleting an original, confirm three things: the converted image looks correct, its important metadata and Photos context remain available, and the original has been verified for safe removal. This step is not bureaucracy. It is what turns a storage-saving workflow into a trustworthy one.

A HEIC conversion is not a compromise when the image is finished and the output is handled well. It is a practical decision: keep the photo you want to see, edit, share, and organize every day, while reserving RAW storage for the images that still need the extra room to evolve.

Shrink your RAW library, right inside Photos.

RawToHEIC converts camera RAW and iPhone ProRAW to HEIC up to 10× smaller — keeping every edit, album, favorite, and location. On-device, no account, one purchase for iPhone, iPad, and Mac.

Not sure yet? Convert a few sample photos free — no install, nothing uploaded.

Try it free — no install →

Free to start · Unlimited $19.99 once · iPhone · iPad · Mac