Skip to content

How to Convert ProRAW After Editing Safely

How to Convert ProRAW After Editing Safely

A finished 48 MP ProRAW image can still occupy roughly 75 MB after you have done the work: adjusted exposure, refined color, recovered highlights, and cropped the frame. That is useful while you are editing. It is less useful when hundreds of finished images are putting pressure on your iPhone, iPad, Mac, or iCloud Photos storage.

The right time to convert ProRAW after editing is usually when the image has reached its final look and you no longer need the full RAW latitude for everyday access. The goal is not to flatten your library into anonymous exports. It is to create a much smaller HEIC version that keeps the image where it belongs: in Photos, with its albums, favorite status, caption, location, date, and finished appearance intact.

What changes when you convert ProRAW after editing

Apple ProRAW combines RAW capture data with computational photography information from the iPhone. It gives you more room to adjust white balance, exposure, color, and detail than a standard HEIC file. That flexibility comes with a large storage cost, especially from 48 MP captures.

When you convert a completed ProRAW edit to HEIC, you are rendering the current version of the photo. The HEIC contains the visual decisions you made, rather than the original editable RAW data. In practical terms, your exposure correction, crop, filters, and color work become the new baseline.

That is the trade-off. A HEIC is far smaller and still excellent for viewing, sharing, printing at common sizes, and keeping in a long-term Photos library. But it will not offer the same depth of recovery if you later decide to make a radically different edit. A blown highlight or extreme white balance decision is easier to revisit from ProRAW than from a rendered HEIC.

For many photos, that is a sensible exchange. Keep ProRAW for the frames you may revisit professionally, the images with difficult lighting, or the files you expect to print large. Convert the finished photos that you want available everywhere without carrying the storage weight of a digital negative.

Why exporting is not the same as converting in Photos

The usual workaround is to share or export a photo, choose a format, then import the result back into Photos. It works, but it creates a loose-file workflow that is easy to regret.

An exported copy may land outside the original album structure. You may have to find it again, import it, add it to albums, restore a caption, and decide which duplicate to delete. Depending on the export path, metadata and the exact edit state can also require extra attention. Multiply that process by a few hundred images and the storage cleanup becomes a library-management project.

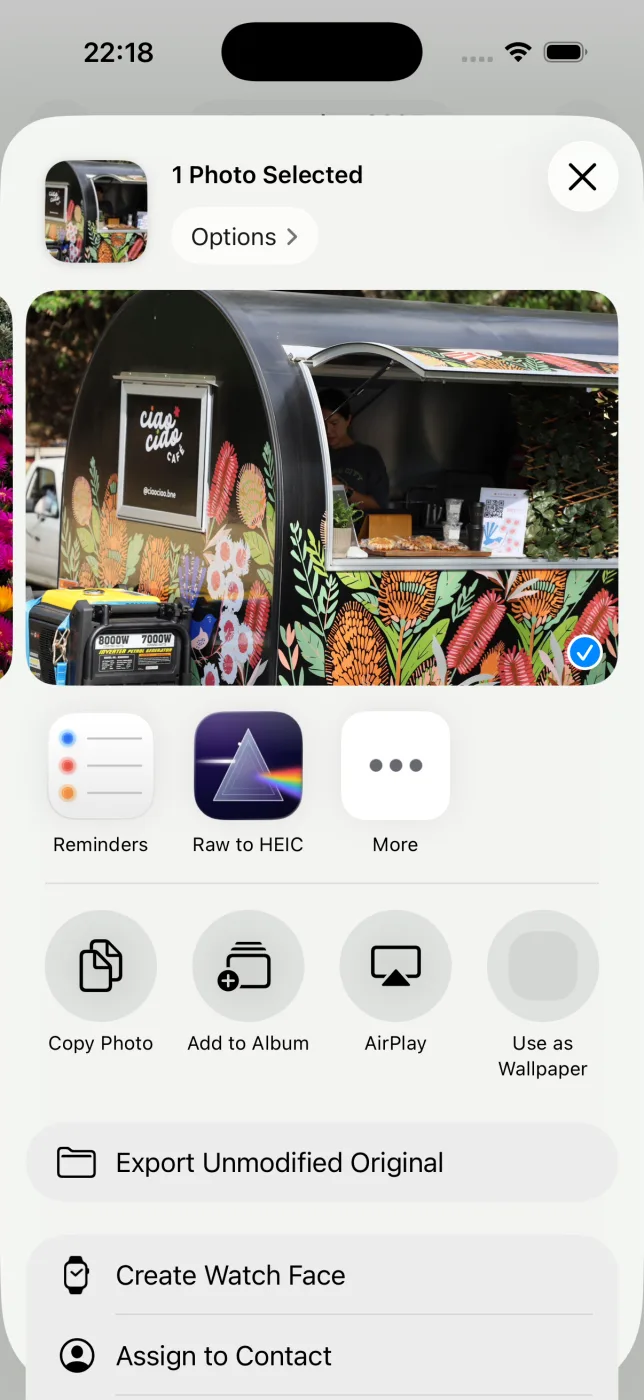
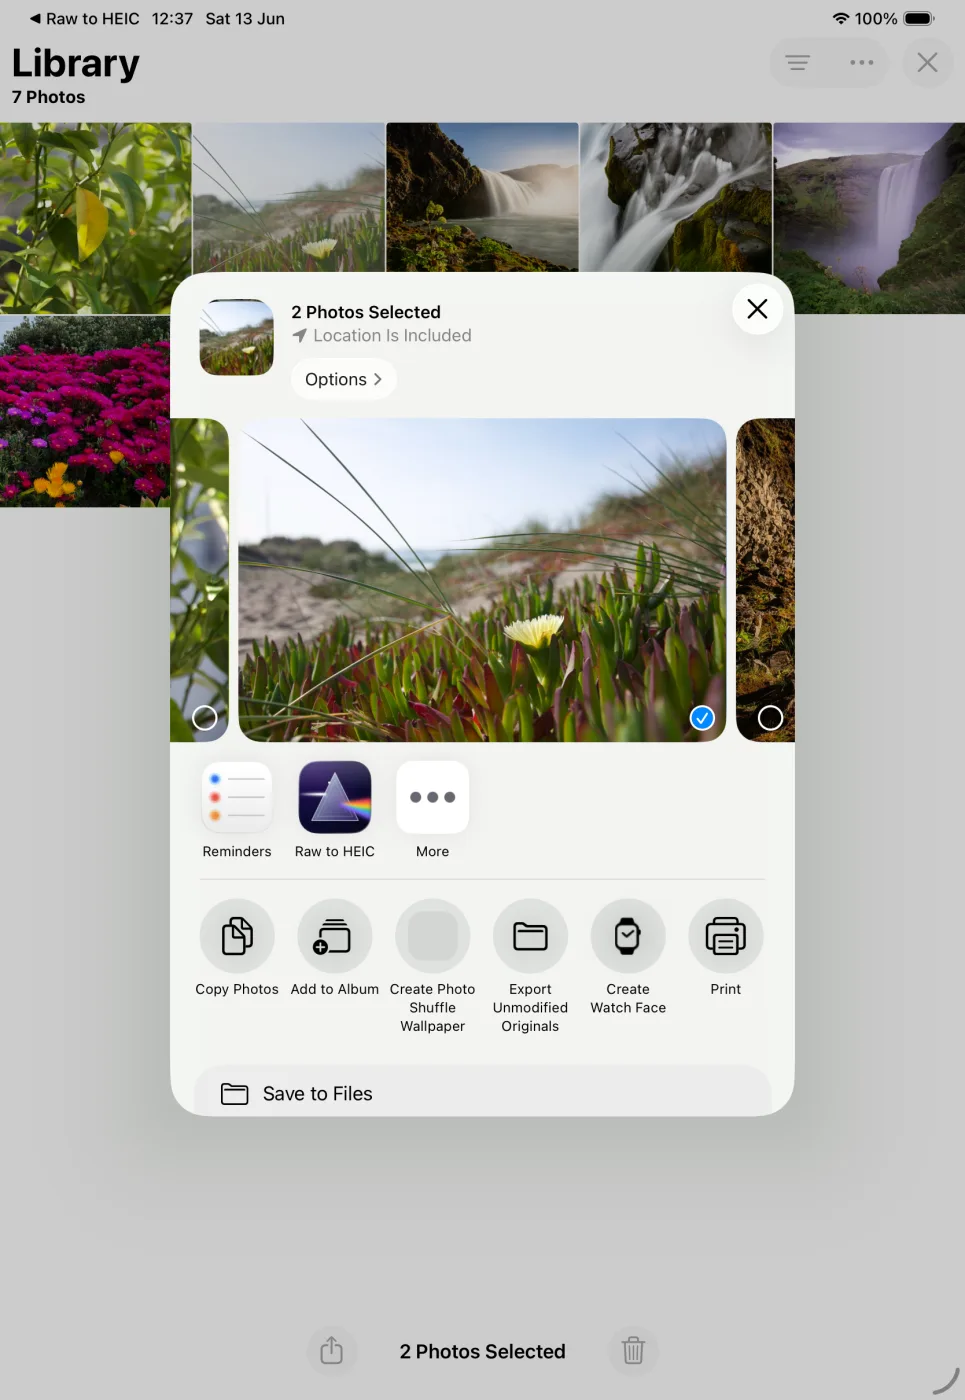
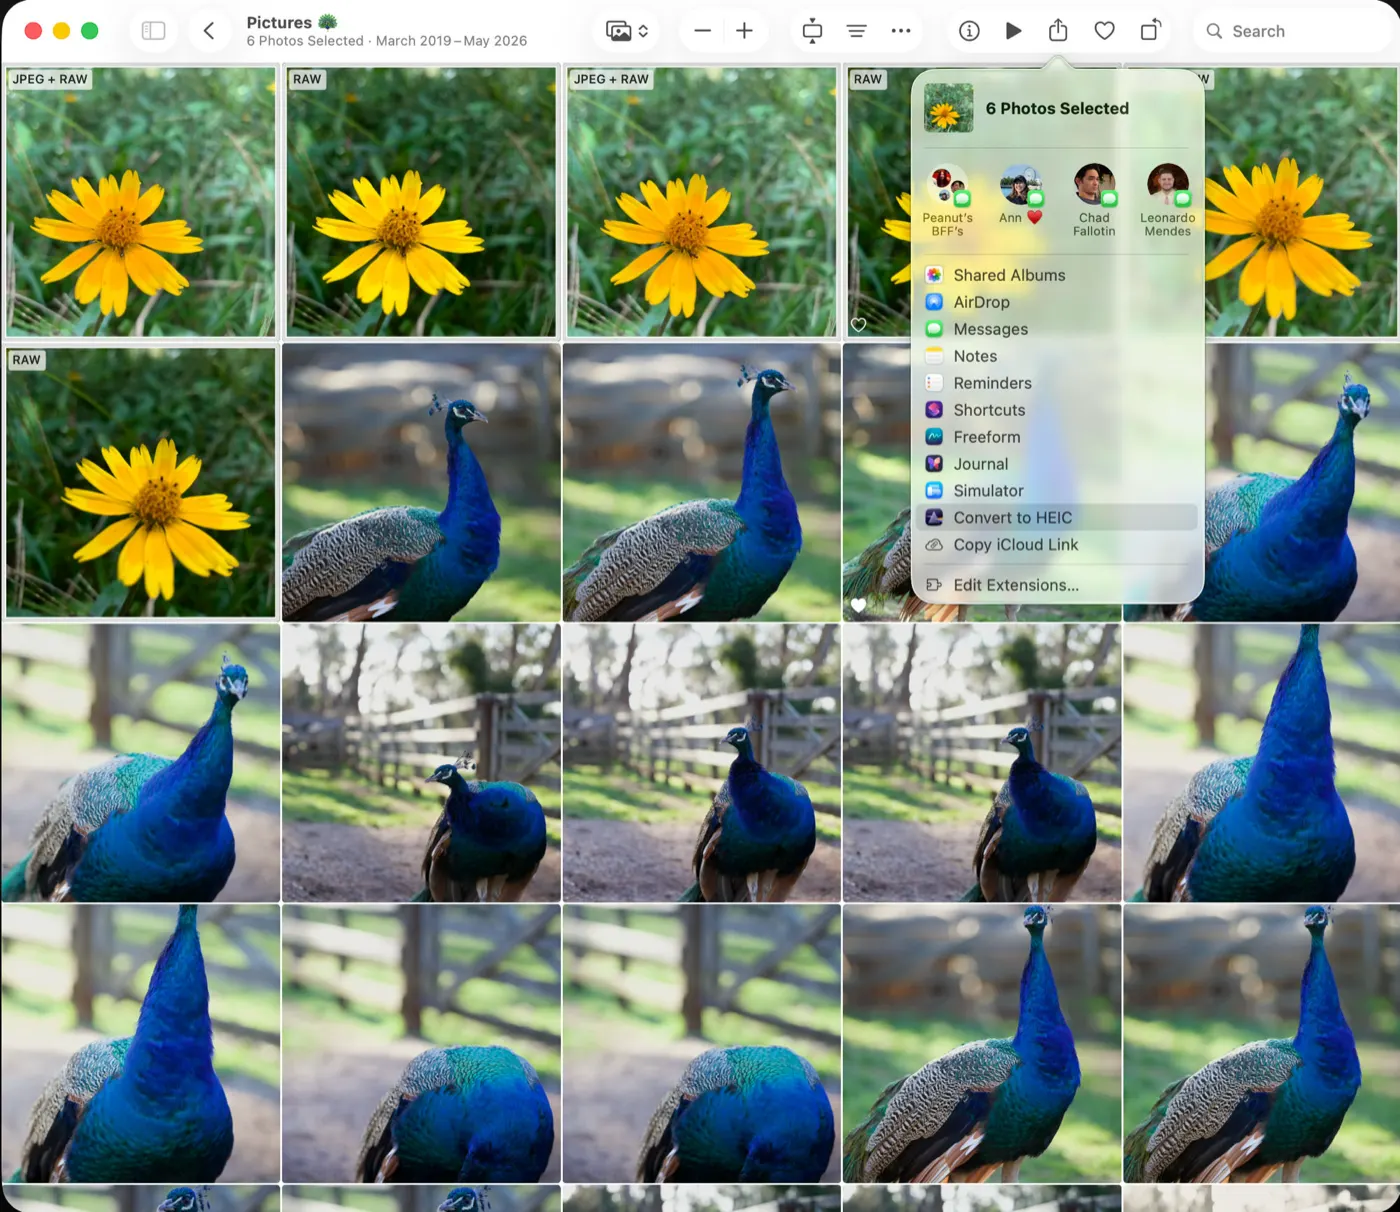
A Photos-native conversion workflow is different. It creates the smaller HEIC inside the library where you already organize your photography. The converted image can retain the context that makes a Photos library useful: dates, locations, captions, favorites, albums, and your selected finished edit. There is no folder to manage and no desktop handoff just to make a space-saving copy.

That distinction matters most for photographers who use Apple Photos as their actual library, not simply a temporary camera roll.

Decide whether to keep the ProRAW original

Before converting, decide whether the ProRAW file is an archive master or an unnecessary duplicate. There is no universal answer.

Keep the original when the scene is hard to reproduce, the image is a client candidate, the light was challenging, or you may need a different crop or edit later. Family milestones, travel photographs, portfolio work, and images intended for large prints often deserve that extra margin.

Delete the original only after you have verified the HEIC result and confirmed that it carries the finished look and library context you need. This is where safety checks matter. A conversion app should never treat deletion as an automatic afterthought. It should make it clear which source files are selected, verify that a converted asset exists, and let you review the result before removing the larger original.

If you are undecided, keep both temporarily. The HEIC gives you immediate day-to-day storage relief and easier access across devices, while the ProRAW remains available until you are confident it is no longer needed.

A practical workflow for finished ProRAW photos

Start by editing in Photos as you normally would. Make your crop, tonal corrections, color choices, and any other adjustments before conversion. Converting first and editing later defeats the purpose of preserving your finished RAW edit in the compact file.

Next, select a small test group rather than your whole library. Choose five to ten photos that include the situations you shoot most: daylight, indoor scenes, portraits, night shots, and images with strong highlight or shadow edits. Convert them to HEIC and inspect them on the device you use most.

Check the details that matter in your own workflow. Open the converted image, zoom into important areas, verify the crop and color, and confirm that it remains in the expected albums. Look at the caption, date, location, and favorite status if you rely on them. If you photograph in HDR, check the image on a compatible Apple display to make sure the result matches your expectations.

Once you trust the result, convert in manageable batches. This reduces the chance of selecting a photo you meant to retain as ProRAW and makes review much easier. It also gives iCloud Photos time to sync the new assets before you decide to remove originals.

Finally, delete source ProRAW files only through a workflow with a clear verification step. The storage savings are meaningful, but the point is controlled cleanup, not fast cleanup.

HEIC quality, HDR, and the limits of a rendered file

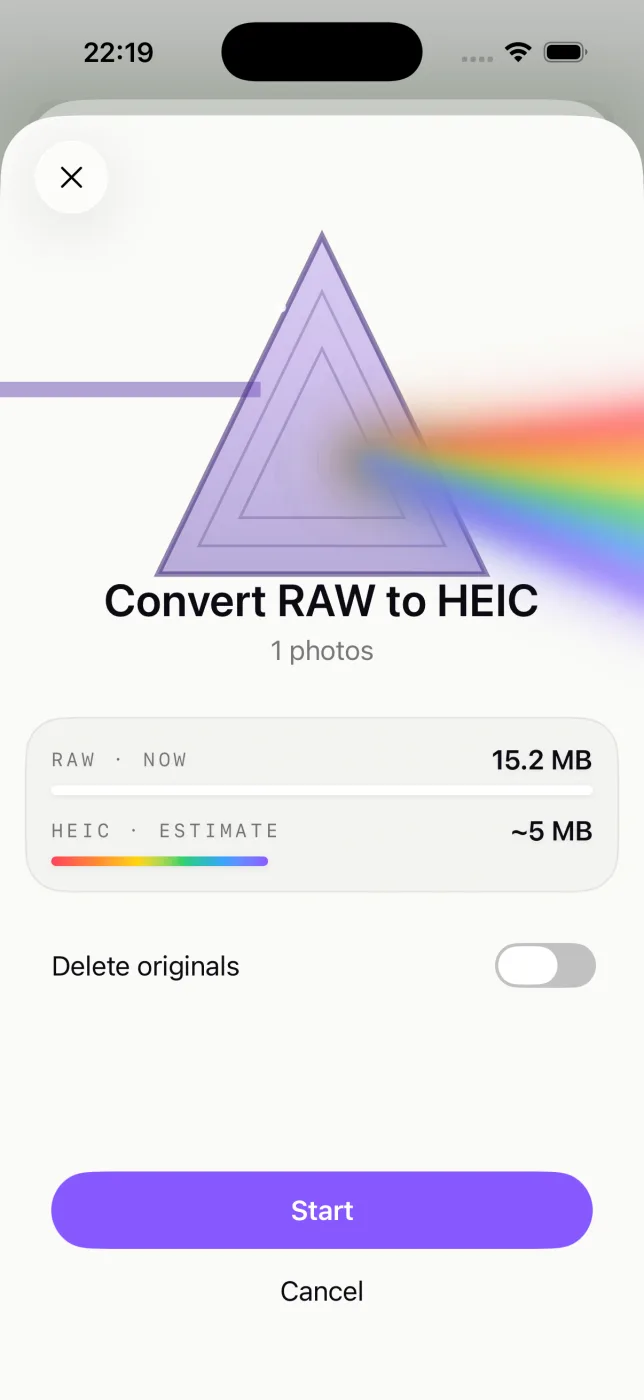
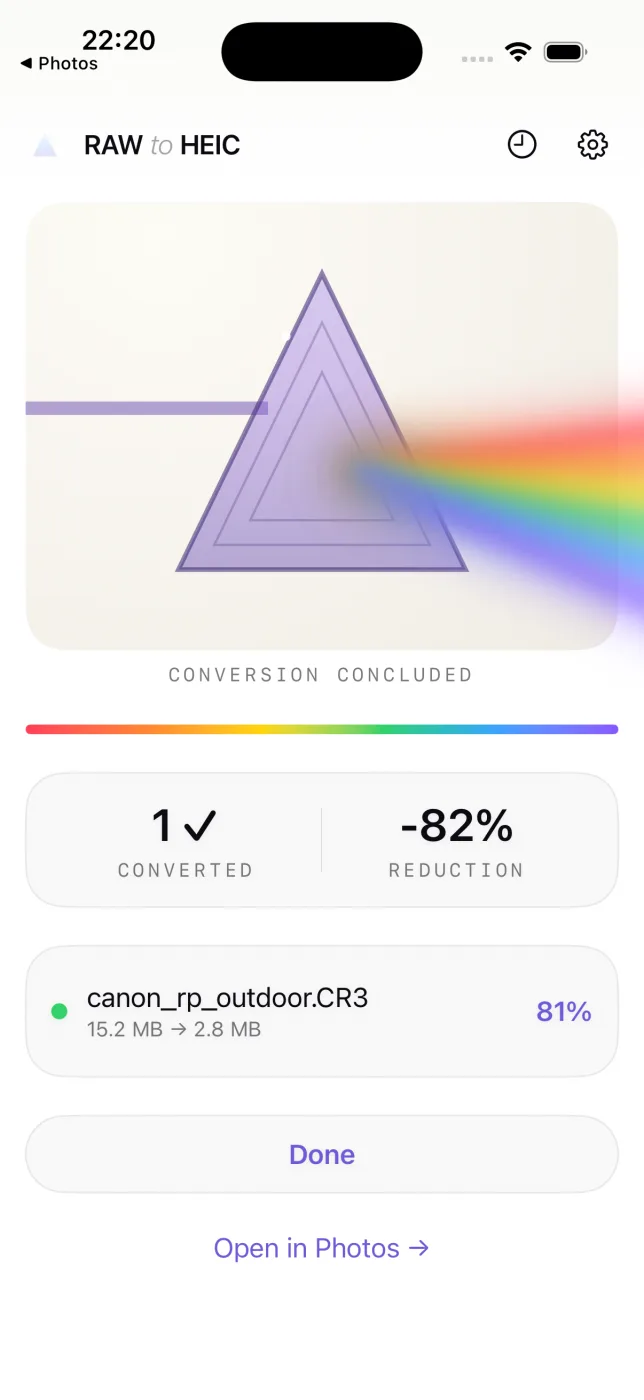
HEIC is not a low-quality thumbnail format. It is Apple’s efficient image format, designed to deliver strong visual quality in much less space than a ProRAW original. Depending on the image and camera settings, a finished HEIC can be up to 10x smaller than the source RAW file.

Still, quality is not a single number. A detailed landscape with fine foliage, a low-light image with visible noise, and a heavily edited night scene may benefit from closer inspection than a straightforward daylight portrait. Your own eyes and output requirements should set the threshold.

HDR adds another consideration. If you capture and edit HDR photos, choose a conversion method that preserves HDR where supported, then review the result on an HDR-capable Apple device. Sending the image through an older or non-HDR-aware export path can change how bright highlights and color appear.

HEIC also makes the most sense inside the Apple ecosystem. It works naturally across current iPhone, iPad, and Mac devices. If your regular delivery workflow requires JPEGs for a client portal, a legacy application, or a recipient using older software, keep that requirement separate from your library strategy. Archive in HEIC for efficient Apple Photos storage, then create a JPEG only when a specific destination needs one.

The cleanest option for Apple Photos libraries

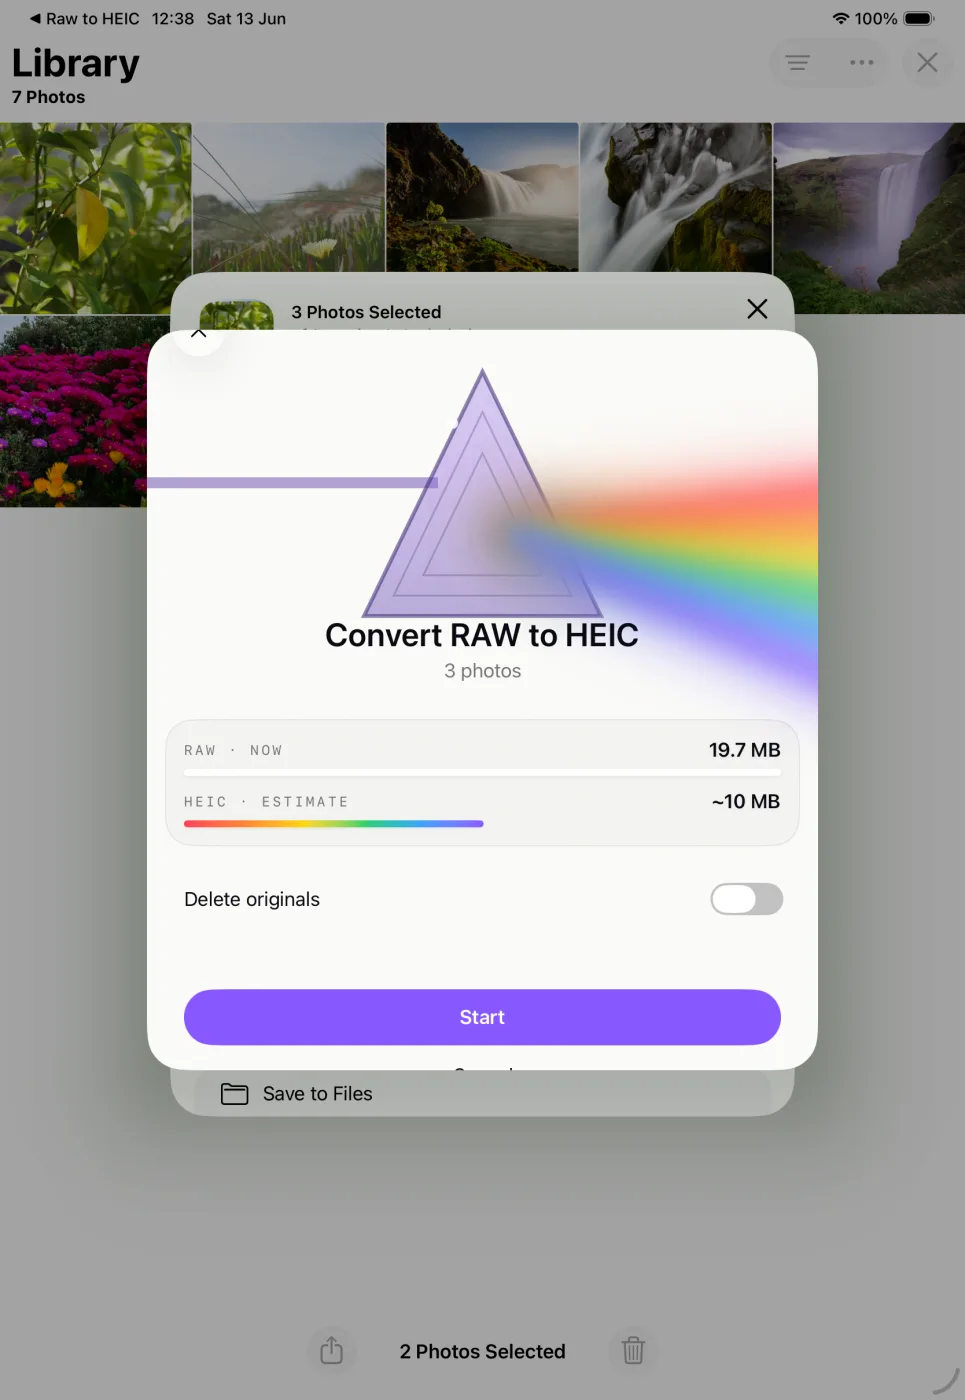
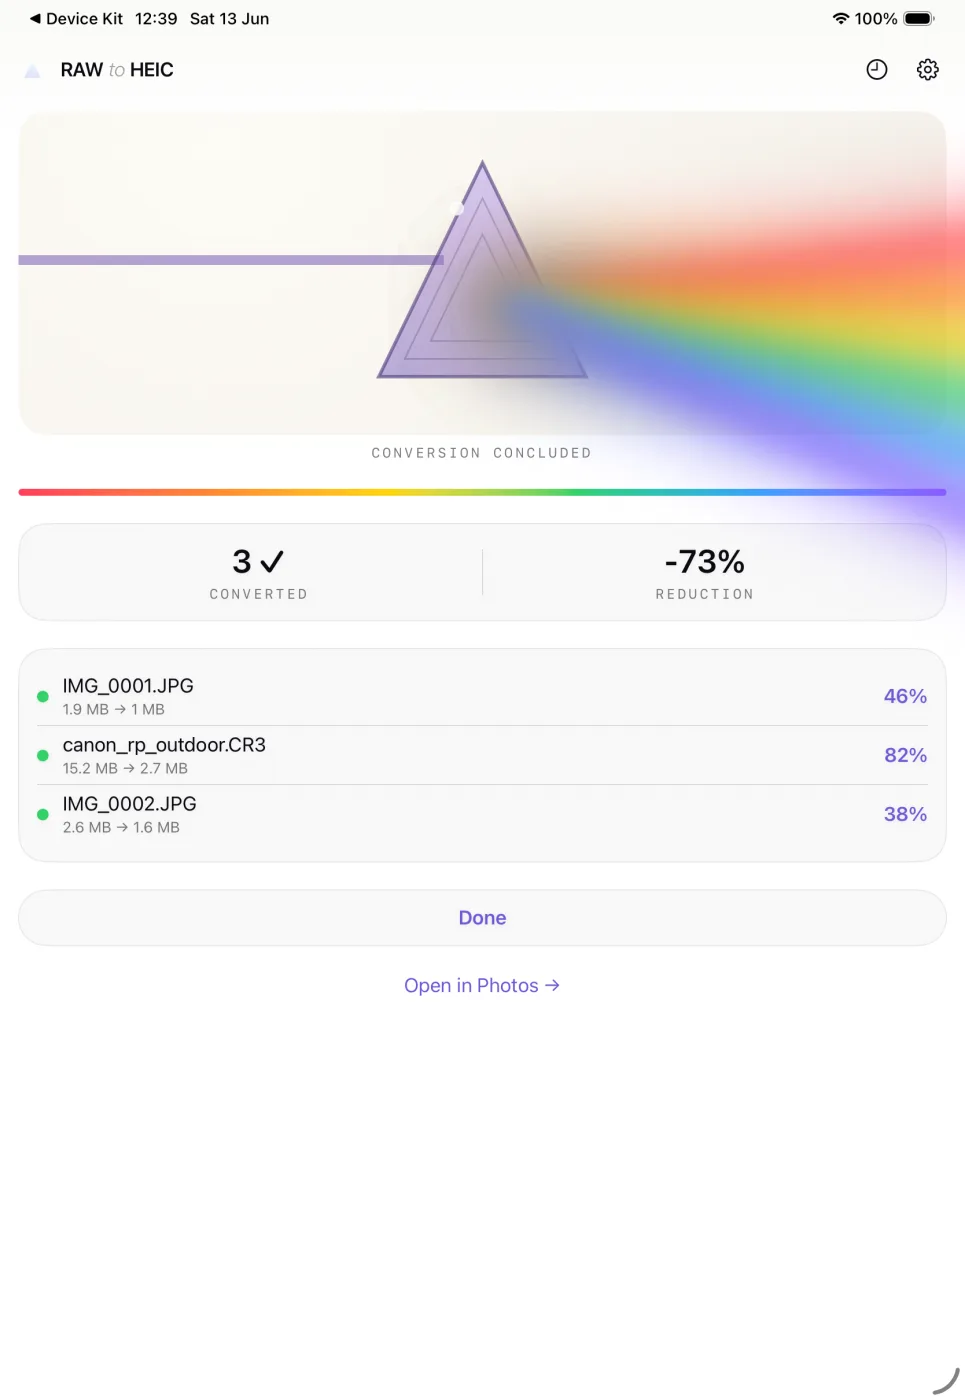
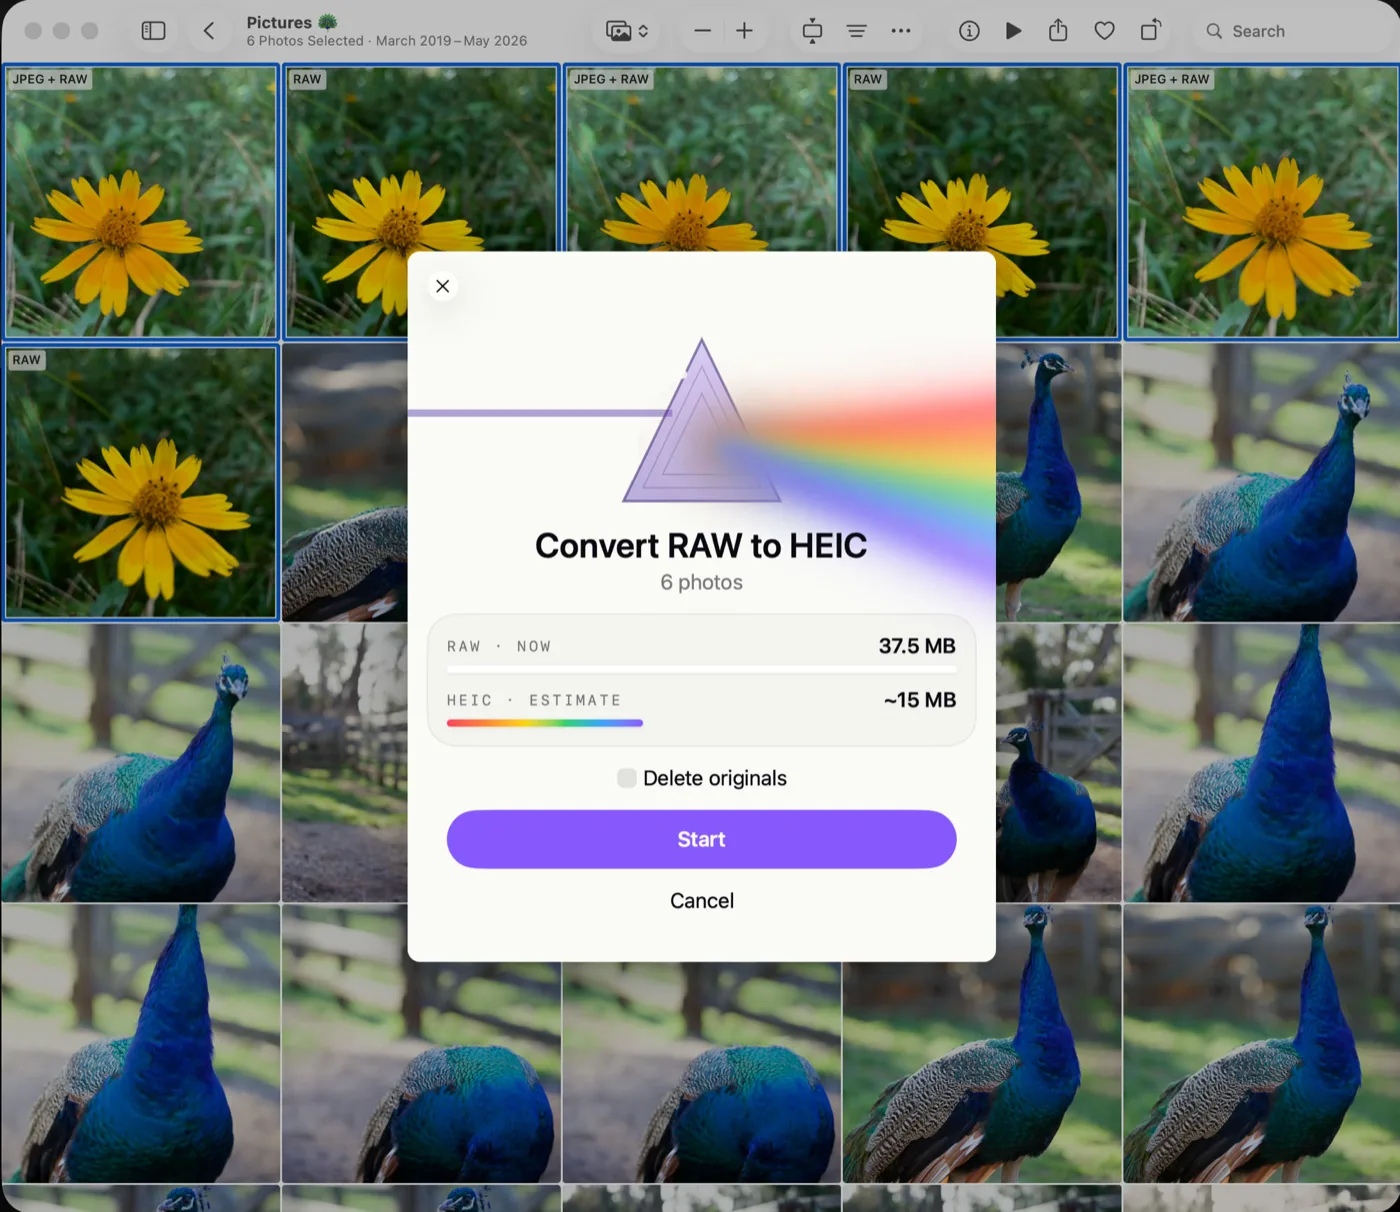
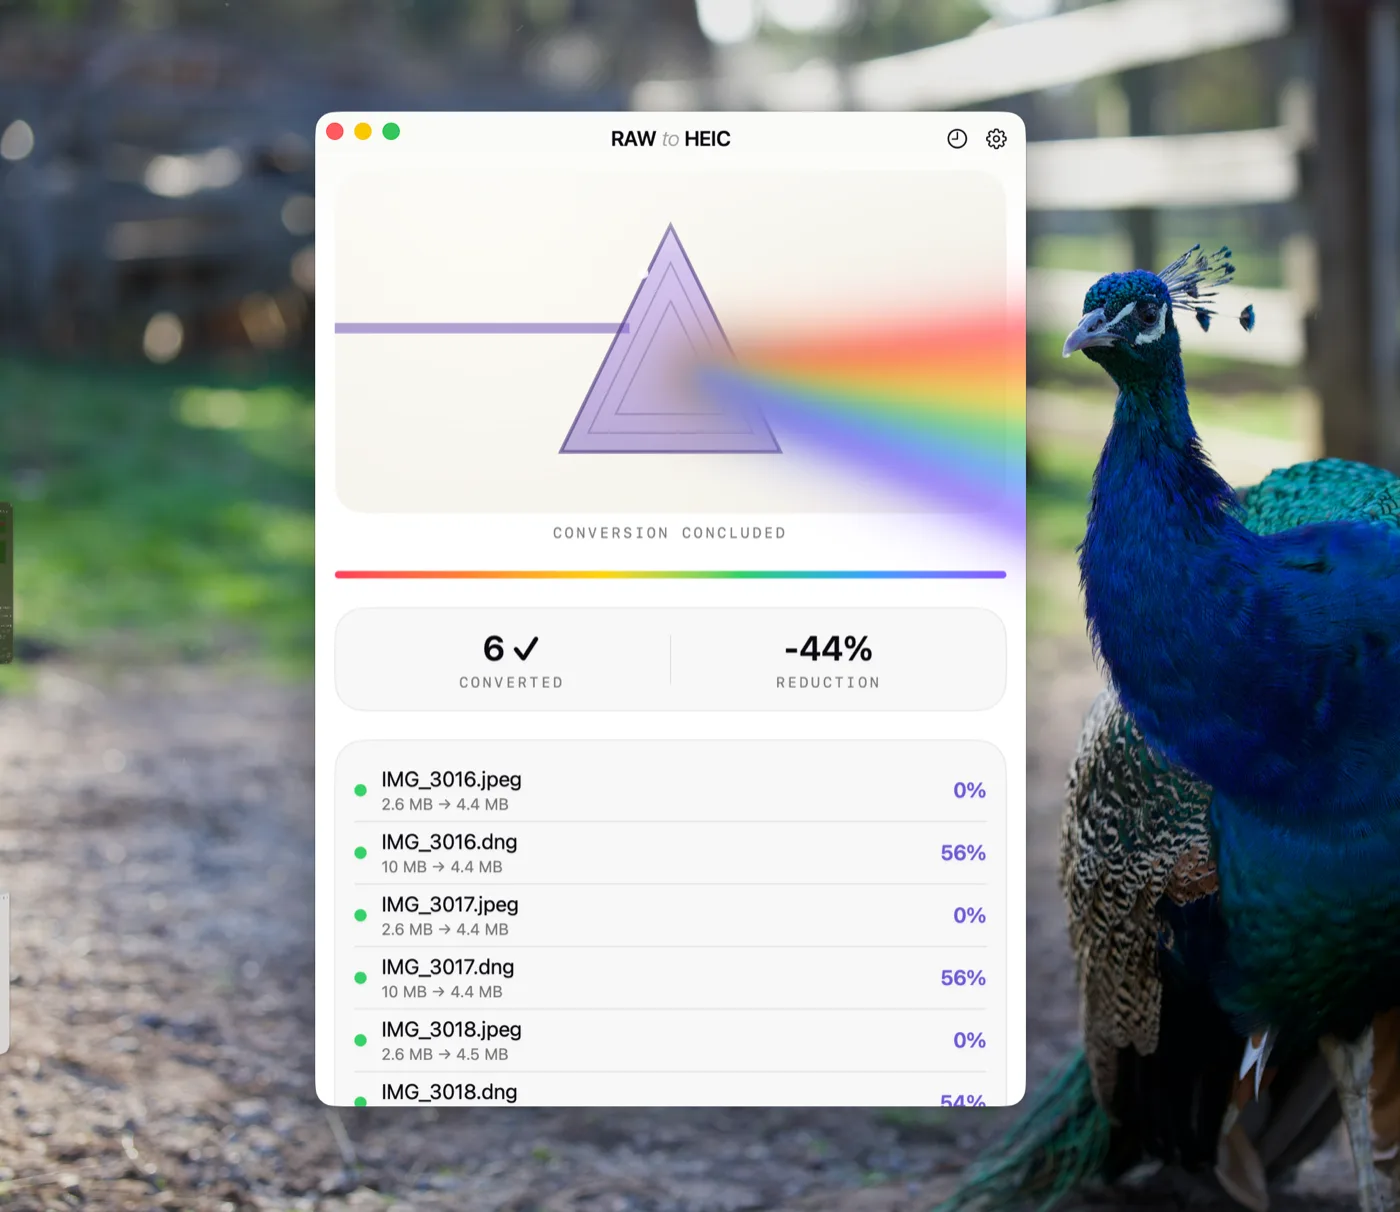
RawToHEIC is built for this exact point in the workflow: the edit is finished, the ProRAW file is large, and you want a smaller HEIC without breaking the structure of your Photos library. It works on-device, with no account, no analytics collection, and no subscription.

Instead of exporting, importing, and rebuilding your organization, you convert directly in Photos. The resulting HEIC stays connected to the way you use your library, while verified deletion safeguards help prevent premature removal of the original. The same approach applies to iPhone ProRAW and major camera RAW formats from Canon, Sony, Nikon, Fujifilm, Olympus, Panasonic, and others supported by Apple’s RAW system.

The value is not only the smaller file. It is avoiding the administrative work that usually comes with smaller files.

A finished photo should not become a storage problem

ProRAW earns its size while you are making creative decisions. After that, it should be a choice, not a permanent penalty. Convert the images whose final look you trust, preserve originals where future flexibility has real value, and keep every step inside the Photos library you already know.

That approach gives your finished photographs room to stay accessible, organized, and ready to enjoy – without asking your storage plan to carry every editable negative forever.

Shrink your RAW library, right inside Photos.

RawToHEIC converts camera RAW and iPhone ProRAW to HEIC up to 10× smaller — keeping every edit, album, favorite, and location. On-device, no account, one purchase for iPhone, iPad, and Mac.

Not sure yet? Convert a few sample photos free — no install, nothing uploaded.

Try it free — no install →

Free to start · Unlimited $19.99 once · iPhone · iPad · Mac