Move RAW Library Into HEIC in Apple Photos

A RAW library can quietly become the largest thing you own. A few years of mirrorless camera imports, iPhone ProRAW captures, and edited favorites can consume hundreds of gigabytes – often long after the editing work is finished. The practical answer is to move RAW library into HEIC inside Apple Photos, without turning a well-organized library into a folder of loose exports.
HEIC is not the right destination for every original. It is, however, an excellent format for finished images you want to keep accessible, view beautifully across Apple devices, and store at a fraction of the size. The difference is not just storage. It is whether your library stays a library.
Why move a RAW library into HEIC?
RAW files preserve far more image data than a typical finished photo needs. That latitude is valuable while you are correcting exposure, recovering highlights, adjusting white balance, or making a print. Once an image is edited and approved, keeping only a large RAW file for everyday viewing may be an expensive use of device and cloud storage.
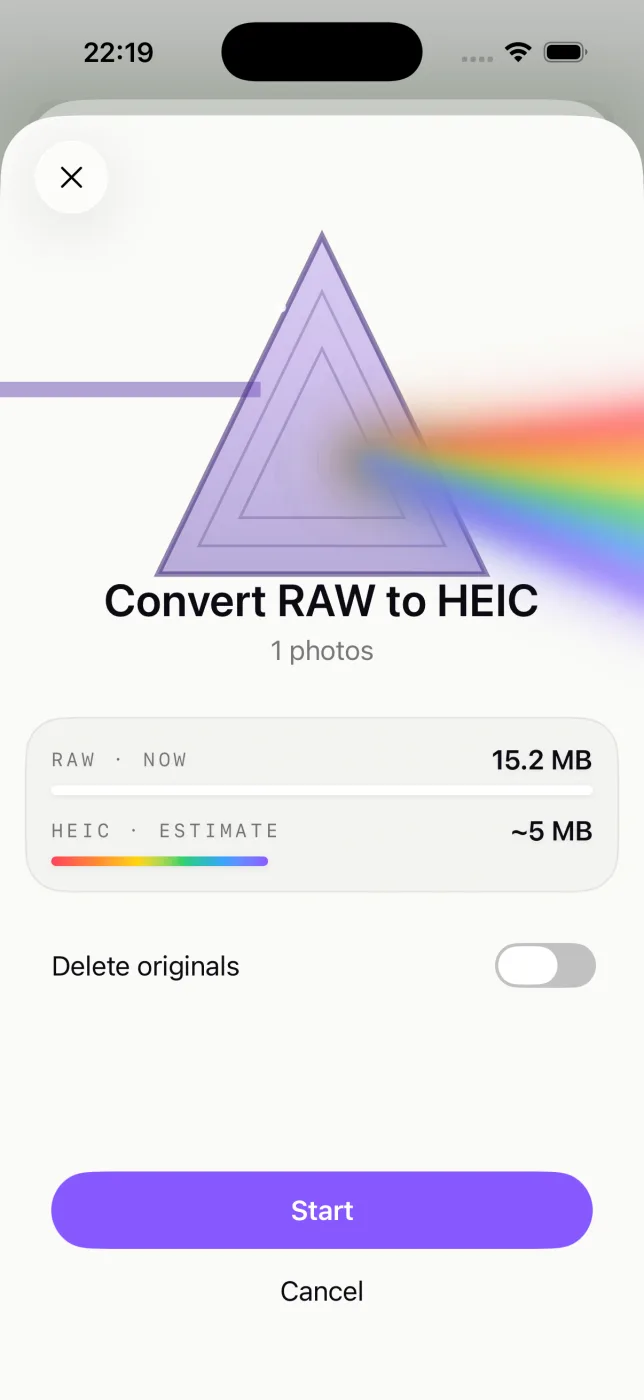
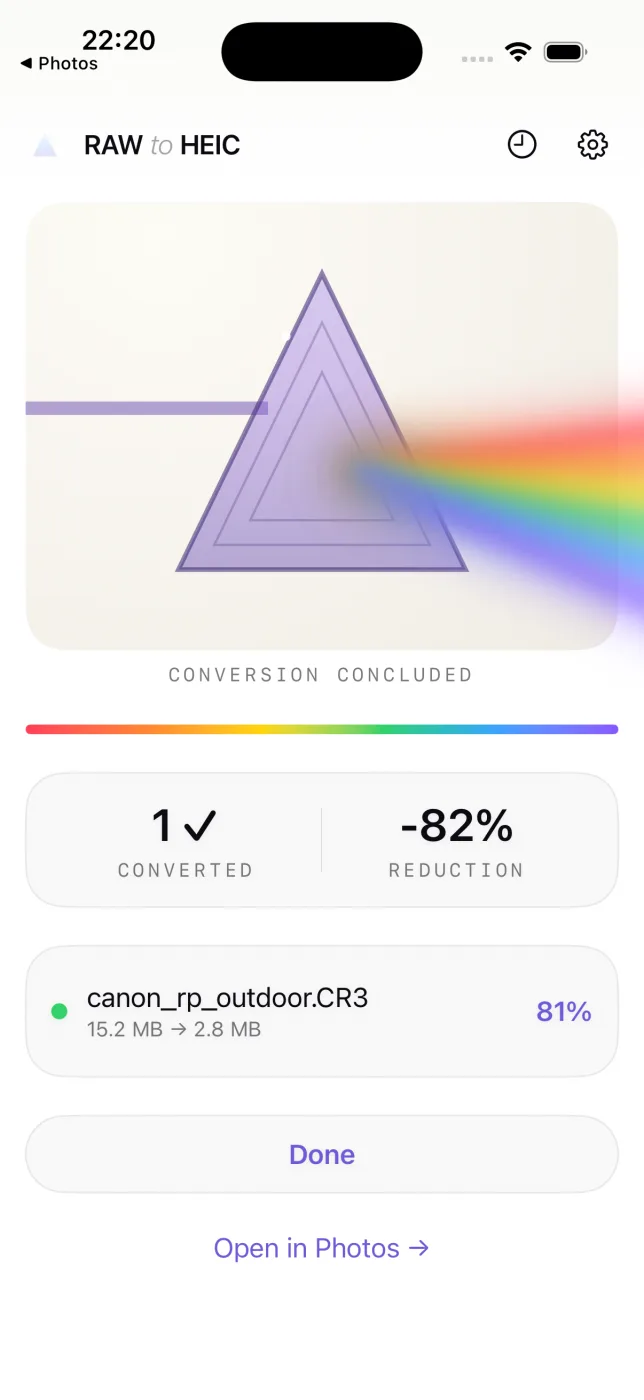
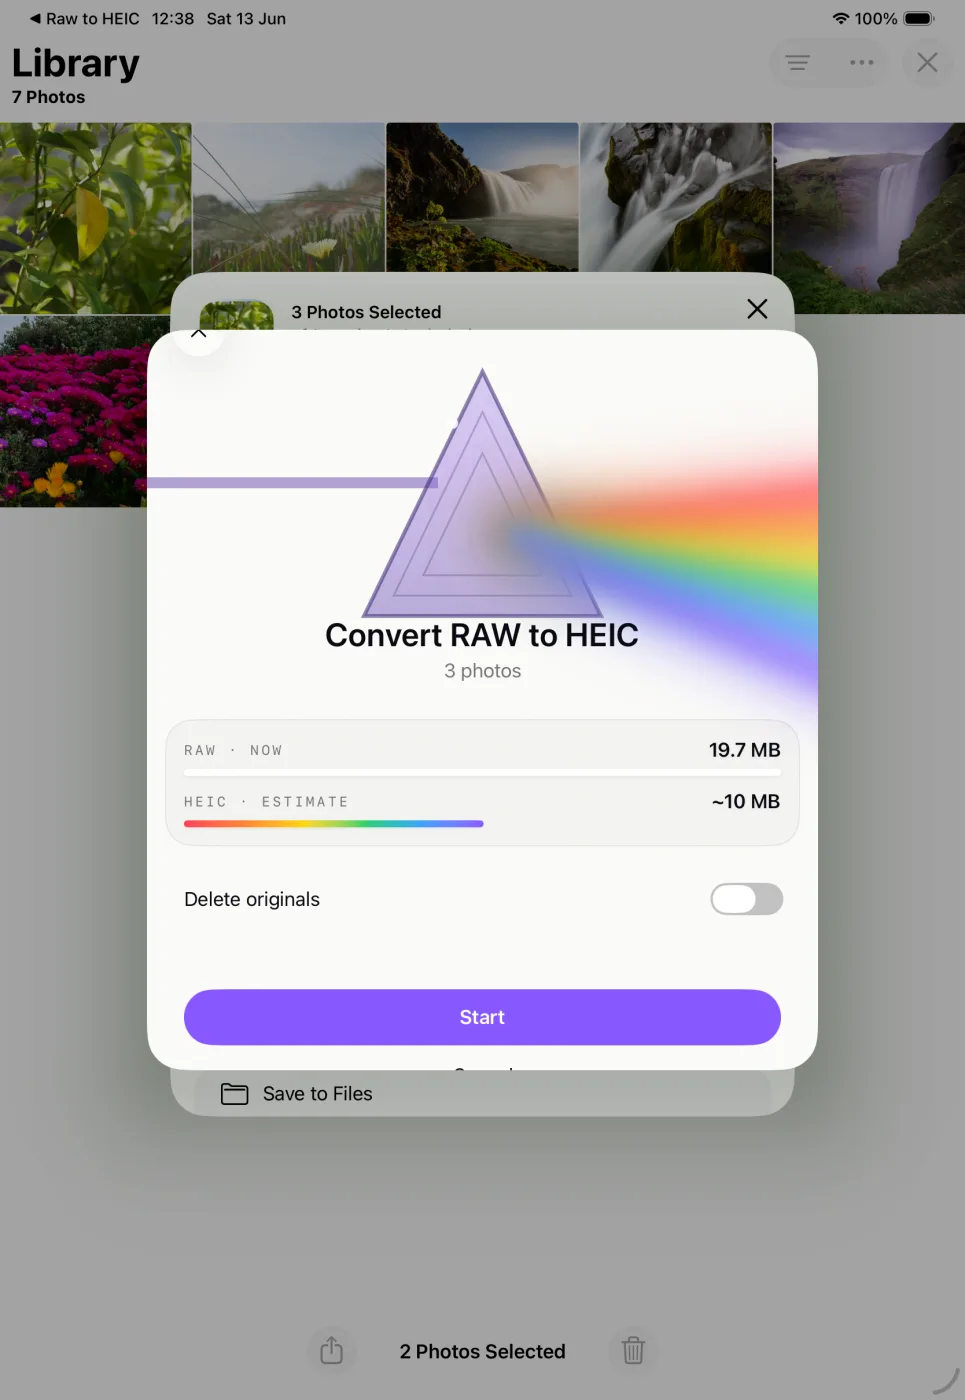
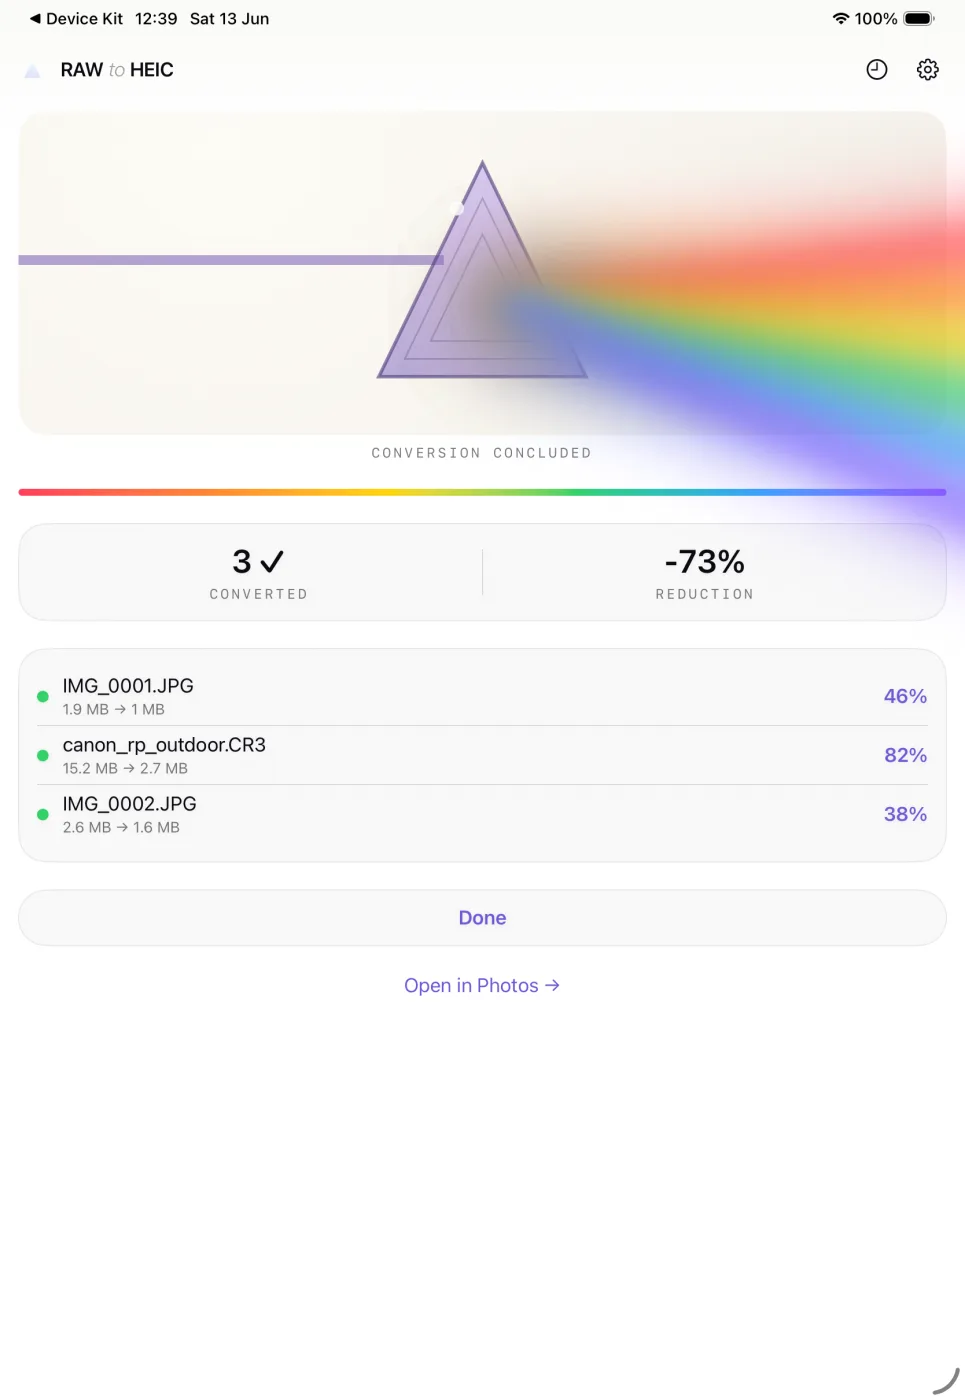
HEIC uses modern, high-efficiency compression and is deeply integrated into Apple Photos. For many completed photos, it can reduce storage use by up to 10x compared with the original RAW file while retaining excellent visual quality. It also supports wide color and HDR workflows where available, so the result is not a step back to an old, low-quality JPEG archive.
That said, conversion is a decision about your workflow, not a rule that every photo should follow. Keep RAW originals for images you may revisit for extensive re-editing, large prints, client delivery, or portfolio work. Convert the keepers that are already finished: family photos, travel selects, event galleries, and the large set of images you want to enjoy regularly without paying a permanent RAW-storage penalty.
The problem with export-and-import conversion
Most photo converters begin outside Photos. You export RAW images to Files or a desktop folder, convert them, then import the new files back into Photos. At that point, the converted photos may be separate from the originals, and you have to sort out duplicates and deletion manually.
That process creates several avoidable risks. Albums may need rebuilding. Favorites, captions, keywords, locations, and timestamps can be lost or inconsistently carried over. Edits may not look the way you expect after export. If iCloud Photos is enabled, you may also spend time waiting for a large export and a second import to sync.
The hardest part is deletion. You need to be certain that the HEIC replacement exists, looks correct, and contains the context you care about before removing the space-hungry RAW original. A conversion workflow that treats Photos as a file dump makes that verification your responsibility.
How to move a RAW library into HEIC without leaving Photos
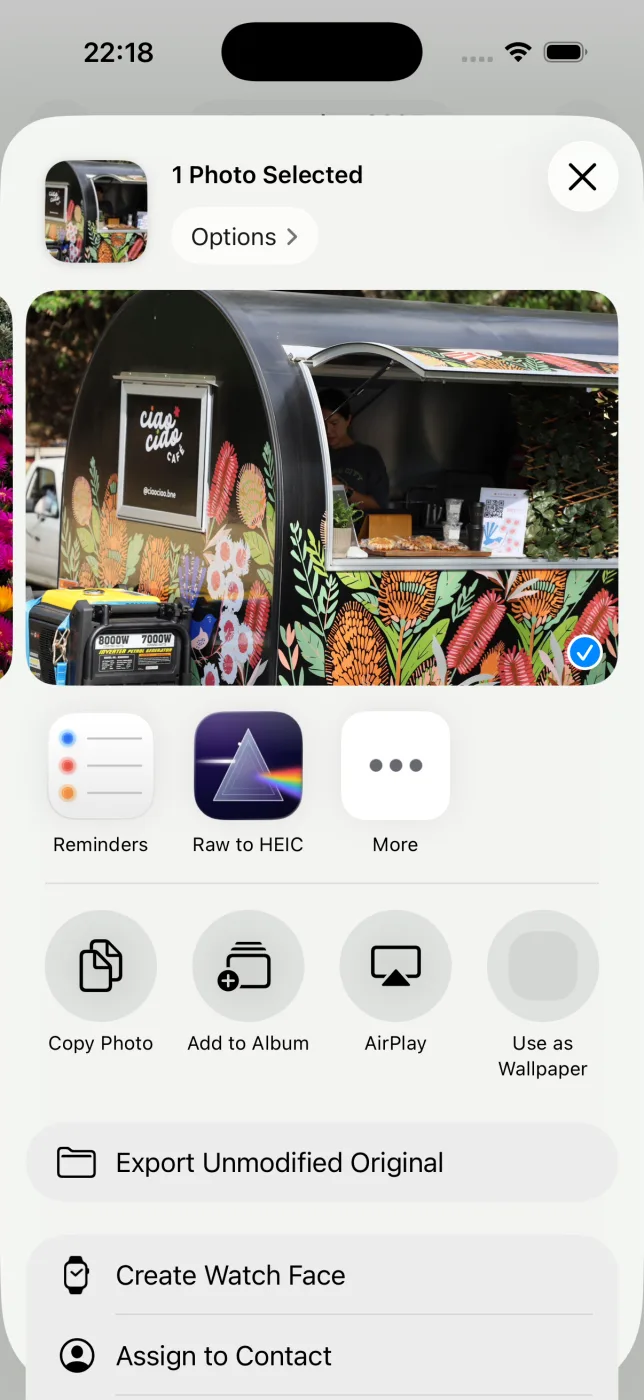
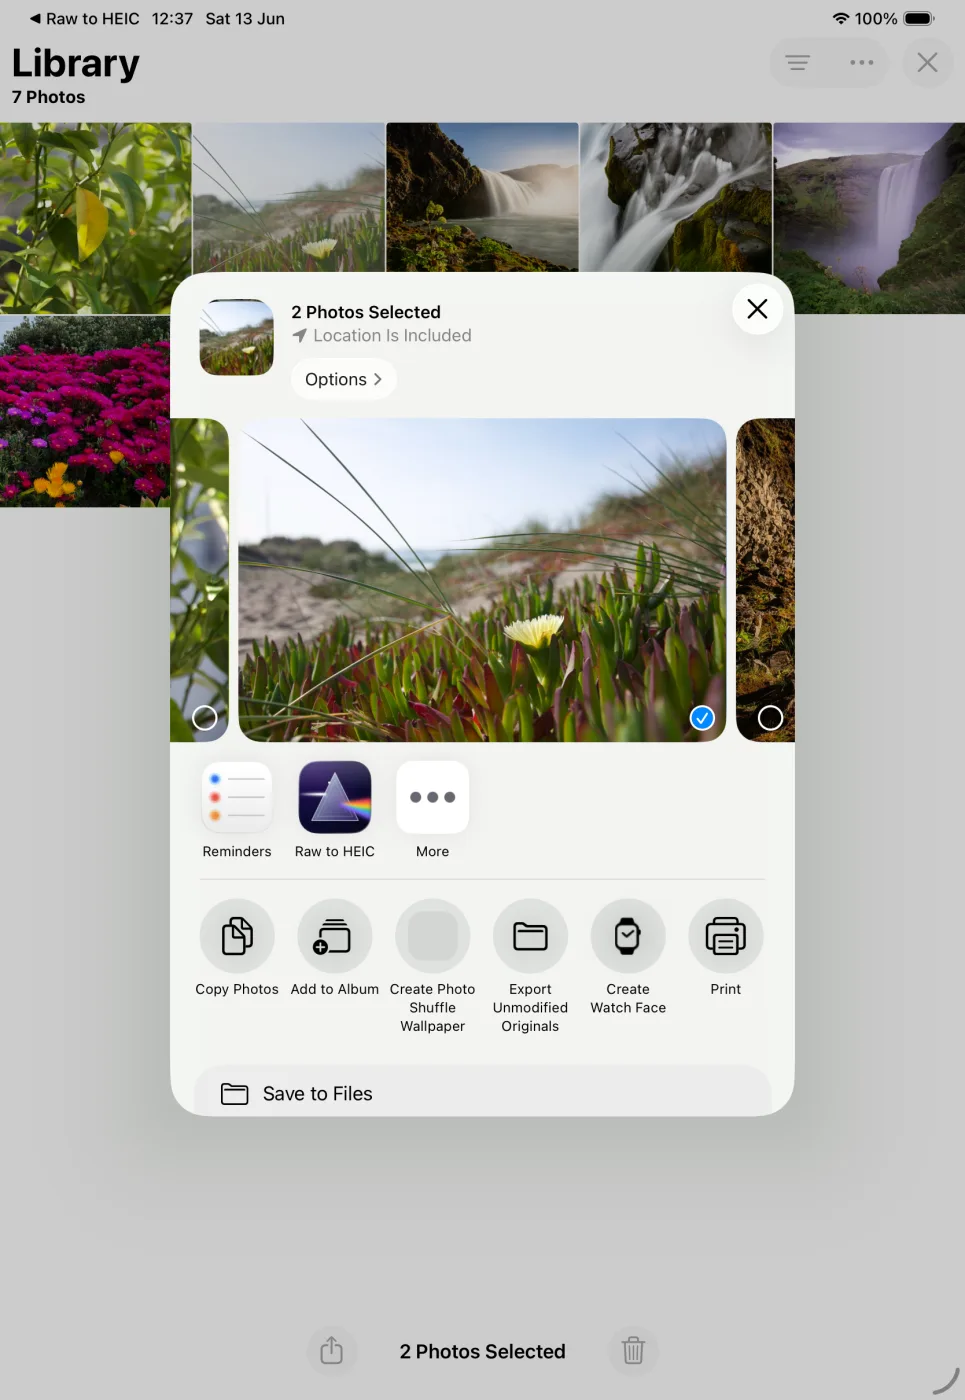
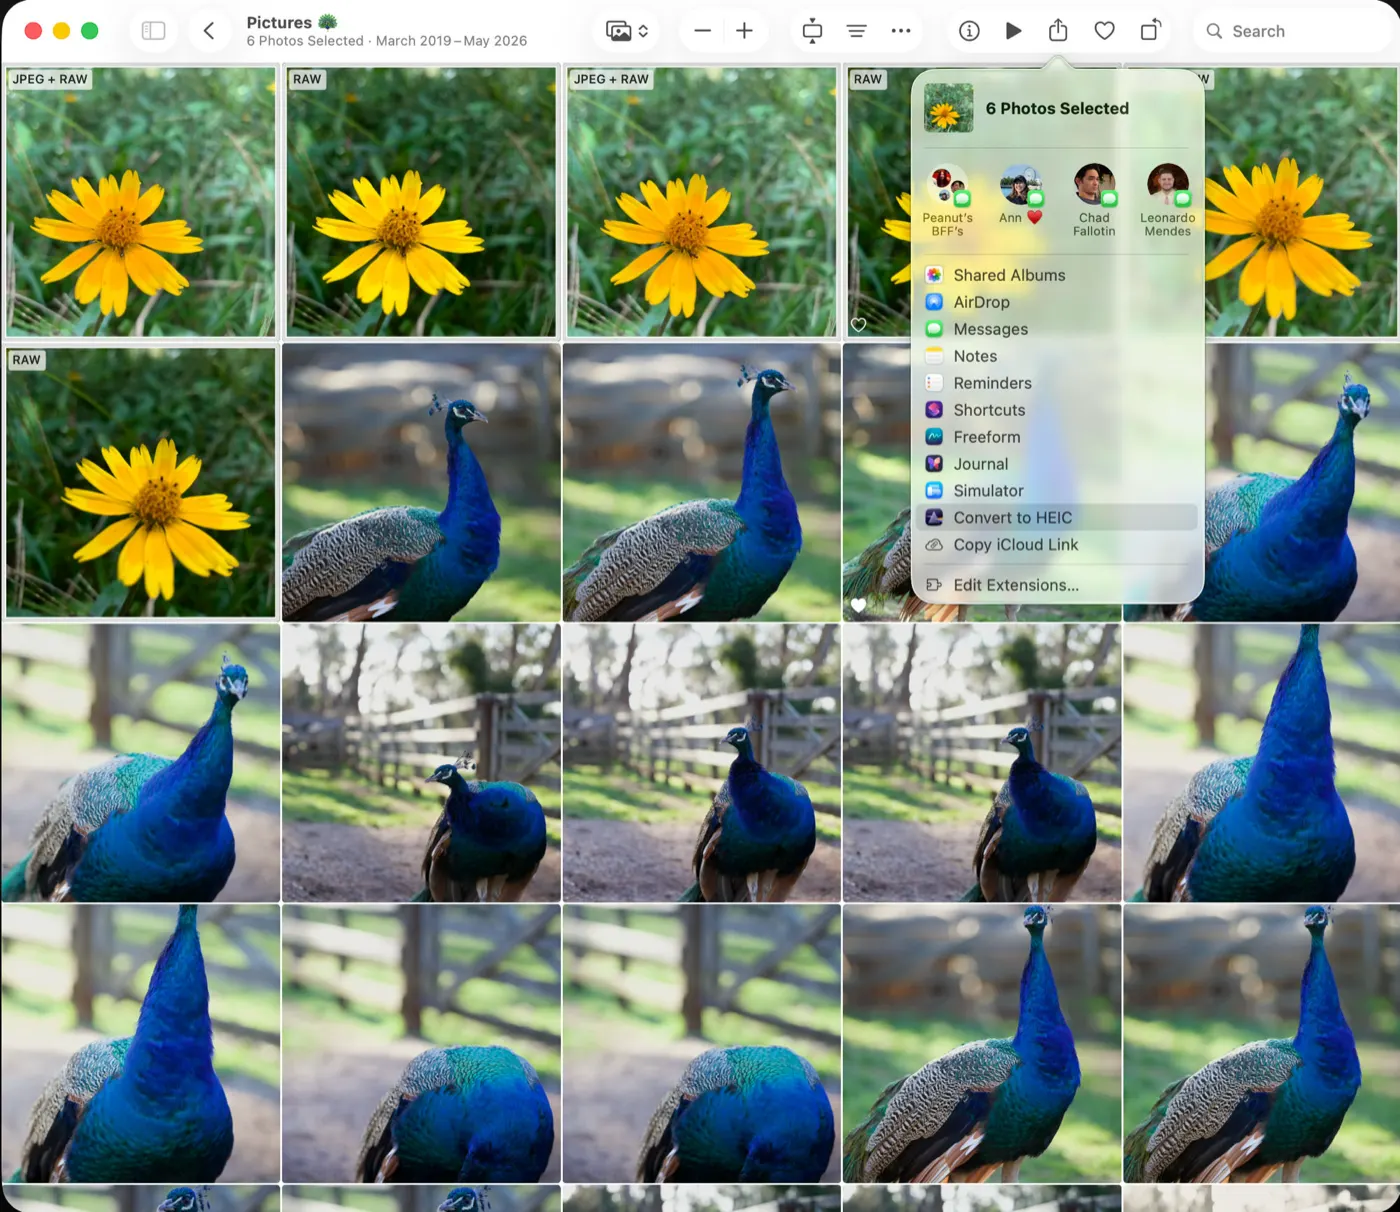
A Photos-native workflow keeps the job focused. Start by identifying a logical batch: an old trip, a completed year of favorites, a camera album, or a set of ProRAW shots that no longer need RAW flexibility. Avoid selecting your entire library on the first pass. A smaller batch lets you confirm the look, storage savings, and rules you want to use before scaling up.
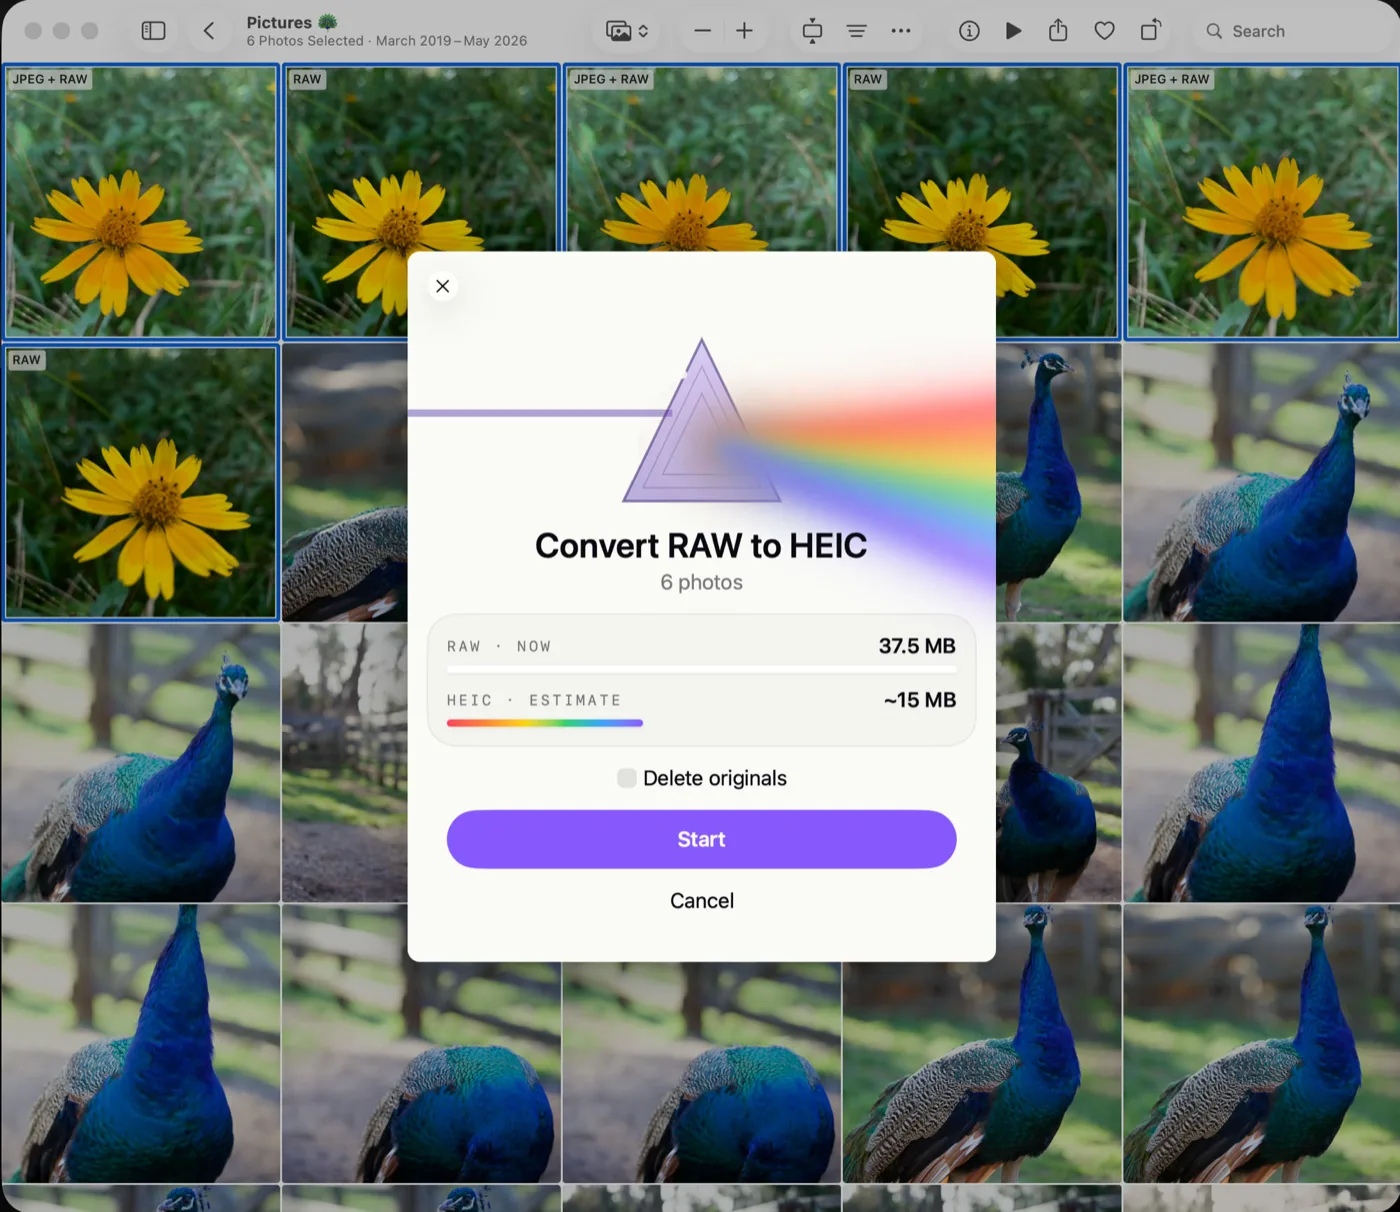
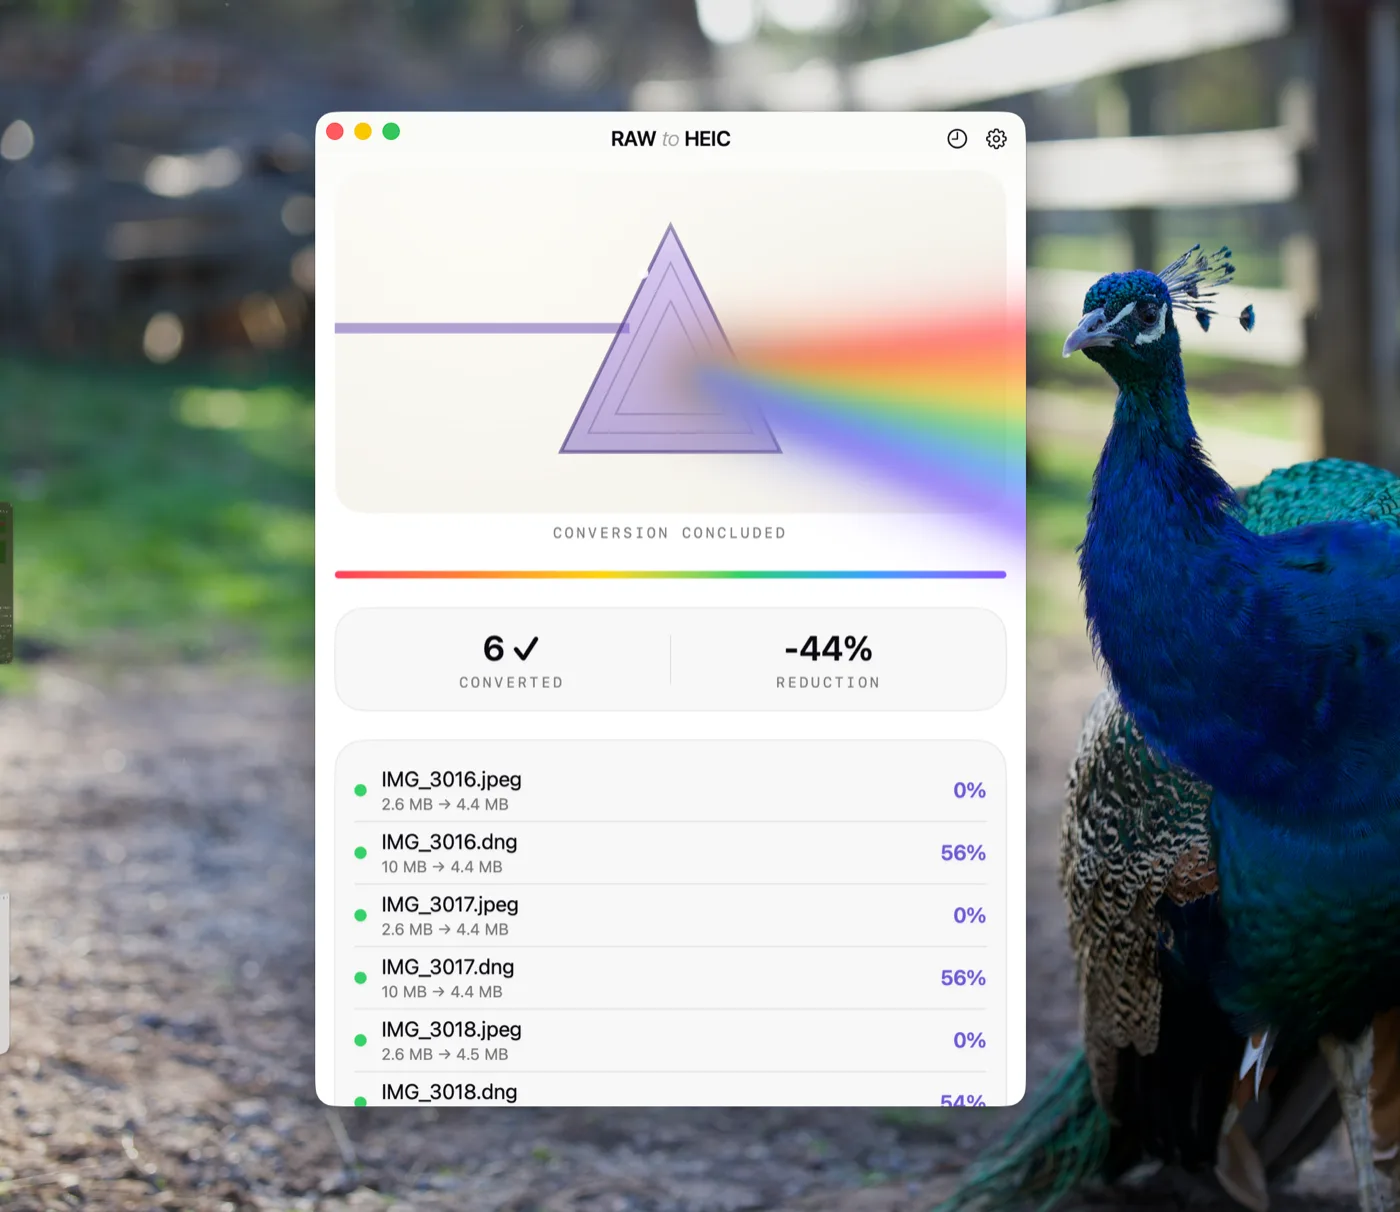
Next, convert the selected images directly from the Photos library. With RawToHEIC, the conversion happens on your Apple device rather than sending your photos to a server. There is no loose-file workflow to manage and no analytics collection attached to your image library.
The converted HEIC photos remain in the Photos environment where you already organize your work. Your albums, favorites, captions, locations, metadata, and edits stay part of the experience rather than becoming a reconstruction project. Supported HDR images retain their HDR character, which matters for iPhone ProRAW and modern camera workflows where highlight detail and brightness are part of the final image.
Only after the conversion has been checked should the original RAW files be removed. A verified deletion safeguard is the key difference between saving space confidently and hoping the import worked. Confirm that the HEIC is present and that the result is visually correct, then delete the RAW original to reclaim storage.
Choose the right RAW photos to convert
The most efficient library is usually a mixed-format library. RAW is your working format. HEIC is your finished, everyday format. The goal is not to erase your source material indiscriminately. It is to stop storing every completed image as if it were still waiting for a major edit.
A simple way to decide is to ask whether the photo has unfinished creative value. If you expect to reprocess it for a print, crop it aggressively, deliver it professionally, or make a different color treatment later, retain the RAW. If the edit is done and the photo is primarily for sharing, memories, screens, and normal prints, HEIC is usually the smarter long-term copy.
This is especially useful for iPhone ProRAW. ProRAW is excellent when you need more control in difficult light, but it can take up dramatically more space than a standard HEIC. Converting completed ProRAW shots gives you a smaller final image without forcing you to abandon high-quality capture when it matters.
For camera imports, the same logic applies to common RAW formats from Canon, Sony, Nikon, Fujifilm, Olympus, Panasonic, and other supported cameras. Your camera can keep producing RAW when the scene calls for it. Your Photos library does not need to keep every final result at RAW size forever.
What to verify before deleting RAW originals
A careful first batch builds trust in the process. Review a handful of converted images in Photos at full size. Look closely at fine detail, smooth gradients, skin tones, and bright skies. If you shoot HDR, confirm that the image displays as expected on a compatible Apple device.
Also check the library context that matters to you. Open the album where the photo belongs, verify its favorite status, read the caption, and check date and location details. If you rely on a particular edit, compare the final HEIC to the version you approved.
There are four cases where keeping both versions makes sense:
- A photo is likely to need significant re-editing later.
- You plan to make a very large print or commercial delivery.
- The RAW is a one-of-a-kind image with long-term archival value.
- You are still testing your preferred conversion workflow.
For everything else, a verified HEIC replacement can be the more useful archive. It is smaller, easier to keep downloaded on an iPhone or iPad, and ready to use across your Apple devices.
Storage savings should not cost you control
Storage pressure changes how people use their photo libraries. They postpone imports, stop keeping photos downloaded locally, pay for more cloud storage, or delete images they would rather keep. None of those choices improves the library itself.
Converting finished RAW photos to HEIC gives you a more deliberate option. You preserve RAW where it has real creative value and reclaim space where the work is already complete. The result is a Photos library that opens faster, fits more comfortably on your devices, and stays organized around the moments you care about.
Start with one completed album. Keep the RAW files that still have a job to do, convert the finished images you want close at hand, and let your Apple Photos library remain the place where your photos belong.
Shrink your RAW library, right inside Photos.
RawToHEIC converts camera RAW and iPhone ProRAW to HEIC up to 10× smaller — keeping every edit, album, favorite, and location. On-device, no account, one purchase for iPhone, iPad, and Mac.
Not sure yet? Convert a few sample photos free — no install, nothing uploaded.
Try it free — no install →