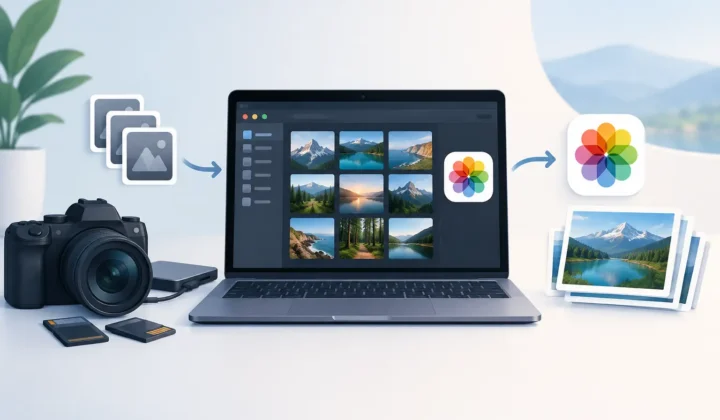
How to Archive Finished RAW Edits in Photos
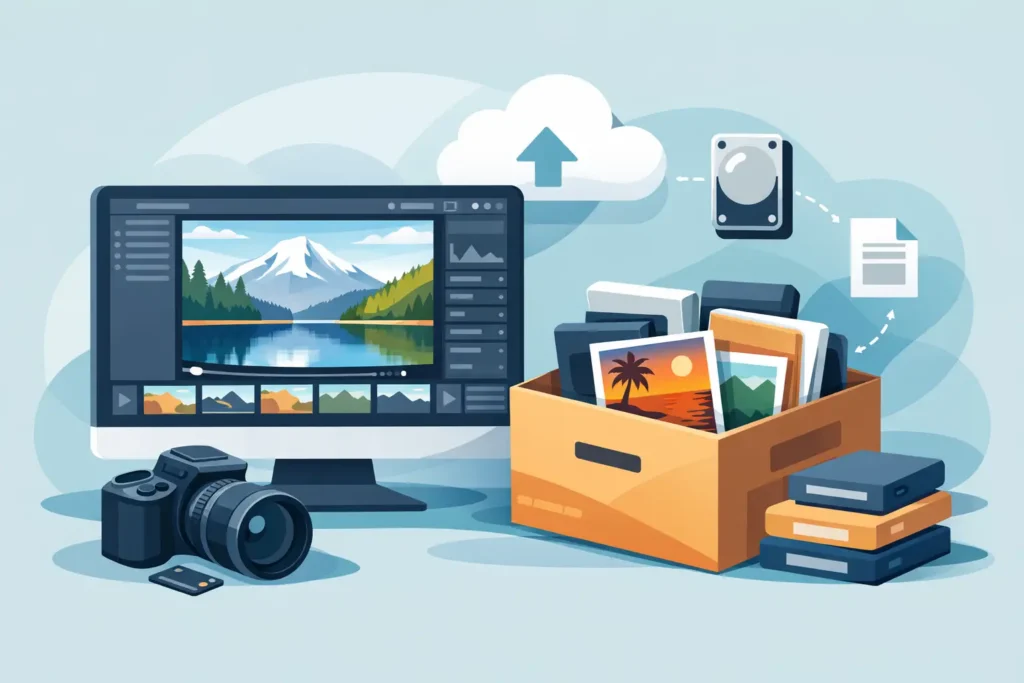
A RAW library can feel manageable right up until it starts consuming the storage you need for new work. The practical answer is to archive finished RAW edits as high-quality HEIC files after you have approved the final look. You keep the photo that matters, reduce the space it occupies, and avoid turning your carefully organized Apple Photos library into a folder of disconnected exports.
This is not about abandoning RAW. RAW is the right format while an image is still being shaped. It preserves more editing latitude for exposure, white balance, color, and recovery. But once a photo has reached its final state, keeping every large original on your everyday devices can be an expensive habit. Finished work has different requirements: it should be easy to find, easy to share, and compact enough to keep close.
When to archive finished RAW edits
The right time is after the edit is genuinely complete, not merely after the first pass. That usually means you have settled the crop, exposure, white balance, color treatment, and any local adjustments. You have also checked the image on a larger screen if the job or image deserves it.
A useful test is simple: if you opened this photo six months from now, would you need to rebuild the edit from the original RAW file? If the answer is no, a rendered HEIC is a sensible archive format for your active Photos library. It captures the finished appearance in a file that is dramatically smaller than the RAW source.
This approach works especially well for travel photographs, family libraries, event selects, and personal portfolio images. It can also work for client work after delivery, although many working photographers should keep original RAW files in a separate long-term backup until retention obligations have passed. Storage savings are valuable, but they should never override a contract, a client request, or your own need to revisit a high-value image.
Decide which RAW photos still earn their space
Not every RAW file should be converted and removed. The goal is not to shrink a library blindly. It is to separate working originals from finished photographs.
Keep RAW files when the photo has lasting commercial value, is likely to be licensed again, or contains detail you may need for a future large print. Keep them when an edit feels provisional, when you are still learning what the image can become, or when the file is a rare, irreplaceable capture. A once-in-a-lifetime wildlife frame and a quick test shot should not receive the same retention policy.
Convert the images that are done and useful but no longer need RAW-level flexibility. For many people, that is the majority of their library: successful iPhone ProRAW photos, edited mirrorless-camera selects, and everyday images that are worth keeping but not worth carrying as multi-megabyte originals on every device.
The trade-off is straightforward. A HEIC version preserves the final rendered image, but it does not give you the same latitude as the source RAW if you later decide to radically change white balance or recover highlight detail. That is why the decision belongs at the end of editing, not at the start.
Archive finished RAW edits without loose files
Traditional conversion tools often create a messy second workflow. You export the edited file, choose a destination, import it again, inspect for duplicates, then manually clean up the original. Along the way, albums can be missed, captions can be lost, and it becomes hard to tell which version is the one you intended to keep.
A Photos-native workflow removes that detour. Start by selecting completed RAW images inside Apple Photos. Convert them to HEIC in the same library, review the created versions, and only then remove the source files you no longer need. Your archive stays where you already search, organize, favorite, caption, and share photos.
That matters more than it sounds. A photo’s value is not only its pixels. It is also the date, location, people, caption, favorite status, album placement, and the context you have built around it over years. An archive that requires a separate file browser may save bytes, but it adds friction every time you want to find an image.
RawToHEIC is designed for this exact job. It converts supported camera RAW formats and iPhone ProRAW directly in Photos on iPhone, iPad, and Mac, without uploading images to a server or forcing an export-import routine. The result is a compact HEIC version in the place your library already lives.
Preserve organization, not just the finished pixels
A good archival conversion should respect the way you use Photos. That means preserving the organizational context attached to an image, including its metadata, location, captions, favorites, and album membership. It also means honoring the finished visual result you approved instead of producing an unedited-looking conversion.
This is especially useful for photographers who organize projects with albums rather than a separate digital asset manager. You may have an album for a trip, a family member, a client, or a yearly favorites collection. Rebuilding those relationships after a file-based export is tedious, and it creates opportunities for mistakes. Keeping conversion inside Photos reduces that risk.
HDR is another consideration. If you work with images that contain extended highlight range, choose a workflow that preserves HDR where supported. A smaller file should not come at the cost of flattening the image you carefully edited. Always review a few converted photos in the lighting and displays you normally use before processing a large batch.
Use a safety check before deleting originals
Deleting a RAW source is the step that deserves the most caution. A conversion is only useful if the resulting HEIC exists, looks correct, and carries the information you expect. Never rely on a fast glance at a thumbnail alone.
Review a representative set at full size. Check fine detail, shadow areas, bright skies, skin tones, and any edits that pushed the file hard. Confirm that the finished image is present in the expected albums and that key metadata is intact. If you depend on an external backup, make sure it has completed before removing a large batch of originals.
For ongoing use, create a simple rule: convert in smaller, meaningful groups rather than selecting years of photos at once. A completed vacation, a finished month, or a delivered shoot is easier to review than a library-wide operation. Smaller batches also make it easier to spot exceptions, such as images you decide are worth retaining as RAW.
Verified deletion safeguards are valuable here because they turn a stressful action into a deliberate sequence: create the replacement, confirm it, then remove the original. The order matters. There should never be a moment where the only copy of a finished image is assumed to exist.
Why HEIC fits an Apple Photos archive
HEIC is a practical format for an active Apple library because it delivers excellent image quality at a fraction of the storage used by many RAW files. Depending on the original format and scene, the savings can reach up to 10x. That changes the math on an iPhone or iPad with limited local storage, and it can reduce pressure on your Photos library across devices.
It is not the ideal destination for every purpose. If you need a high-resolution master for professional retouching, large-format output, or future reinterpretation, keep the RAW file elsewhere. If the image is finished and its main job is to be viewed, shared, printed at normal sizes, or kept in your personal library, HEIC is often the better everyday format.
The format also suits the Apple ecosystem. Photos, Messages, and Apple devices are built to handle it efficiently. You get a compact archive without making your daily library feel like a compromise.
Build an archive habit that stays useful
The most effective archive is not a one-time cleanup. It is a small finishing step you repeat. After editing a trip, event, or month of photos, identify the completed RAW selects. Convert the photos you are confident about, verify the results, and keep only the RAW originals that still have a clear purpose.
This keeps storage from becoming an emergency. More importantly, it keeps your Photos library centered on finished photography rather than unfinished technical files. Your best images remain available on the devices you use every day, with the organization you already trust and without the weight of RAW originals that have already done their job.
When an edit is truly final, archive it in a form that makes it easier to keep, find, and enjoy. That is a better standard than simply keeping every large file forever.
Shrink your RAW library, right inside Photos.
RawToHEIC converts camera RAW and iPhone ProRAW to HEIC up to 10× smaller — keeping every edit, album, favorite, and location. On-device, no account, one purchase for iPhone, iPad, and Mac.

Not sure yet? Convert a few sample photos free — no install, nothing uploaded.
Try it free — no install →