Camera RAW Support on iPhone for Real Workflows
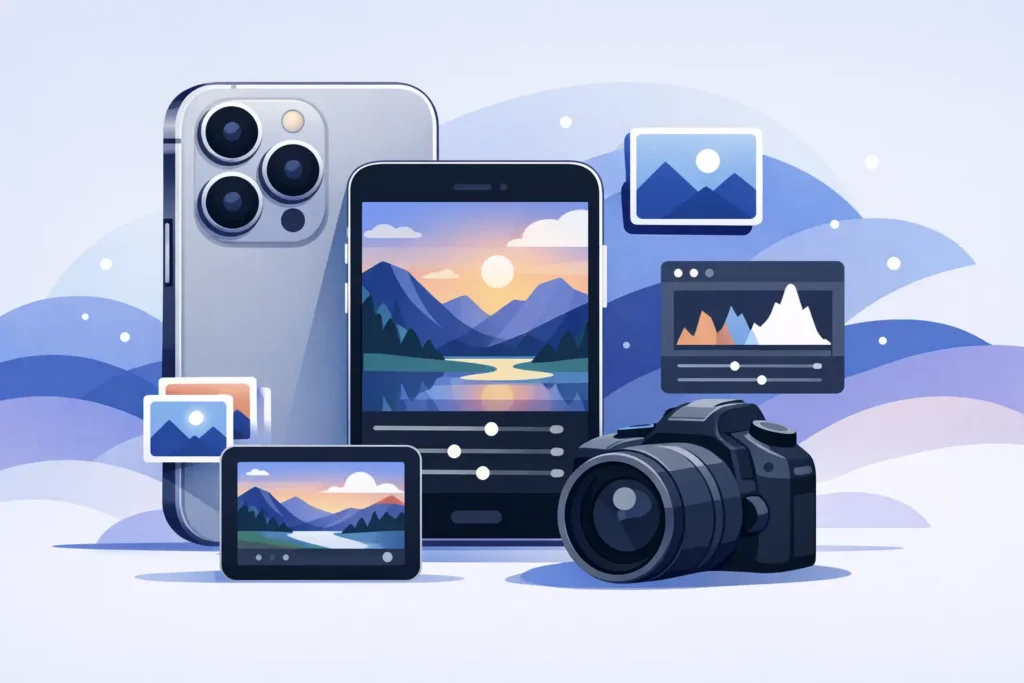
A 48-megapixel photo can be a gift when you are recovering highlights from a bright sky. It can also become a storage problem once hundreds of finished shots remain in your Photos library. Camera RAW support on iPhone makes serious capture and editing possible away from a desktop, but it does not mean every RAW file belongs on your phone forever.
The useful question is not simply whether an iPhone can open RAW. It is where RAW fits in your workflow: capture, editing, sharing, and long-term storage. Apple’s Photos app can be an excellent home for that workflow when you understand what remains editable, what takes space, and when a smaller HEIC version is the smarter file to keep.
What camera RAW support on iPhone actually covers
On a compatible iPhone, RAW support generally falls into three areas: shooting RAW, importing RAW from another camera, and editing supported RAW files in Photos or other photo apps. These are related, but they are not the same capability.
Recent iPhone Pro models can capture Apple ProRAW. ProRAW combines RAW image data with Apple’s computational photography pipeline, giving you more room to adjust exposure, white balance, color, and detail after capture. It is designed for photographers who want more control than a standard HEIC provides, especially in difficult light.
An iPhone can also work with many RAW files created by dedicated cameras. That matters if you shoot Canon, Sony, Nikon, Fujifilm, Olympus, Panasonic, or another supported system and want your library available in Photos. Support depends on the camera model, its specific RAW format, and the version of iOS or macOS running on your device. A brand name alone is not a guarantee. Newer camera bodies may require an OS update before their files are recognized.
The practical distinction is simple: Apple ProRAW is an iPhone capture format, while camera RAW compatibility is about whether your Apple device can interpret files from external cameras. Both can live in Photos, but each can place very different demands on storage.
RAW gives you latitude, not a reason to keep every frame
RAW files preserve substantially more image information than a finished compressed photo. That is why they are valuable when you need to correct a white balance mistake, recover bright highlights, lift shadows, or apply a more deliberate color treatment.
That flexibility comes with a cost. RAW files are often several times larger than HEIC files, and Apple ProRAW can be larger still. A library full of test shots, duplicate compositions, and already-finished edits can consume local device storage and iCloud storage quickly. The problem is not RAW itself. The problem is treating every original as if it still needs the same editing headroom.
For many photographers, the right approach is selective retention. Keep the RAW original when it has continuing value: a portfolio image, a once-in-a-lifetime scene, a photo likely to be re-edited, or a file you may print large. For finished everyday images, a high-quality HEIC can be a far more practical long-term version.
HEIC is not a replacement for RAW editing latitude. It is a finished-image format. Once you decide your edits are complete, however, that is exactly the point. You retain a high-quality image that is typically much smaller and easier to keep available across your Apple devices.
How RAW behaves inside Photos
Photos is often misunderstood as a basic gallery. For Apple users, it is also the organizing layer around the photo library: albums, favorites, captions, people, places, search, edits, and iCloud sync all live there. That context is easy to lose when a conversion workflow sends images out as loose files and asks you to import them again later.
When you edit a RAW image in Photos, the app uses non-destructive editing. Your adjustments are stored separately, so you can revisit them or revert to the original. This is ideal while you are still deciding how an image should look.
The trade-off appears after editing. If you manually export a converted copy, you may have to manage duplicates, re-import the new file, and decide what happens to the original. Depending on the method, the exported image may not arrive with the same album placement, favorite status, caption, location, or other library context. It is an avoidable amount of housekeeping, especially when you are processing dozens or hundreds of photos.
A Photos-native conversion utility changes the equation. RawToHEIC converts supported RAW photos to HEIC directly from the Photos workflow, rather than making you build a separate file-export process. The goal is straightforward: create a smaller final image while preserving the organization you already built in Photos. Processing stays on device, which also means your personal photo library is not being uploaded to a conversion service.
A practical RAW-to-HEIC decision process
The best time to convert is usually after you have culled and edited, not immediately after capture. RAW is most valuable before your creative decisions are final.
Start by removing obvious misses and duplicate frames. Then edit the photos worth keeping in RAW. Once you are happy with the result, review whether the original needs to remain available. A product shot you may revisit for client work deserves different treatment than a vacation photo that is ready to share and print.
For photos you choose to finalize, convert them to HEIC within your Photos-based workflow. Verify that the new image looks right, appears in the expected album, and retains the details you care about. Only then should you consider removing the RAW original. This order matters because storage savings should never come at the expense of an image you have not checked.
A good conversion tool should make this safer, not faster at any cost. Look for clear before-and-after file sizes, support for your camera’s files, HDR-aware handling where applicable, and a verification step before originals are deleted. A conversion is only useful if the resulting photo is actually in your library and ready to use.
What to check before relying on iPhone RAW support
Compatibility is the first check. Your iPhone needs a current enough version of iOS to support the camera RAW files you use, and the same applies to iPad and Mac if they share the library. If a file will not preview or edit, confirm the exact camera model and file extension before assuming the image is damaged.
Storage is the second. Local iPhone storage affects how comfortably you can import and work on larger files, while iCloud Photos affects how the full library synchronizes across devices. Optimized iPhone Storage can help reduce pressure on the phone, but it does not change the size of your original cloud library. Converting completed work to HEIC can reduce both burdens.
Finally, distinguish between an original archive and an active Photos library. Some photographers want every RAW file retained on an external drive or another archival system, while their Photos library holds finished HEIC images for browsing, sharing, and daily use. Others want a simpler all-Photos library with RAW retained only for their best work. Both approaches are valid. The right one depends on how often you return to old edits and how much storage you are willing to maintain.
The iPhone is strongest when the workflow stays simple
Camera RAW support on iPhone is no longer just a technical checkbox. It lets a phone function as a capable editing and library-management tool for serious photography. But RAW files earn their large footprint only while their extra information is useful.
Keep RAW where flexibility matters. Finalize to HEIC where convenience, storage, and a clean Photos library matter more. When conversion happens inside the library instead of through loose-file exports, your albums, metadata, edits, and peace of mind can stay where they belong: in Photos.
Shrink your RAW library, right inside Photos.
RawToHEIC converts camera RAW and iPhone ProRAW to HEIC up to 10× smaller — keeping every edit, album, favorite, and location. On-device, no account, one purchase for iPhone, iPad, and Mac.

Not sure yet? Convert a few sample photos free — no install, nothing uploaded.
Try it free — no install →