How to Convert RAW Photos to HEIC
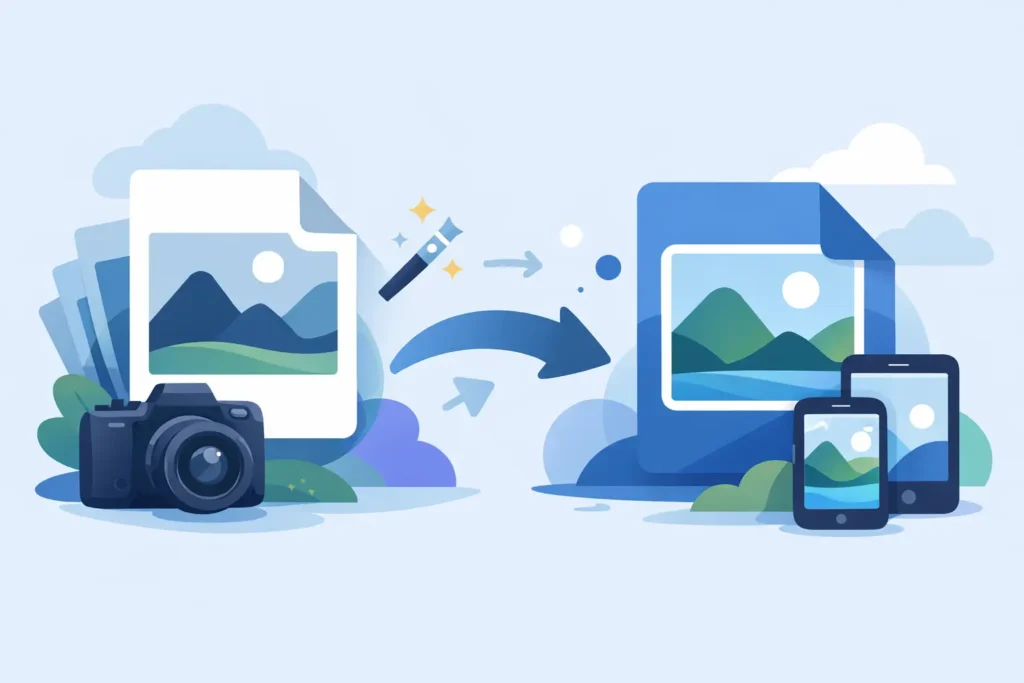
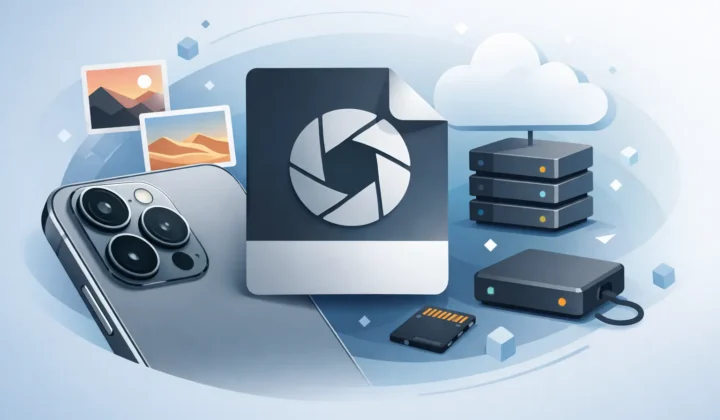
If your Photos library is full of RAW files, you already know the trade-off: great editing latitude, brutal storage costs. Once a shot is edited and you are not planning to revisit the full sensor data, it often makes sense to convert RAW photos to HEIC and keep the image in a format that is far smaller, easier to manage, and still excellent for everyday use.
For Apple users, the real question is not whether HEIC saves space. It does. The question is whether you can make that switch without breaking your library, losing metadata, or dealing with a loose-file mess outside Photos. That is where the workflow matters.
Why convert RAW photos to HEIC at all?
RAW is valuable because it preserves more image data than a finished image format. That matters when you are adjusting white balance, recovering highlights, lifting shadows, or making more aggressive edits. But RAW is not efficient for long-term use when the photo is already done.
A single RAW file from a mirrorless camera or DSLR can take up tens of megabytes. ProRAW from iPhone can be large too, especially if you shoot often. Multiply that across a few years of travel, family shots, client selects, or hobby work, and your Photos library starts pushing local storage and iCloud storage in a hurry.
HEIC is a practical middle ground. It delivers strong visual quality at much smaller file sizes, often dramatically smaller. For many finished photos, that means you can keep the image you actually use while freeing a meaningful amount of space. On Apple devices, HEIC also fits naturally into the system because it is already a native image format across iPhone, iPad, and Mac.
That said, converting everything is not always the right move. If you regularly return to older files for re-editing, compositing, or commercial work, you may want to keep some RAW originals. The smart move is selective conversion: archive the keepers you have finished, preserve the shots that still need full editing flexibility, and cut the storage burden where it no longer buys you anything.
What most RAW-to-HEIC workflows get wrong
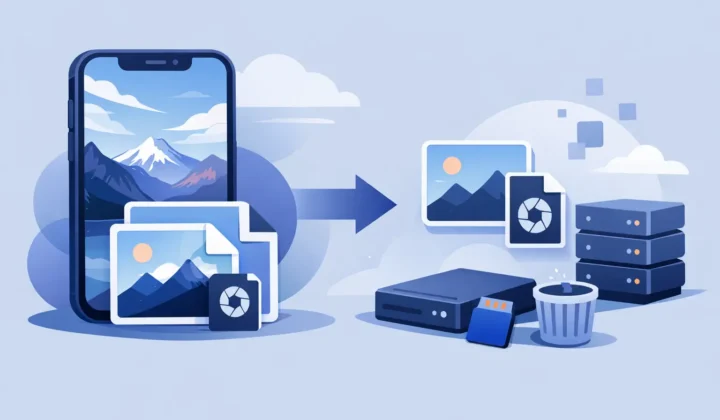
The usual conversion process is more annoying than it should be. You export the RAW file out of Photos, convert it in another app, re-import the HEIC version, then clean up duplicates manually. Along the way, you risk losing album placement, favorites, captions, locations, timestamps, or edit history. Even if the image looks fine, your library becomes less organized.
That is the part many users underestimate. The image file is only one piece of the photo. Inside Photos, your work also includes curation and context – albums, keywords, captions, favorites, and edits. Once that structure is broken, storage savings can come at the cost of a messier library.
There is also the privacy issue. Many conversion tools rely on uploads or external processing. If your photo library includes family images, travel history, work samples, or location-rich metadata, sending files through a server-based workflow may not be acceptable.
A better approach is to convert inside Photos, on device, while preserving the information you already depend on.
How to convert RAW photos to HEIC without losing your library
If you want the cleanest workflow, the goal is simple: keep the photo where it already lives, preserve the context around it, and replace storage-heavy RAW files with efficient HEIC versions only when you are confident the conversion is complete.
On Apple devices, that means using a Photos-native workflow instead of exporting files into Finder or a third-party file manager. When conversion happens directly in your library, the process is faster and less error-prone because you are not rebuilding organization after the fact.
The ideal flow looks like this:
1. Start with photos you have already edited or finalized
RAW makes sense while you are still making meaningful adjustments. Once an image is finished, HEIC becomes a strong candidate for storage reduction. That could be your travel album from last summer, finished client selects you only need for reference, or a large batch of iPhone ProRAW shots that no longer need RAW flexibility.
2. Convert on device
On-device processing keeps the workflow private and predictable. Your files stay on your iPhone, iPad, or Mac. No uploads, no waiting on cloud conversion, and no uncertainty about where your images or metadata passed through.
3. Preserve metadata and Photos context
This is where many tools fall short. A useful conversion should retain the details that make your library usable: capture dates, captions, locations, favorites, and album membership. If you have already organized your library carefully, preserving that structure matters just as much as reducing file size.
4. Verify before deleting the original RAW
A safe workflow should not ask you to trust the conversion blindly. It should confirm that the HEIC version exists and is valid before removing the original. That extra safety check matters when you are working across hundreds or thousands of images.
This is exactly why specialized tools exist. RawToHEIC, for example, is built specifically for Apple users who want to convert inside the Photos app without creating a separate file-management project just to save space.
Convert RAW photos to HEIC on iPhone, iPad, and Mac
The best part of a Photos-native workflow is consistency. Whether your library is on iPhone, iPad, or Mac, the goal stays the same: reduce storage without scattering copies across folders and drives.
On iPhone and iPad, this is especially useful for ProRAW shooters. It is easy to build up a large collection of edit-heavy files, especially on trips or during periods of frequent shooting. Once those photos are finished, converting them to HEIC can free up substantial local space and reduce pressure on iCloud storage as well.
On Mac, the same logic applies to larger camera libraries from Canon, Sony, Nikon, Fujifilm, Olympus, and Panasonic. If Photos is your main library, keeping everything inside that environment is simpler than exporting and re-importing batches by hand. You keep the native Apple experience instead of turning conversion into a desktop asset-management chore.
There is one trade-off to be clear about: HEIC is not a RAW replacement for future deep editing. It is the better format for finished images you want to keep, view, share, and organize efficiently. If you may need the original sensor data later, keep the RAW. If the image is done, HEIC is often the more practical format.
What to look for in a RAW to HEIC converter
Not every converter solves the same problem. Some are built around file conversion only. That can be fine if you manage images in folders. But if your real photo library lives in Photos, the better solution is the one that respects that environment.
Look for support for major camera RAW formats and iPhone ProRAW. Check whether the app preserves edits and metadata rather than flattening your library into disconnected files. Make sure processing happens on device if privacy matters to you. And if the software deletes originals, it should do so only after verification, not as a blind batch action.
Pricing also matters. This is the kind of utility that should quietly solve a problem and stay out of the way. A one-time purchase makes more sense than a subscription for most users because the value is in simplifying your library, not renting access to a recurring service.
When HEIC is the right move and when it is not
For day-to-day Apple users who love shooting in RAW but do not want a ballooning library forever, HEIC is usually the right format after editing is complete. It cuts storage use sharply, keeps image quality high, and plays well across Apple devices.
For active professional workflows, the answer is more selective. You might keep RAW for portfolio work, paid shoots, or images that may need future grading, while converting family albums, personal travel photos, and older finished work to HEIC. That hybrid approach is often the most realistic one.
The useful mindset is not RAW versus HEIC. It is RAW when flexibility matters, HEIC when efficiency matters more.
If your library is growing faster than your storage budget and your patience for export-import cleanup is already gone, the right conversion workflow can make your Photos library feel light again without making it less organized. The best solution is the one that saves space, keeps your edits and metadata intact, and lets your photos stay exactly where you already manage them.
Shrink your RAW library, right inside Photos.
RawToHEIC converts camera RAW and iPhone ProRAW to HEIC up to 10× smaller — keeping every edit, album, favorite, and location. On-device, no account, one purchase for iPhone, iPad, and Mac.

Not sure yet? Convert a few sample photos free — no install, nothing uploaded.
Try it free — no install →