HEIC Converter for RAW Photos on Apple Devices
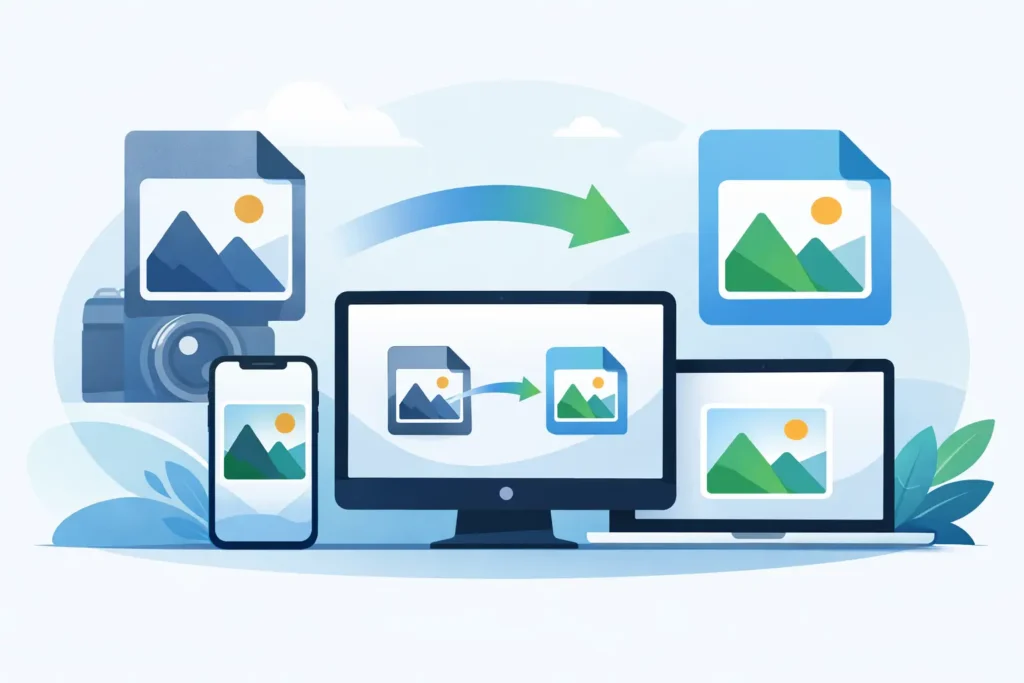
A full-resolution RAW photo can consume 25 MB, 50 MB, or much more. Multiply that by years of trips, family portraits, and iPhone ProRAW shots, and storage pressure arrives fast. The right HEIC converter gives you a practical middle ground: keep the photos you care about in Apple Photos, preserve their context, and reduce the space they occupy.
For Apple users, conversion is not just a question of file formats. It is a library-management decision. If a tool turns your organized photo library into a folder of loose files, it solves one problem while creating several more.
What an HEIC converter should do
HEIC is Apple’s efficient image format. It can retain excellent visual quality while using far less storage than a RAW original. The exact savings depend on the camera, scene, and source format, but converting completed RAW images to HEIC can reduce storage use by up to 10x.
That does not make HEIC a replacement for RAW in every situation. RAW files retain the sensor data that gives you maximum latitude for major exposure changes, white-balance corrections, and detailed editing. Keep RAW when an image is still a working master, a professional deliverable, or a photo you expect to revisit extensively.
But many images are already finished. You have made your edits, selected your favorites, added captions, placed shots in albums, and synced everything across your devices. Those are strong candidates for HEIC. An effective converter lets you reclaim space without dismantling the library you have already built.
Why file-based conversion creates extra work
Most image converters follow a familiar pattern: export a RAW file, choose an output folder, convert it, import the result, then manually clean up the original. On a small batch, that may be tolerable. Across thousands of images, it is easy to lose track of versions and lose the organization that made Photos useful in the first place.
Exported files can arrive without the details that matter in daily use. Albums may need rebuilding. Favorites may not carry over. Captions, locations, and keywords can become inconsistent. A non-destructive edit may be flattened or left behind with the old source file. Then there is the deletion problem: removing originals before you have confirmed that converted images are safely in your library is an avoidable risk.
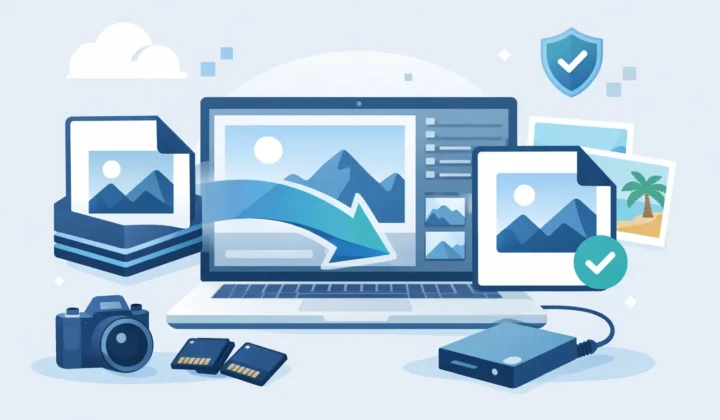
A Photos-native HEIC converter takes a different approach. Instead of treating your library as a file bin, it works with the assets already inside Photos. The goal is simple: select RAW photos, create smaller HEIC versions in place, verify that the new assets are available, and only then remove originals when you choose to do so.
Preserve the Photos context you already created
For many photographers, Photos is more than a camera roll. It is the place where a decade of personal and creative work is organized. A conversion workflow should respect that.
Look for a converter that preserves the practical context attached to each image: albums, favorites, captions, dates, locations, and metadata. If you use edits in Photos, preserving those non-destructive edits is equally important. The HEIC version should reflect the finished image you intended to keep, not an unedited RAW that sends you back to the beginning.
HDR support matters as well. Modern iPhone photography and many RAW workflows include extended dynamic range content. A conversion tool that does not account for HDR can leave highlights, bright skies, and contrast-heavy scenes looking flatter than the photo in your library. Storage savings are not a win if the result no longer represents your edit.
A practical workflow for converting RAW to HEIC
The best workflow is deliberately short. First, finish editing the photos you want to keep. Then select the RAW images that no longer need the flexibility of a full working master. Convert them to HEIC from within Photos, review the results, and remove the RAW originals only after the app confirms the conversion is complete.
This is especially useful after a trip or large shoot. You may want to keep a handful of key images as RAW for future portfolio work while converting the rest of the finished set. That gives you a smaller, easier-to-sync library without forcing an all-or-nothing decision.
RawToHEIC is built around this Photos-first workflow on iPhone, iPad, and Mac. It converts supported camera RAW files and iPhone ProRAW directly within the native Photos library, with on-device processing and verified deletion safeguards. There is no loose-file workflow to manage afterward.
The order of operations matters. A careful app should not simply delete a source because a conversion command was issued. It should confirm that the new HEIC asset has been created and is available before it enables removal of the original. That extra check protects against the kind of mistake that is hard to undo once cloud syncing begins.
Privacy should not be a trade-off
Photo libraries are personal. They may include family images, client work, location data, and years of visual history. A converter does not need to upload that material to a remote server just to change a format.
On-device conversion keeps your photos on your Apple device while the work is performed. It also avoids upload delays for large RAW files and makes the process useful when connectivity is limited. For a library already managed through iCloud Photos, that is a sensible division of labor: your library continues to sync through your Apple account, while the conversion itself stays local.
Privacy extends beyond the image data. A utility app should be clear about what it collects. A focused photo converter has little reason to build a profile of your library, browsing behavior, or image content. Data Not Collected is not marketing decoration here. It is part of choosing a tool that respects the material you are trusting it to process.
Check format and device compatibility first
RAW is not one universal camera format. Canon, Sony, Nikon, Fujifilm, Olympus, Panasonic, and Apple all use formats with their own characteristics. Before committing to a workflow, confirm that the converter supports the cameras and RAW types in your library, along with iPhone ProRAW if you shoot on an iPhone Pro model.
Also consider where you do your organizing. If you select photos on an iPhone during travel but do larger cleanups on a Mac later, a universal app is more useful than separate tools with separate purchases and workflows. The converted photos should remain part of the same Photos library experience across your Apple devices.
Compatibility will continue to matter as camera makers release new bodies and Apple updates its operating systems. This is one reason a dedicated utility should receive ongoing format and platform updates rather than being treated as a one-time export script.
When you should keep the RAW original
Conversion is a storage strategy, not a rule that every photo must follow. Keep the RAW original for a photo that may be printed large, licensed, heavily re-edited, or used in a project where an editor needs the source. Keep it when the current edit is only a starting point, too.
For everyday finished photos, the trade-off is usually different. A high-quality HEIC keeps the image accessible, visually strong, and easy to browse in Photos while substantially reducing the space required on devices and in cloud storage. That can make more room for future shoots without immediately paying for more storage.
A sensible habit is to create a small keep-RAW set from each shoot. Save the technical standouts, the portfolio candidates, and the images with meaningful future editing potential. Convert the finished remainder. You retain creative options where they matter and stop paying a RAW-sized storage cost for every frame.
Choose a converter that makes deletion safer
The conversion itself is only half the job. The real test is whether the workflow makes it safe to remove originals. Favor tools that make the new HEIC visible in Photos before deletion, preserve your organizational details, and put you in control of what gets removed.
Pricing is worth considering as part of that long-term decision. A free trial or daily conversion allowance lets you test quality, format support, and library behavior with your own images. If you expect to convert a large archive, a buy-once lifetime option can be a more predictable fit than another required subscription.
Your photo library should become easier to live with as it grows, not more expensive and fragile. Convert finished RAW photos when it makes sense, keep the originals that still have work left in them, and let your Photos organization remain exactly where it belongs.
Shrink your RAW library, right inside Photos.
RawToHEIC converts camera RAW and iPhone ProRAW to HEIC up to 10× smaller — keeping every edit, album, favorite, and location. On-device, no account, one purchase for iPhone, iPad, and Mac.

Not sure yet? Convert a few sample photos free — no install, nothing uploaded.
Try it free — no install →