How to Replace RAW Files Safely in Photos

A 24 MB RAW from a mirrorless camera can be worth keeping. A library with 4,000 of them can quietly consume nearly 100 GB. That is when many photographers look for a way to replace RAW files safely without breaking the Photos library they have already organized.
The goal is not simply to make smaller files. It is to reclaim space while preserving the work around each image: edits, albums, favorites, captions, locations, dates, and metadata. A file converter can shrink photos, but a Photos-native workflow protects the context that makes a library usable.
Why replacing RAW files is riskier than it looks
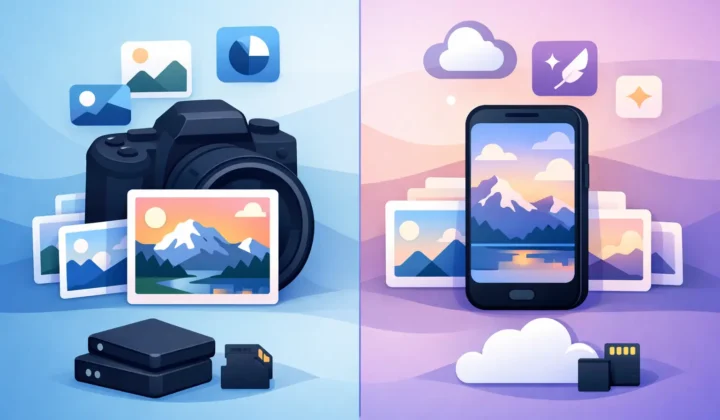
RAW files hold extensive image data, which is why they are valuable while you are editing. They also take up far more room than a finished HEIC image. Once an image is edited and delivered, retaining every RAW may no longer be the best use of your iPhone, iPad, Mac, or iCloud storage.
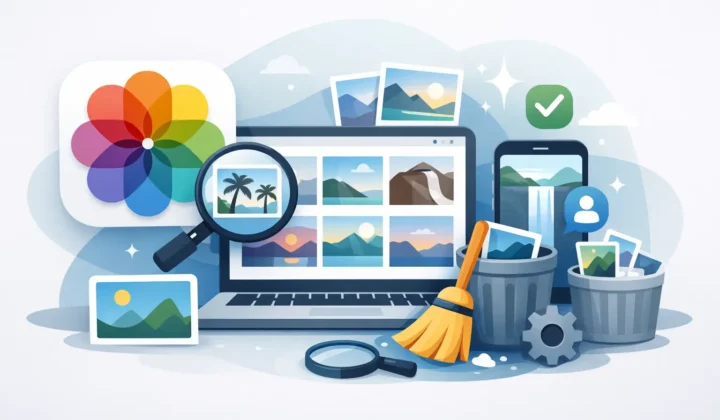
The risk begins when conversion happens outside Apple Photos. A typical file-based process asks you to export originals, convert them elsewhere, import new files, then locate and delete the old RAWs. Each step creates opportunities for mistakes. The new images may land in Recents rather than the original albums. Captions and favorites may not follow. Dates, locations, and camera details can be altered or lost. You can also end up with duplicates and no reliable way to confirm which file is safe to remove.
There is another trade-off worth being clear about: HEIC is an efficient finished-image format, not a substitute for a RAW master if you expect to revisit intensive color grading, white balance recovery, or other RAW-specific adjustments. Replace images that are finished, approved, or no longer need that latitude. Keep RAW originals for critical client work, portfolio masters, and photos you may want to re-edit from the sensor data later.
What safe replacement should preserve
A safe workflow treats the photo as more than a standalone file. In Photos, a picture can belong to several albums, be marked as a favorite, carry a caption, include location information, and have non-destructive edits attached to it. Those details are part of your library, not decoration.
When you replace a RAW, the finished HEIC should retain the organizational context you rely on. It should appear where the RAW appeared, keep its capture date and metadata, and preserve the visual result of your edits. If the source contains HDR information that Photos supports, that should be preserved as well. Otherwise, the storage win can create a library-cleanup project that costs more time than it saves.
Safety also means proving that conversion worked before deletion. A trustworthy process creates the replacement first, verifies it is present and valid in Photos, then removes the source only after the check passes. Deleting first and hoping the export completed is not a workflow. It is a gamble.
How to replace RAW files safely in Apple Photos
Start by choosing the right candidates. Good choices are photos you have finished editing, images you want readily available across devices, and large batches from trips or events that no longer require RAW flexibility. Begin with a small album or a few images rather than your entire library. This gives you a chance to confirm that the result matches your expectations.
Before replacing anything, make sure your Photos library is syncing normally and that you have an independent backup strategy for photographs that matter most. iCloud Photos keeps your library synchronized, but synchronization is not the same as an archival backup. If an original is irreplaceable, keep a copy on external storage or in another trusted backup location before you choose to delete it.
Next, convert the selected RAW images into HEIC from inside the Photos workflow. A Photos-native utility such as RawToHEIC can create the HEIC replacement on-device, avoiding a loose-file export and re-import cycle. Processing stays on your Apple device, which means your photos do not need to be uploaded to a third-party server for conversion.
After conversion, inspect a few results. Open them at full size, review edited areas such as skies and shadow detail, and check that the images are in the expected albums. Confirm favorites, captions, dates, locations, and key metadata are intact. If you work with HDR images, view them on an HDR-capable Apple display and confirm the result looks correct.
Only then should the original RAW be deleted. The best tools make this decision deliberate, with verified safety checks rather than a blind batch-delete command. That order matters: create the HEIC, verify the result, remove the RAW. You retain control at every stage.
Check storage after the first batch
The size difference varies by camera, scene, and editing choices, but the savings can be substantial. RAW photos from dedicated cameras are often tens of megabytes each, while HEIC is designed to store high-quality images much more efficiently. In many libraries, finished HEIC photos can be up to 10x smaller than the RAWs they replace.
Do not judge only one image. Convert a representative set that includes detailed landscapes, low-light shots, portraits, and heavily edited photos. That will show you the real savings and image quality for your camera and shooting style. A few minutes of validation is a better investment than discovering later that you converted the wrong kind of work.
Keep your editing intent, not every source file
Photographers sometimes assume that deleting RAWs means giving up every edit they made. That depends on the conversion method. If the replacement is generated from the current Photos rendition, the HEIC reflects the finished look you approved. Crop, exposure, color, and other visible adjustments are carried into that finished image, while the HEIC becomes the new practical master for everyday viewing, sharing, and storage.
What you lose is the ability to reopen the original RAW and push its data in a completely different direction. That is why selective replacement is smarter than an all-or-nothing purge. Keep RAWs for photographs with long-term creative or commercial value. Replace the large volume of finished images that you want to enjoy, share, and keep organized without paying for unused storage.
For iPhone ProRAW, the same principle applies. ProRAW is useful when you need editing latitude, especially in difficult light. Once an image is complete, a high-quality HEIC can be the more sensible library format. You still get a photo that works naturally in Photos while reducing the burden on local and cloud storage.
Avoid the common cleanup mistakes
The most common mistake is converting outside Photos and assuming imported replacements will behave like the originals. They may look identical in the grid, yet lose their album membership, captions, favorites, or edit history. Another is deleting RAWs immediately after export without checking the replacement. A conversion can fail because of available storage, an interrupted sync, an unsupported image condition, or a simple selection error.
It is also easy to create duplicate libraries. If the converted HEIC is imported as a new item while the RAW remains, you may have two versions scattered across albums and devices. That is not dangerous, but it defeats the reason you started: a simpler library and lower storage use.
Finally, do not convert merely because a file is large. RAW is still the right format for photos you actively edit or may need to deliver in multiple styles. Storage efficiency is valuable, but reversibility has value too. The right cutoff is usually the moment an image becomes a finished photograph rather than an active project.
A safer way to make space
Replacing finished RAW images with HEIC is not about treating your photo library as disposable. It is about keeping the photos you care about accessible, organized, and efficient on the Apple devices you use every day.
Start with one completed album. Verify the results, confirm the space you recover, and build a habit around images that have genuinely reached their final form. Your Photos library stays familiar, your storage pressure drops, and the originals you keep remain the ones that truly need to stay RAW.
Shrink your RAW library, right inside Photos.
RawToHEIC converts camera RAW and iPhone ProRAW to HEIC up to 10× smaller — keeping every edit, album, favorite, and location. On-device, no account, one purchase for iPhone, iPad, and Mac.

Not sure yet? Convert a few sample photos free — no install, nothing uploaded.
Try it free — no install →