Three Reasons to Choose HEIC for Your Photo Library
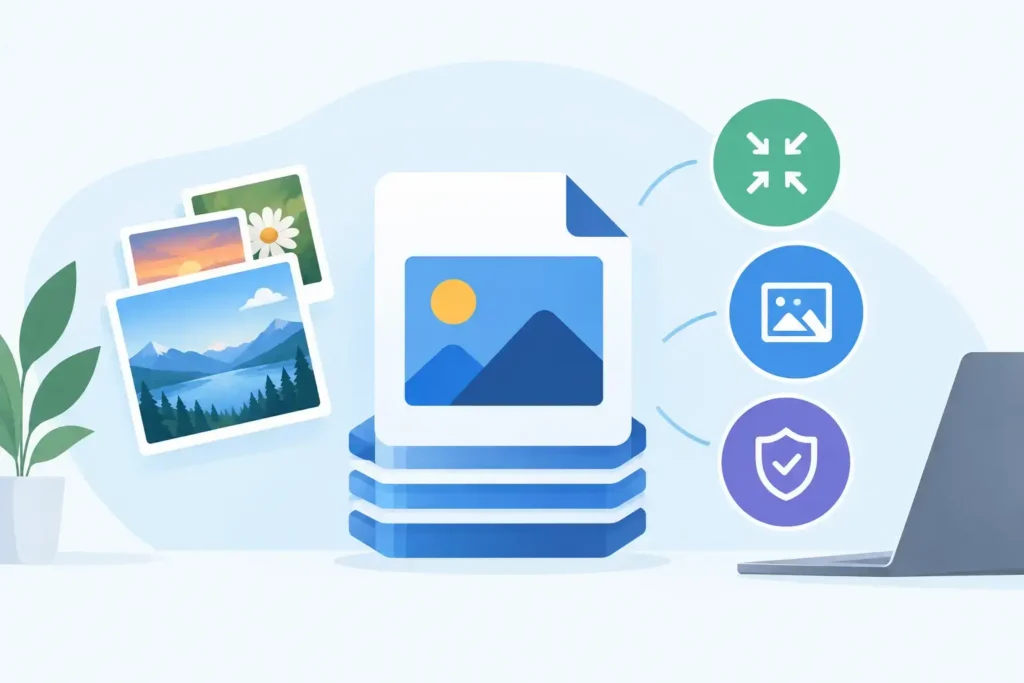
A RAW photo library can grow from manageable to expensive faster than most photographers expect. A weekend with a mirrorless camera, a year of iPhone ProRAW shots, or one family archive imported into Photos can consume hundreds of gigabytes. There are three reasons to choose HEIC when those images no longer need the full editing latitude of RAW: it cuts storage use dramatically, preserves impressive image quality, and keeps your Apple Photos workflow intact.
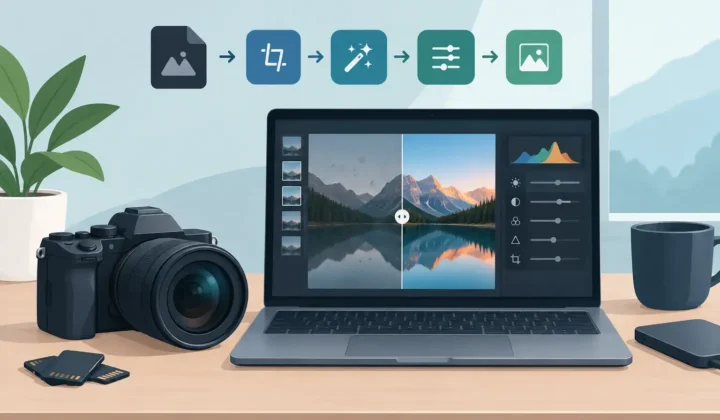
HEIC is not a replacement for RAW at capture. RAW remains the right format when you need maximum flexibility for exposure recovery, white balance adjustments, or detailed professional retouching. But once an image is finished, HEIC is often the more practical format for keeping, sharing, and revisiting it every day.
Three Reasons to Choose HEIC
1. HEIC can reduce photo storage by up to 10×
The first reason is simple: RAW files are large because they retain extensive sensor data. That is their purpose. A RAW file from a modern camera can easily occupy 20 MB, 40 MB, or much more per photo. Apple ProRAW files can also add up quickly, especially when shooting 48 MP images.
HEIC uses modern, highly efficient compression designed to preserve visual quality at a much smaller file size. For many finished photos, converting from RAW to HEIC can reduce storage use by up to 10×. The exact result depends on your camera, subject matter, resolution, and export settings, but the practical effect is easy to understand: more room on your iPhone, iPad, Mac, and iCloud Photos library.
That storage reduction has consequences beyond a lower number in Settings. A smaller library is easier to keep available locally on a device with limited capacity. It can reduce pressure to upgrade storage sooner than planned. It also makes a large photo collection more comfortable to sync across Apple devices.
For photographers who use Photos as their primary library, this matters because the library is not just a folder of files. It holds years of memories, edited images, albums, favorites, captions, people recognition, locations, and shared collections. Saving space without abandoning that environment is much more useful than simply creating a second archive on an external drive.
There is a trade-off. If you expect to revisit an image for heavy editing later, retain the RAW original somewhere safe. Think of HEIC as the smart format for approved, delivered, or everyday images – the photos you want accessible without carrying the storage cost of a digital negative everywhere.
2. HEIC keeps finished photos looking like finished photos
Smaller does not have to mean visibly worse. HEIC was built for high-quality photo storage, which is why Apple uses it for photos captured on iPhone. It can retain excellent detail and color while requiring far less space than older, less efficient formats.
For normal viewing in Photos, sharing with family, displaying on a high-resolution Apple screen, or printing at reasonable sizes, a carefully converted HEIC can look exceptionally close to its edited source. This is especially true for images that have already received their final crop, color work, and exposure adjustments.
HEIC also supports modern photo features that matter in an Apple workflow. It can preserve high dynamic range output, helping bright highlights, rich skies, and detailed shadows retain the look you intended on compatible displays. A sunset does not need to become a flat, oversized JPEG simply because you are done editing it.
This is where format choice should be intentional. JPEG remains broadly compatible with older devices, websites, and services that do not accept HEIC. If you regularly deliver files to clients using unknown systems, upload to a platform with restrictive requirements, or work with legacy software, JPEG may still be the safer export format for those specific copies.
But compatibility is rarely a reason to keep every completed image as RAW. Within Apple Photos, HEIC is a natural fit. It is supported across iPhone, iPad, and Mac, and it gives you a modern format for the photos you actually browse, search, edit lightly, and share most often.
3. HEIC works best when it stays inside Photos
The third reason to choose HEIC is workflow. Most conversion utilities treat photos as loose files. You export originals, choose a destination folder, run a conversion, import the results, identify duplicates, rebuild albums, and eventually decide which copy is safe to delete. That process is slow, and it creates uncertainty at every step.
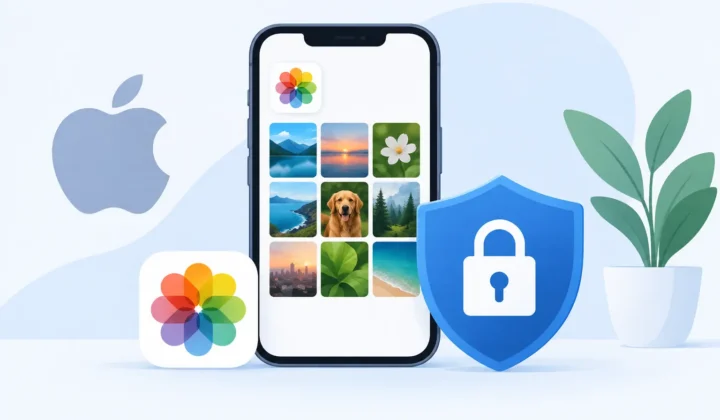
A Photos-native conversion workflow avoids that detour. Your finished photo remains part of the library you already organized. Albums stay meaningful. Favorites still surface. Captions, locations, dates, and metadata remain connected to the image. You do not have to turn a carefully maintained Photos library into a pile of folders just to save storage.
This is particularly valuable for photographers who have spent years organizing a library. The organizational context can be as valuable as the photo file itself. A caption might identify a person or place you would otherwise forget. A favorite marker may feed a slideshow or shared album. Location data can help you find a trip from years ago in seconds.
RawToHEIC is designed around this exact use case. It converts supported camera RAW formats and iPhone ProRAW directly from the native Photos app on iPhone, iPad, and Mac. There is no loose-file workflow to manage, no upload step, and no need to hand your photo library to a cloud conversion service.
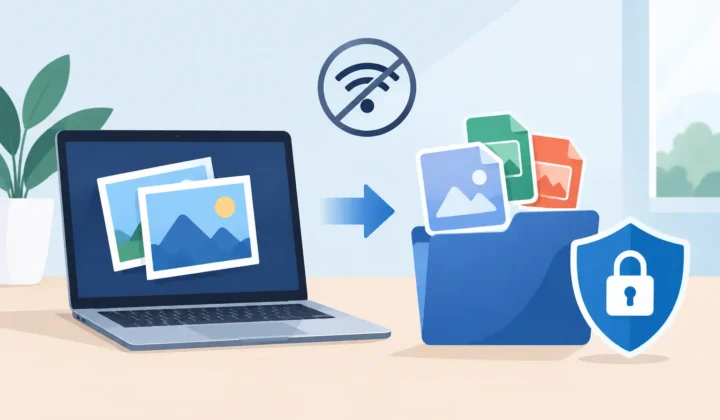
The processing happens on-device. Your photos stay on your Apple hardware, and the app collects no analytics. That is a meaningful distinction when your library includes family photos, client work, travel history, or images you simply do not want sent through an unknown server.
Safety also matters when the goal is freeing space. A conversion only helps if you can confidently remove the larger original after confirming the new HEIC exists and is usable. A good Photos-native workflow verifies that safeguard before deletion, rather than asking you to clean up duplicate files manually. The result is a smaller library without the lingering question of whether an important image was lost.
When HEIC Is the Right Next Step
Choose HEIC after editing when the photo is complete and you want it available everywhere in Apple Photos without the storage burden of RAW. It is a strong choice for personal archives, travel photography, family libraries, approved client selects, and images you have already finished in your preferred editing process.
Keep RAW when the photo has long-term professional value, needs future re-editing, or has not reached its final look. Many photographers use both formats deliberately: RAW for originals they may revisit, HEIC for the finished library they want to carry every day. This is not an all-or-nothing decision.
The practical question is not whether RAW is better than HEIC. RAW contains more editable data, by design. The better question is whether every completed image needs to keep consuming RAW-level storage forever. For most Apple Photos users, the answer is no.
Start with a small set of finished images that you know you will not heavily rework. Compare the storage savings, check the result on your devices, and make sure the photos remain where you expect them in your library. Once you see how much space a completed HEIC library can return, keeping your best photos close becomes a much easier choice.
Shrink your RAW library, right inside Photos.
RawToHEIC converts camera RAW and iPhone ProRAW to HEIC up to 10× smaller — keeping every edit, album, favorite, and location. On-device, no account, one purchase for iPhone, iPad, and Mac.


Not sure yet? Convert a few sample photos free — no install, nothing uploaded.
Try it free — no install →