Mirrorless RAW Cleanup Workflow Guide for Photos
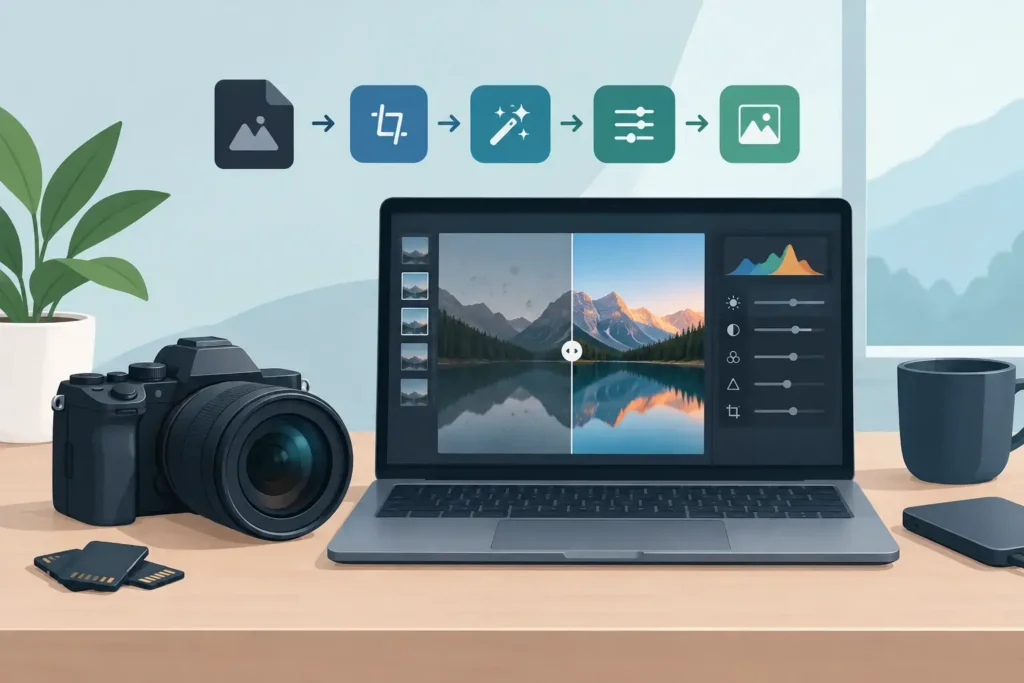
A mirrorless RAW cleanup workflow guide should start after the creative work, not before it. Your Sony, Canon, Nikon, Fujifilm, Olympus, or Panasonic RAW files are valuable while you are choosing frames and refining color. Once an image is finished, however, keeping every large original in an everyday Apple Photos library can turn great photography into a storage problem.
The goal is not to delete RAW files blindly. It is to separate the images that still need RAW flexibility from the images you are ready to keep as smaller, high-quality HEIC photos. Done inside Photos, that decision can preserve the organization you already trust: albums, favorites, captions, locations, metadata, and edits.
Start With a Library Audit, Not a Mass Deletion
Open Photos and look for the pressure points first. Large trips, sports weekends, family events, and imported camera rolls are common culprits. A few hundred mirrorless RAW files can consume far more storage than thousands of finished iPhone photos, especially when you shoot bursts or bracketed exposures.
Work in manageable batches. An event, a month, or a single album is easier to review than an entire library. Use Favorites, albums, and captions as signals. If you already marked an image as a keeper, delivered it to a client, or added it to a meaningful collection, it is a strong candidate for cleanup once editing is complete.
Do not confuse “good photo” with “needs RAW forever.” A photo can be worth keeping and still no longer require its original RAW file in your day-to-day library. The better question is whether you expect to revisit exposure, white balance, or aggressive crops later. If the answer is no, a finished HEIC can be the more practical long-term version.
Build Your Mirrorless RAW Cleanup Workflow Guide Around Three Groups
A simple three-group decision prevents the two most common mistakes: converting too early and holding everything indefinitely.
First, keep active RAW files. These are images you are still editing, images with difficult lighting, and photographs you may print large or rework for a different use. RAW retains the most editing latitude, so it earns its space when the file still has a job to do.
Second, convert finished keepers. These are photographs whose crop, color, and exposure are settled. For everyday viewing, sharing, and organized access in Photos, HEIC is typically a much smaller format with excellent visual quality. This group is where the biggest storage savings usually live.
Third, remove obvious rejects. Near-duplicates, accidental shutter presses, missed focus, and test shots do not need a conversion strategy. Delete them. Then review Recently Deleted when you are certain. Storage savings only become real after those files are removed permanently.
This structure also keeps the process emotionally manageable. You are not being asked to decide the future of every photograph at once. You are simply assigning each image to active RAW, finished HEIC, or reject.
Finish Edits Before You Shrink the File
A cleanup workflow should follow your editing workflow. Make your adjustments first, then convert the images you consider final. This matters most for scenes where you may later need to recover highlights, correct a mixed-light color cast, or make a substantial crop.
For routine family, travel, product, and personal work, the final edit is often the final edit. Keeping a huge RAW file after that point may offer little practical benefit. The trade-off is straightforward: RAW provides maximum re-editing latitude, while HEIC gives you a lighter library that is easier to keep available across your Apple devices.
There are exceptions. Keep RAW originals for portfolio work, paid assignments with possible revision requests, technically difficult images, and photographs you may reproduce at very large sizes. You may also want an external archive for once-in-a-lifetime work. A Photos cleanup is about making your active library useful, not pretending every photo carries the same archival value.
Convert Inside Photos Instead of Exporting Loose Files
Traditional conversion tools often create a detour: export the RAW file, convert it in another app, import the result, locate the duplicate, and manually restore organization. Along the way, it is easy to lose track of which version is final, leave copies in Downloads, or strip away the Photos context you spent time building.
A Photos-native workflow avoids that loose-file problem. You select the finished RAW images where they already live, create HEIC versions on-device, verify the results, and remove the originals only when you are satisfied. The library remains a library, rather than becoming a pile of folders and duplicate exports.
RawToHEIC is designed for this exact step on iPhone, iPad, and Mac. It converts supported camera RAW formats and iPhone ProRAW directly within Apple Photos, with on-device processing and no analytics. The point is not merely a different file format. It is a cleanup path that respects the albums, favorites, captions, locations, metadata, and non-destructive edits already attached to your photos.
For Apple users, this also means less time managing transfers. You do not need to stage files through a desktop folder just to reclaim space from a mobile library. Select, convert, review, and continue using Photos as usual.
Verify the New HEIC Before Removing the RAW
Storage cleanup should feel deliberate, not risky. After conversion, open a representative set of HEIC files at normal viewing size and inspect the details that matter to you: fine texture, smooth gradients, highlight areas, and edited color. If you photographed HDR content, confirm that it looks right on your device.
Then check the context around the image. Is it still in the expected album? Does it retain its favorite status, caption, location, and date? Are your Photos edits present? These checks take moments and build confidence before you delete any original files.
Use a staged approach for your first few batches. Convert 20 to 50 finished images, inspect them, and compare your available storage before and after. Once the result matches your expectations, you can work through larger groups. This is safer than converting an entire year of photos on the first attempt.
Verified deletion safeguards matter here. The right workflow makes you confirm that a successful HEIC exists before the original RAW is removed. That is fundamentally different from bulk deletion based on file names or an unchecked export folder.
Keep a Sensible Archive Policy
HEIC conversion is not a substitute for backup. It is a way to reduce the storage burden of photos that no longer need to remain as RAW in your active Photos library. If you have photographs you cannot replace, keep at least one backup strategy separate from the device you use every day.
Your policy can be simple. Keep active and high-value RAW files in an archive, retain finished HEIC images in Photos for easy access, and remove rejects quickly. Some photographers archive every RAW capture externally. Others reserve RAW storage for selects and major work. It depends on your shooting volume, paid-work obligations, available storage, and tolerance for future re-editing.
The key is consistency. A small cleanup after each import is easier than confronting 80,000 images when your iPhone or Mac is nearly full. Try a five-minute review after a shoot: reject mistakes, favorite keepers, finish obvious edits, and flag the final files for conversion later.
Make Storage Savings Part of Your Editing Routine
Mirrorless cameras make it easy to create extraordinary files, and equally easy to accumulate them faster than storage can keep up. A cleanup routine lets you keep RAW where it creates value and use efficient HEIC where it does not.
That distinction protects both your photographs and your attention. Your best finished images stay organized, available, and ready to share in Photos, while your device has room for the next shoot. Start with one completed album, make careful choices, and let your library become lighter without becoming less yours.
Shrink your RAW library, right inside Photos.
RawToHEIC converts camera RAW and iPhone ProRAW to HEIC up to 10× smaller — keeping every edit, album, favorite, and location. On-device, no account, one purchase for iPhone, iPad, and Mac.


Not sure yet? Convert a few sample photos free — no install, nothing uploaded.
Try it free — no install →