How to Convert HDR Photos Without Losing Range
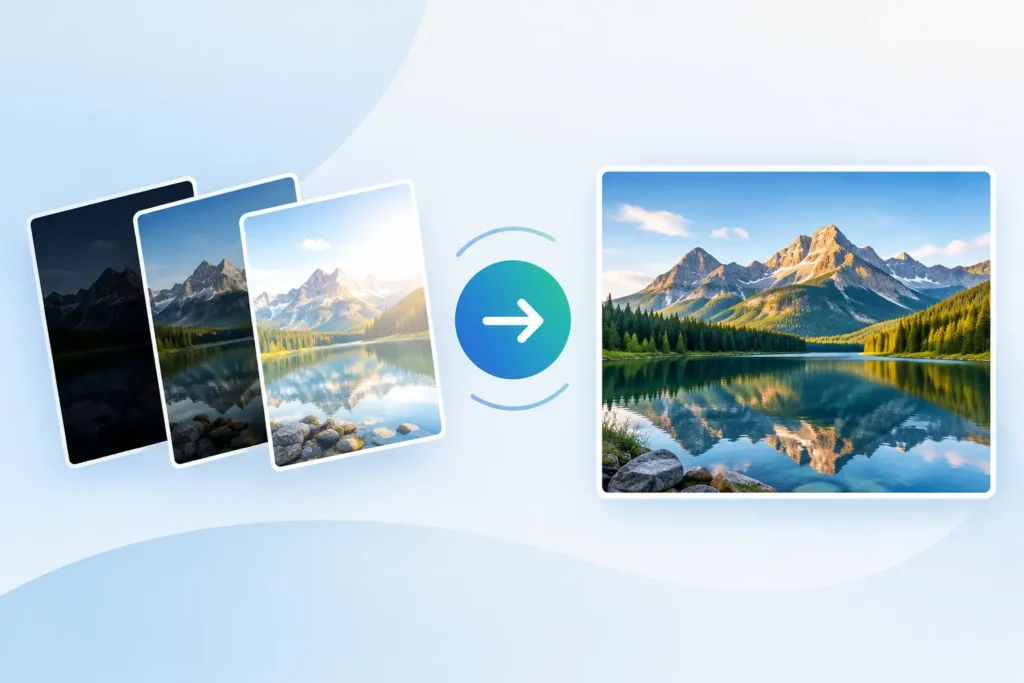
A bright window behind a portrait, a sunset over water, or city lights after dark can all expose the limits of a standard image workflow. When you convert HDR photos, the goal is not simply a smaller file. It is to keep the highlight detail, shadow detail, and display-ready range that made the photo worth saving.
For Apple users, that also means protecting the work already done in Photos: albums, favorites, captions, locations, edits, and the original capture date. A conversion that creates loose files in a separate folder may save space, but it can create a much larger organization problem.
What HDR Conversion Actually Changes
HDR, or high dynamic range, describes an image with a wider range of brightness information than standard dynamic range images can show. Depending on your camera and workflow, an HDR photo may be a single RAW capture with extensive recoverable data, a merged bracketed image, an iPhone ProRAW photo, or an image already prepared for HDR display.
That distinction matters because converting a file does not automatically create more dynamic range. If an image is standard dynamic range, saving it as HEIC will not turn it into true HDR. Likewise, if an export path flattens HDR data into an SDR JPEG, the lost highlight range cannot be restored later.
A good conversion preserves what the source and the destination format can support. HEIC is especially useful in the Apple ecosystem because it can store high-quality images efficiently and supports modern color and HDR workflows when the device, operating system, and source image support them. The result can be dramatically smaller than a RAW original while remaining excellent for viewing, sharing, and everyday editing.
Why Convert HDR Photos to HEIC?
RAW files are valuable because they retain extensive sensor data and editing latitude. They are also large. A single RAW photo from a mirrorless camera can consume tens of megabytes, while high-resolution ProRAW captures can make an iPhone library grow quickly.
Once you have finished editing a keeper, retaining every RAW file may not be the right answer. Converting selected images to HEIC can reduce their footprint substantially, often by several times and, in some workflows, up to 10x. Your exact savings depend on the camera, resolution, scene detail, and whether the original is compressed RAW.
HEIC is not a replacement for every original. Keep RAW files when you expect to revisit a major edit, print very large, submit work to a client with RAW delivery requirements, or need the maximum flexibility for color grading. For finished personal photos, travel galleries, family archives, and images you want readily available across Apple devices, an HDR-capable HEIC can be the more practical long-term file.
The decision is less about choosing one format forever and more about assigning each format the right job. RAW is the working negative. HEIC is often the efficient finished photo.
Preserve HDR, Not Just Pixels
The most common HDR conversion mistake is using an export route designed for broad compatibility rather than image fidelity. Many apps offer options such as “most compatible,” JPEG export, or reduced-size sharing. Those options can be useful for a website or older recipient device, but they may tone-map HDR content into SDR.
Before converting, confirm what kind of image you have. On Apple devices, Photos may identify HDR content and display it with noticeably brighter highlights on a compatible screen. If you are working from a camera RAW file, the HDR appearance may come from your Photos edit rather than an HDR image file captured by the camera. In that case, preserving the rendered edit is just as important as preserving the source data.
Use a converter that explicitly supports HDR preservation rather than assuming every HEIC export will retain it. Support can vary by source format, macOS or iOS version, and the imaging frameworks available on your device. A careful tool should preserve supported HDR output without forcing you through a desktop export, a cloud upload, or an intermediate folder.
After conversion, inspect several challenging images on an HDR-capable Apple display. Check bright clouds, reflections, lamps, and white clothing in sunlight. If those areas look flat, clipped, or noticeably dimmer than the original, the conversion route may have produced SDR output.
Keep Your Photos Library Intact
A traditional conversion workflow usually looks like this: export a RAW file, convert it in another app, import the new file, find it in a separate recent-import group, copy metadata where possible, then decide whether it is safe to delete the original. That process is slow, and it breaks the connection between the finished photo and the organization you already built.
A Photos-native workflow is different. The conversion happens against the image already in your library, so the resulting HEIC stays part of the system you use every day. Your photo remains where you expect to find it, with its album membership, favorite status, caption, location, and date preserved. Non-destructive edits should also be carried into the rendered result when supported by the workflow.
This matters more as your library grows. If you have spent years organizing trips, client inspiration, family events, and favorite shots in Photos, the organization has real value. A smaller file is only helpful if it does not cost you that context.
RawToHEIC is built around this approach. It converts supported camera RAW formats and iPhone ProRAW directly in Apple Photos on iPhone, iPad, and Mac, with on-device processing and no loose-file workflow. It is designed to preserve HDR where supported while keeping the converted image in the library structure you already trust.
A Safer HDR Conversion Routine
Start with a small test batch, not your entire library. Choose five to ten images that represent your real work: a high-contrast landscape, an indoor photo with window light, a night scene, an edited ProRAW image, and a photo with important metadata. This shows you how your chosen workflow handles both HDR appearance and library details.
Review the converted images in Photos before removing anything. Compare the image at full screen, open the info panel, and confirm that the date, location, caption, and album placement are correct. If you rely on edits, compare the final appearance against the source rather than judging only the file type.
Only then consider deleting the original RAW files. This step deserves caution. A reliable conversion tool should verify that a replacement was created successfully before offering any deletion action. Do not treat deletion as part of conversion. Treat it as a separate, deliberate storage decision.
For irreplaceable work, keep a separate backup before reducing your library. iCloud Photos provides synchronization, but your archive strategy should reflect how much the originals matter to you. Some photographers retain RAW files for portfolio work and convert only personal images. Others keep a final HEIC library in Photos plus a cold archive of selected RAW shoots. Both approaches are reasonable.
HDR HEIC Is Best for Apple-First Libraries
HEIC is deeply integrated into iPhone, iPad, and Mac workflows. It is efficient to sync, fast to browse, and well suited to Photos libraries where the priority is enjoying and organizing images rather than maintaining a folder-based asset system.
There are trade-offs. Some older software, websites, and non-Apple recipients still prefer JPEG. If you regularly deliver images outside the Apple ecosystem, you may need a separate export copy for those situations. That does not mean your primary library must be JPEG or RAW forever. Keep the efficient HEIC in Photos, then export a compatible version only when a specific destination requires it.
The same principle applies to HDR. Your HDR HEIC may look its best on a compatible Apple display, while another screen or app may show a tone-mapped SDR version. That is a display and compatibility limitation, not necessarily a failed conversion.
Make Space Without Losing the Photo You Finished
The best time to convert is after the photo has earned its place in your library. Edit the RAW image, verify the result, then keep an efficient HDR-capable HEIC version for everyday viewing and sharing. Leave RAW files attached to the images that still need deep editing flexibility.
That approach keeps your Photos library lighter without turning photo management into another project. Your finished images stay organized, your HDR work stays visible where supported, and your storage starts serving the photos you actually want to keep close.
Shrink your RAW library, right inside Photos.
RawToHEIC converts camera RAW and iPhone ProRAW to HEIC up to 10× smaller — keeping every edit, album, favorite, and location. On-device, no account, one purchase for iPhone, iPad, and Mac.


Not sure yet? Convert a few sample photos free — no install, nothing uploaded.
Try it free — no install →