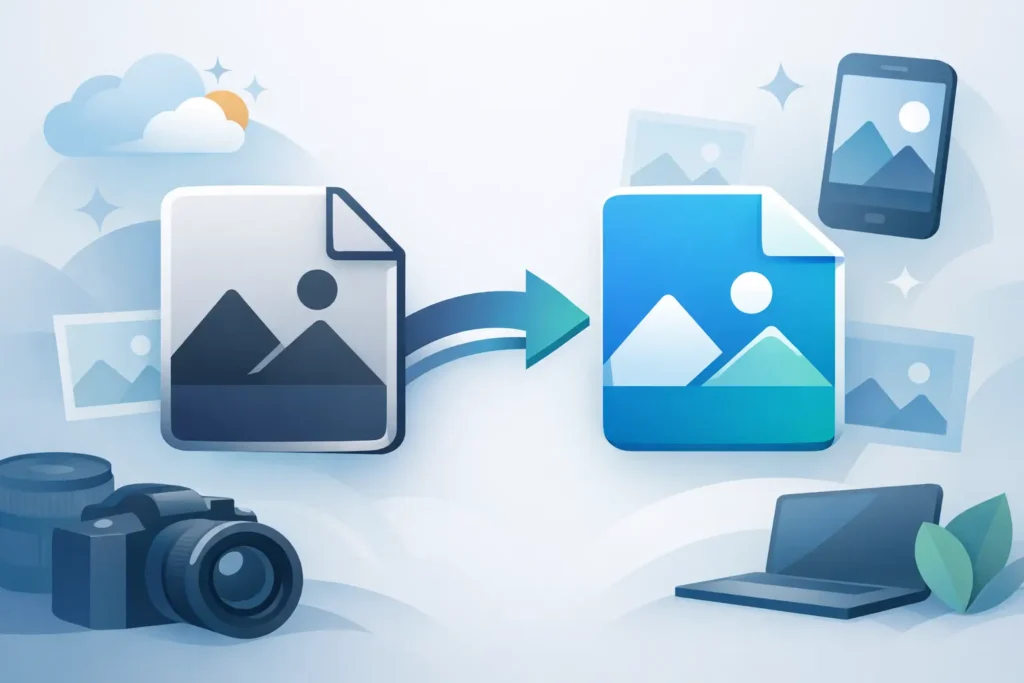
How to Convert ProRAW to HEIC
A 48MP ProRAW shot can eat up tens of megabytes in a second. Multiply that across a trip, a family event, or a few months of casual shooting, and your Photos library starts pushing against iPhone storage, iCloud space, or both. If you’re wondering how to convert ProRAW to HEIC, the real question is usually this: how do you shrink file size without turning your photo library into a mess?
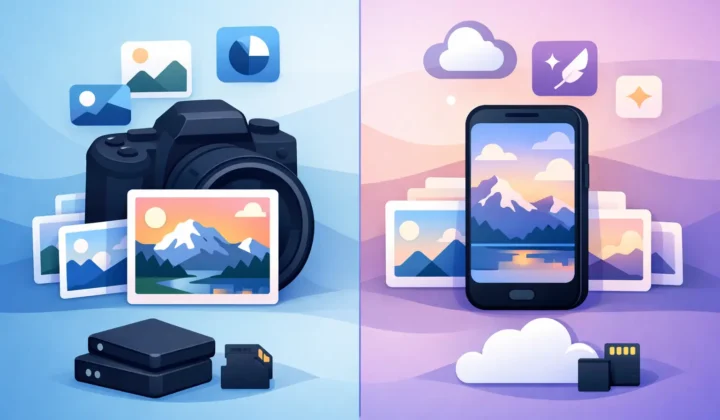
Why people want to convert ProRAW to HEIC
ProRAW is great when you need editing latitude. You get more image data, more flexibility in highlights and shadows, and more room to fine-tune color after the shot. That makes sense during capture and early editing.
But once a photo is finished, ProRAW often becomes expensive to keep around. The file is much larger than HEIC, and that extra size adds up fast. For many Apple users, the goal is not to keep every image in a heavy working format forever. It is to keep the photos they care about, preserve the look they created, and reclaim storage.
HEIC is usually the practical format for that next step. It is much smaller, supports modern image features well, and fits naturally into Apple’s ecosystem. For everyday viewing, sharing, and long-term library management inside Photos, HEIC is often the better balance.
How to convert ProRAW to HEIC without breaking your library
This is where most workflows go wrong. Technically, converting a file is easy. Preserving your Photos library context is the hard part.
If you export a ProRAW image, convert it in a separate app, then import the HEIC back into Photos, you usually create a loose-file workflow. The converted image may no longer sit in the same place in your library history. Albums, favorites, captions, locations, and metadata can get messy. Non-destructive edits may not carry over the way you expect. You also have to manually decide what to delete, which raises the risk of deleting the wrong version.
That is why the best answer to how to convert ProRAW to HEIC is not just about format conversion. It is about doing it directly inside the Photos library you already use.
The cleanest method on iPhone, iPad, and Mac
The most efficient approach is to convert ProRAW photos in place, from within Apple Photos, using a tool designed for that exact workflow. Instead of exporting files to a folder and re-importing them later, you select the images already in your library and convert them on-device.
That approach matters for three reasons. First, it keeps your organization intact. Second, it protects privacy because your photos do not need to leave your device. Third, it is much faster when you are converting a real library instead of a handful of test shots.
With a Photos-native utility such as RawToHEIC, the process is straightforward: open Photos, select your ProRAW images, start the conversion action, review the result, and let the app verify the new HEIC files before any optional deletion of the originals. That means no required subscription, no cloud relay, and no extra file management layer to babysit.
What happens to edits, metadata, and albums?
This is the part advanced users care about, and rightly so. A good conversion workflow should not save space by stripping out the context you spent time building.
When conversion happens properly inside the Photos environment, your images can retain the details that matter for library management: captions, dates, locations, favorites, and album placement. That is a major difference from the export-convert-import cycle, where the converted file can behave like a brand-new asset.
Edits are a more nuanced topic. If you have already adjusted a ProRAW photo and want to keep that visual result, your HEIC output should reflect the current rendered appearance. In practical terms, that means the HEIC becomes the compact version of the photo as you want it to look now, rather than an oversized editing source you keep around indefinitely.
For many users, that is exactly the point. ProRAW is the capture and editing format. HEIC is the keep-it-in-my-library format.
When converting ProRAW to HEIC makes sense
Not every ProRAW image should be converted right away. It depends on where that photo sits in your workflow.
If you are still actively editing an image, or if it is a hero shot you may revisit heavily later, keeping the original ProRAW file can still make sense. You are preserving maximum flexibility.
If the photo is finished, delivered, shared, or simply part of your everyday library, conversion is usually the smarter move. You keep the image, keep the Photos experience, and cut storage use dramatically. That is especially useful for travel sets, family albums, event photos, and large batches of iPhone ProRAW images that no longer need deep editing headroom.
A simple rule of thumb
Keep ProRAW while you are deciding what the image should become. Convert to HEIC once you already know.
That one distinction helps avoid both extremes: hoarding giant raw files forever or flattening everything too early.
Why HEIC is a strong fit for Apple users
HEIC is not just a smaller file format. In the Apple ecosystem, it is the native everyday format for efficient photo storage. It works well across iPhone, iPad, and Mac, supports high image quality at far lower sizes than RAW, and stays compatible with the way most people browse, sync, and share photos.
For Apple-first users, that matters more than theoretical file purity. The goal is not to win a format debate. The goal is to keep a usable library on devices you actually rely on.
That is why converting ProRAW to HEIC is often less about compression and more about sustainability. A library that stays fast, organized, and affordable to store is easier to live with over time.
What to avoid when you convert ProRAW to HEIC
The biggest mistake is treating photo conversion like generic file conversion. Photos libraries are not just folders full of images. They are structured collections with metadata, relationships, edits, and user decisions layered on top.
If your workflow requires exporting to the Finder, converting in a separate utility, then manually importing and cleaning up duplicates, expect friction. It is slower, easier to get wrong, and harder to trust at scale.
Another mistake is converting without a safety check. If you plan to remove original files after conversion, you want verification built into the process. That is especially true for large batches, where manual spot-checking is not enough.
And if privacy matters, avoid tools that depend on uploading your library to a server just to produce a smaller file. For personal photos, on-device processing is the better default.
Device support and real-world libraries
If your library includes more than iPhone ProRAW, compatibility matters. Many Apple users also import RAW images from Canon, Sony, Nikon, Fujifilm, Olympus, or Panasonic cameras into Photos. In that case, the ideal workflow is not one that only handles one format in isolation, but one that fits the whole library.
That is another reason a Photos-native converter is useful. You can manage storage pressure across your Apple devices without splitting your workflow between phone photos and camera photos.
For users with large iCloud Photos libraries, the benefit is immediate. Smaller files reduce storage pressure locally and in the cloud, while keeping the library structure you already depend on.
So, how should you convert ProRAW to HEIC?
Use the method that preserves your library, not just your pixels. If you are fully inside Apple Photos, the best workflow is the one that converts in place, keeps metadata and organization intact, processes everything on-device, and verifies the result before you delete anything.
That is the practical answer to how to convert ProRAW to HEIC on iPhone, iPad, or Mac. Not export. Not re-import. Not loose files. Just a direct conversion inside the system you already use.
If your goal is up to 10x smaller files with less clutter and fewer chances to break your library, that workflow is the one worth choosing.
A good photo library should feel lighter after you finish editing, not heavier.
Shrink your RAW library, right inside Photos.
RawToHEIC converts camera RAW and iPhone ProRAW to HEIC up to 10× smaller — keeping every edit, album, favorite, and location. On-device, no account, one purchase for iPhone, iPad, and Mac.
Not sure yet? Convert a few sample photos free — no install, nothing uploaded.
Try it free — no install →