How to Free Up iPhone Storage Photos
Your iPhone says storage is full, but the real culprit is usually obvious the moment you open Settings: photos. If you need to free up iPhone storage photos without wrecking your library, the goal is not random deletion. It is reducing photo weight while keeping the images, edits, and organization you already rely on in Photos.
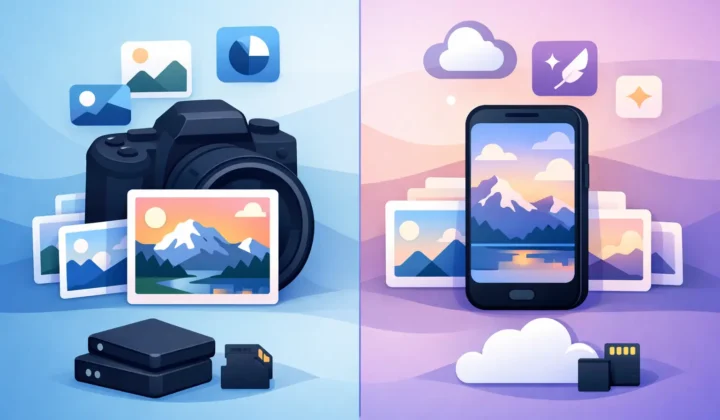
That matters more than most cleanup advice admits. For casual snapshots, deleting duplicates and clearing screenshots can help. But if you shoot ProRAW on iPhone or import RAW files from a Sony, Canon, Nikon, Fujifilm, Olympus, or Panasonic camera, the problem is different. A single image can take up tens of megabytes. Multiplied across months or years, your library becomes the thing eating your device, your iCloud storage, or both.
Why photos fill iPhone storage so fast
The biggest reason is file format. HEIC and JPEG are relatively compact. RAW and ProRAW are not. They store far more image data, which is great while you are editing and adjusting exposure, white balance, or color later. But once you are done editing, keeping every image as RAW is often overkill.
This is where many Apple users hit the same wall. They want the image in their Photos library. They want the album placement, favorite status, captions, location data, and edits to stay intact. But they also want the file size to stop ballooning. Traditional conversion workflows usually turn that into a file-management project: export the image, convert it somewhere else, re-import it, compare versions, then manually clean up the originals. It works, but it is slow and easy to mess up.
The best way to free up iPhone storage photos without losing your library
If your library is heavy because of RAW or ProRAW files, the most effective fix is conversion, not deletion. Converting finished RAW images to HEIC can cut storage dramatically while keeping image quality very high for everyday viewing, sharing, and long-term library use.
The trade-off is simple. RAW keeps maximum editing latitude. HEIC gives you much smaller files. So the right move depends on where each photo is in your workflow. For in-progress work, keep RAW. For finished images you are unlikely to reprocess from scratch, HEIC is often the smarter format.
That is especially true inside Apple Photos, where many users already do their real organizing. If your albums, captions, keywords, favorites, and edits live there, a loose-file conversion workflow creates friction you do not need. A Photos-native method is cleaner because it works where your library already exists.
Free up iPhone storage photos in the Photos app
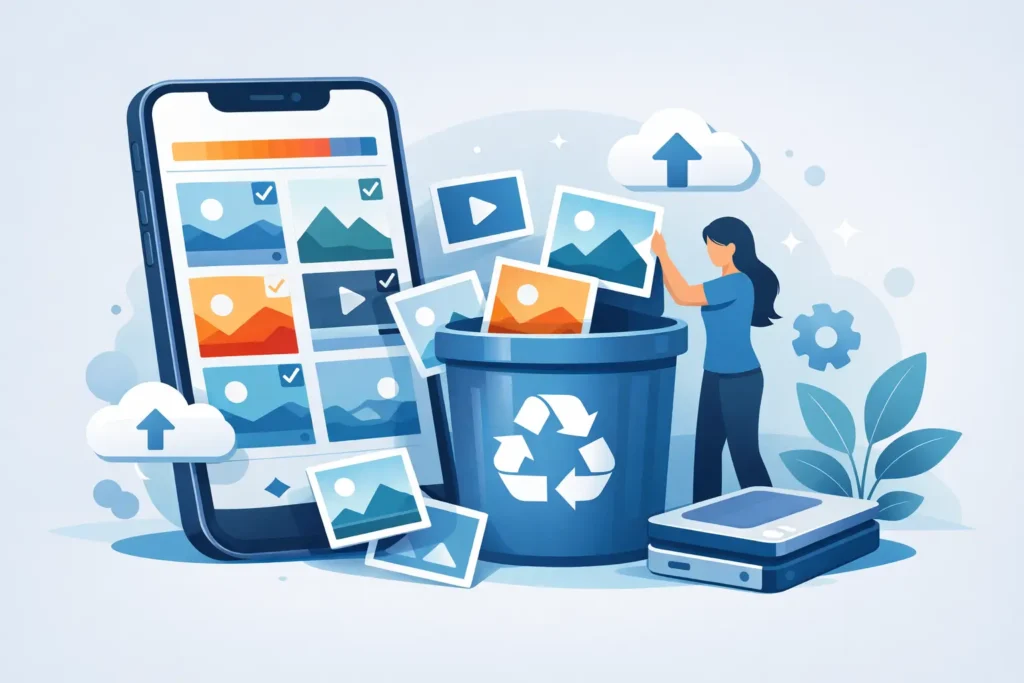
Start with the easy wins, but be realistic about their limits. Delete obvious clutter like screenshots, duplicate saves, accidental burst leftovers, and videos you no longer need. Recently Deleted also counts against storage until it is emptied, so clearing that album can free space immediately.
After that, check what is actually taking up room. If you shoot in ProRAW, transfer camera RAW files into Photos, or use your iPhone as a serious photography device, a small number of large files may be responsible for most of the problem. In that case, deleting a handful of screenshots will barely move the needle.
This is where converting selected images makes more sense than trimming around the edges. Finished RAW images can often be reduced to a fraction of their original size. In many cases, the savings are substantial enough to feel immediate on-device and noticeable in iCloud storage over time.
What to keep, what to convert, and what to delete
A good rule is to divide your library into three groups.
First, keep true working files in RAW if you still expect to revisit the edit with maximum flexibility. That includes portfolio work, paid shoots, or images with tricky lighting you may want to reprocess later.
Second, convert completed RAW photos to HEIC if your editing is done and your priority is storage efficiency. This is often the sweet spot for enthusiast libraries. You keep a high-quality image in Photos, but stop paying the storage cost of a full RAW file for every frame.
Third, delete the obvious non-keepers. Missed focus, accidental captures, near-identical throwaways, and junk imports do not need a more sophisticated solution.
The key is not treating every photo the same. A family portrait you finished editing last year and still love does not need the same file format as a fresh RAW image from yesterday’s shoot.
Why export-and-convert workflows fall apart
On paper, exporting files from Photos and converting them elsewhere sounds manageable. In practice, it is where people lose trust in the process.
Exports can strip you out of the native Photos workflow. Re-imports may create duplicates or break continuity. You can end up with converted copies that no longer carry the same place in your albums, or with uncertainty around which version is safe to delete. If you care about metadata and organization, that is not a small issue. It turns storage cleanup into library maintenance.
There is also the privacy angle. Sending a large personal photo archive through cloud conversion services is not ideal for many users. For Apple owners who specifically want local control, on-device processing matters.
That is why a Photos-native approach is much more practical. The less your images leave the library, the lower the risk of losing context or creating cleanup work for yourself later.
A smarter route for RAW-heavy libraries
If your goal is to free up iPhone storage photos and the real problem is RAW bloat, a tool built around Apple Photos is the better fit than a generic file converter. RawToHEIC is designed for exactly this use case: converting RAW files directly inside the native Photos app on iPhone, iPad, and Mac.
The value is straightforward. You convert in place, stay inside Photos, and avoid the usual export-import mess. Albums, favorites, captions, locations, metadata, and non-destructive edits are preserved. HDR is preserved where supported. Processing is on-device, and the app does not collect data. There is also a verified deletion safeguard, which matters when you are cleaning up large originals and want confidence before removing them.
For users sitting on a large ProRAW or camera RAW library, this changes the economics of storage. Up to 10x smaller files is the kind of reduction that can postpone a storage upgrade, reduce iCloud pressure, and make your library easier to live with every day.
How to decide if conversion is worth it
The simplest test is to look at your behavior, not just your files. Ask yourself how often you reopen old RAW photos to completely re-edit them from scratch. If the answer is rarely, then keeping every finished image in RAW may be costing you far more in storage than it returns in practical value.
There are exceptions. Commercial work, archival masters, or images with ongoing editing value should stay in RAW somewhere. But that somewhere does not always have to be your active iPhone library. Some users keep a smaller set of RAW masters externally while maintaining a lighter HEIC-based library in Photos for day-to-day use.
That hybrid approach often lands in the right place. You keep flexibility where it matters and remove weight where it does not.
Common mistakes when trying to free up iPhone storage photos
The first mistake is assuming optimization settings alone will solve the issue. Optimize iPhone Storage can help with local device space, but it does not reduce the underlying size of your photo library in iCloud. If your library itself is too large, you need to change the files, not just how they are cached.
The second is bulk deleting before you understand what is consuming storage. If large RAW files are the issue, random cleanup wastes time.
The third is choosing a workflow that breaks trust. If you are worried about losing edits, metadata, or album structure, you will postpone the cleanup. That hesitation is rational. A storage-saving method has to be safe enough that you will actually use it.
The practical standard to aim for
The best photo library is not the one with the biggest files. It is the one you can keep using comfortably. That means enough quality for the images you care about, enough flexibility for the work still in progress, and enough efficiency that your iPhone does not feel full all the time.
If your library is mostly everyday HEIC shots, simple cleanup may be enough. If it is packed with RAW and ProRAW images, format strategy matters more than deletion strategy. Converting finished files to HEIC inside Photos is often the cleanest way to get meaningful storage back without sacrificing the structure you already built.
A lighter library is not just about saving gigabytes. It is about keeping Photos fast, organized, and easy to trust the next time you shoot something worth keeping.
Shrink your RAW library, right inside Photos.
RawToHEIC converts camera RAW and iPhone ProRAW to HEIC up to 10× smaller — keeping every edit, album, favorite, and location. On-device, no account, one purchase for iPhone, iPad, and Mac.

Not sure yet? Convert a few sample photos free — no install, nothing uploaded.
Try it free — no install →