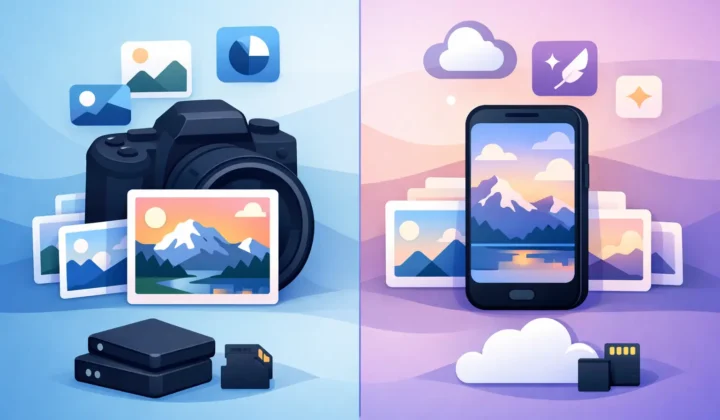
How to Reduce RAW Photo File Size

A few hundred RAW shots from a weekend trip can quietly eat tens of gigabytes. If you use Apple Photos as your main library, that storage pressure shows up fast – on your iPhone, iPad, Mac, and in iCloud. The good news is that there are smart ways to reduce raw photo file size without turning your library into a pile of loose exports.
RAW is large for a reason. It stores far more image data than JPEG or HEIC, which gives you extra flexibility for exposure, white balance, highlight recovery, and color work. That flexibility matters while you are editing. But once a photo is finished, keeping every image in full RAW is not always the best use of space.
Why RAW files get so big
Most RAW formats are designed to preserve sensor data with minimal processing. That means higher bit depth, less compression, and more room for editing decisions later. A ProRAW image from an iPhone can be dramatically larger than a standard HEIC. Files from mirrorless and DSLR cameras can be larger still, especially as sensor resolutions keep climbing.
There is a trade-off here. Bigger files are not inherently wasteful. If you still need to make major edits, create large prints, or revisit a shoot for commercial work, the original RAW may deserve a permanent place in your library. But if an image is already edited, shared, printed, or simply kept for personal reference, RAW can become more overhead than benefit.
The best way to reduce RAW photo file size
The most effective way to reduce RAW photo file size is usually not compression. It is conversion.
Trying to zip, archive, or lightly compress RAW files rarely changes the storage equation enough to matter in daily use. Converting finished images to a modern format such as HEIC is different. HEIC delivers strong compression, excellent visual quality, and native support across Apple devices. For many photos, the file size drop is substantial, often many times smaller than the original RAW.
That matters most when your library is already organized in Photos. If your albums, favorites, captions, locations, and edits live there, a file-based workflow creates friction. Exporting RAW files, converting them somewhere else, then re-importing new copies often breaks continuity. You can end up with duplicates, missing metadata, or a cleanup job you never wanted.
A Photos-native workflow avoids that mess.
When conversion makes sense and when it does not
Not every RAW image should be converted. The right answer depends on what the photo still needs to do.
If the image is fully edited and you mainly want to keep it, share it, or sync it efficiently across devices, HEIC is usually the practical choice. If the photo is a portfolio master, part of client work, or something you may heavily re-edit later, keeping the RAW is safer.
A mixed strategy often works best. Keep your best selects or active projects in RAW. Convert the rest once you are done editing. That approach protects flexibility where it matters and cuts storage where it does not.
How to reduce raw photo file size without breaking your library
If you use Apple Photos, the method matters as much as the format. The goal is not just smaller files. The goal is smaller files without losing the structure you already built.
Start by identifying photos that are truly finished. These are images you have already edited, exported, shared, or archived mentally. Once you know which photos no longer need RAW flexibility, convert those to HEIC instead of sending them through an export-import round trip.
This is where a native tool makes a big difference. RawToHEIC converts RAW photos directly inside Apple Photos on iPhone, iPad, and Mac. That means no loose-file workflow, no manual relinking, and no external upload. Your processing stays on device, and your Photos library stays intact.
For Apple users, that is the cleanest path. You reduce storage use while preserving the context that actually makes a photo library usable – albums, favorites, captions, locations, metadata, and existing non-destructive edits.
What to look for before you convert
Quality is the first concern. A good HEIC conversion should look very close to the edited image you already see in Photos, not like a flattened compromise. HDR handling also matters, especially for newer iPhone captures and high-dynamic-range workflows.
Safety is the second concern. Deleting RAW files after conversion can save a lot of space, but only if the app verifies that the converted image has been written correctly. Storage tools should make that process explicit, not casual.
Privacy is the third. Photo libraries are personal. On-device conversion is not just convenient. It is the safer default. If you do not need a cloud service to process your images, there is no reason to introduce one.
Reduce RAW photo file size on iPhone, iPad, and Mac
The Apple ecosystem makes this easier than many photographers expect, but only if the workflow respects Photos instead of working around it.
On iPhone and iPad, storage pressure is immediate. Large RAW libraries compete with everything else on the device, including videos, apps, and backups. On Mac, the problem shifts from local disk usage to library sprawl and iCloud cost. In both cases, converting finished RAW files to HEIC can make the library lighter and easier to keep synced.
There is also a practical performance benefit. Smaller files are easier to back up, quicker to sync, and less punishing on limited storage tiers. If you have ever delayed importing a shoot or ignored your Photos cleanup because the process felt tedious, reducing file size inside the library removes a lot of that friction.
What not to do
The worst approach is usually exporting everything into folders just to run a batch converter. It sounds simple until you are managing duplicate versions, missing edits, or uncertain metadata. What began as a storage fix turns into a library-management problem.
Another mistake is converting too early. RAW still has a job during active editing. If you switch formats before you are done, you give up flexibility you may still need. Smaller is better only after the image has reached its final state.
It is also worth resisting all-or-nothing thinking. You do not need to purge every RAW file. You just need a smarter threshold for deciding which ones still justify their size.
A simple decision rule
Ask one question: will I realistically re-edit this from the sensor data again?
If the answer is yes, keep the RAW. If the answer is no, convert it and take the storage savings. That single filter is more useful than chasing technical perfection.
For most Apple Photos users, the real value is not in squeezing a few percent out of a file. It is in removing storage pressure without losing the organization and editing context you already built. That is why format choice and workflow choice should be treated together.
RAW is great at capture time and during editing. It is not automatically the best long-term format for every finished photo. Once you separate those two jobs, it becomes much easier to decide what stays RAW and what should become HEIC.
A smaller library is not just cheaper to store. It is easier to use, easier to sync, and easier to trust. If your Photos library is full of finished RAW files, reducing them is not cutting corners. It is finally matching the format to the job.
Shrink your RAW library, right inside Photos.
RawToHEIC converts camera RAW and iPhone ProRAW to HEIC up to 10× smaller — keeping every edit, album, favorite, and location. On-device, no account, one purchase for iPhone, iPad, and Mac.
Not sure yet? Convert a few sample photos free — no install, nothing uploaded.
Try it free — no install →