How to Save iPhone Photo Storage
If your iPhone says storage is full right after a shoot, the problem usually is not “too many photos.” It is a handful of very large ones. To save iPhone photo storage, you need to know which images are eating space, which ones are worth keeping in full size, and which ones should be reduced without breaking your library.
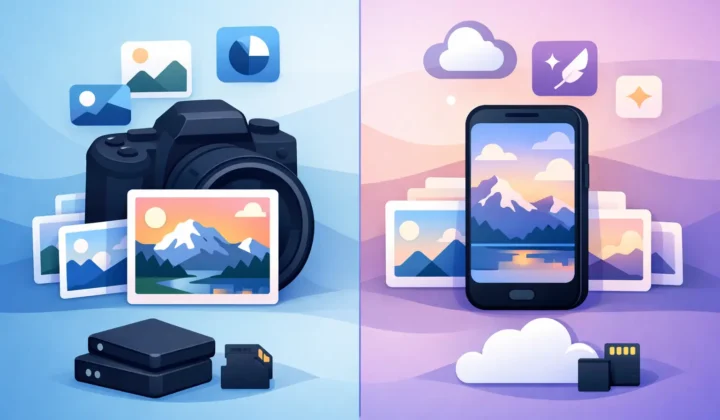
For most people, the biggest storage pressure comes from video, bursts, screenshots, and duplicate images. For photographers, it is often RAW and ProRAW. One edited ProRAW shot can take up far more space than a standard HEIC image, and that adds up fast when your Photos library is doing double duty as both a camera roll and a long-term archive.
What actually uses the most space in Photos
The Photos app makes everything feel lightweight because browsing is fast. Storage is a different story. Standard iPhone photos in HEIC are relatively efficient. RAW files are not. The same goes for ProRAW from iPhone Pro models and RAW imports from Canon, Sony, Nikon, Fujifilm, Olympus, Panasonic, and other cameras.
That difference matters because the storage cost is not linear with how often you view a photo. You might only revisit a RAW file once, but it sits in your library at full size every day. If you already finished editing, keeping every original RAW image on your iPhone can be expensive in the most literal sense – more iCloud storage, more device storage pressure, and more friction when backing up or syncing.
The easiest ways to save iPhone photo storage
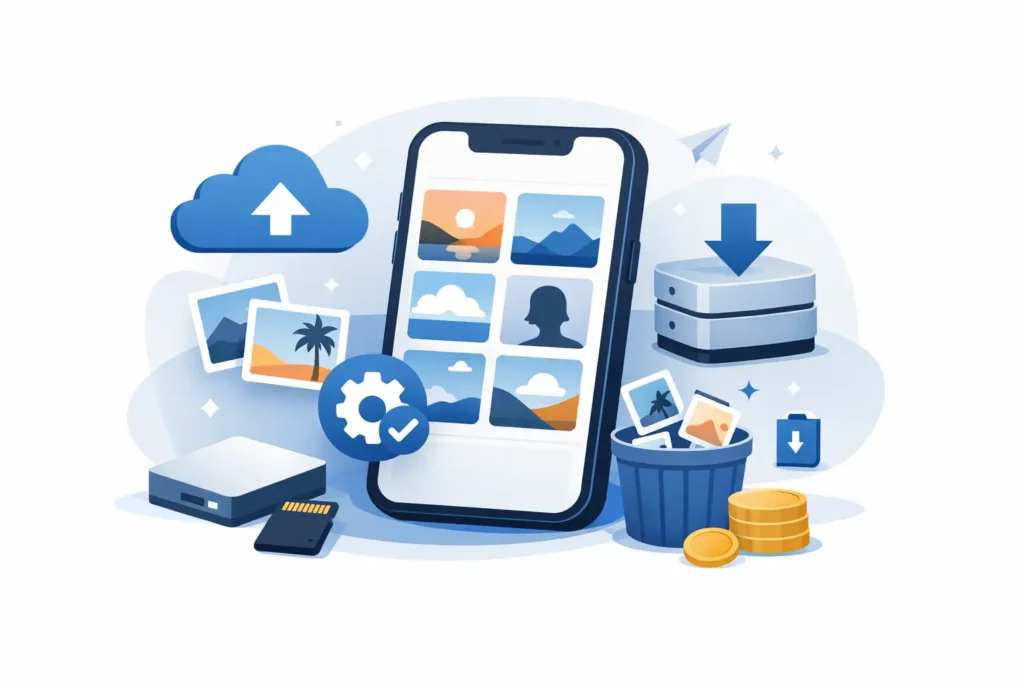
There are a few basic fixes that help immediately. Delete obvious junk first. Review screen recordings, duplicate shots, accidental bursts, and old videos you no longer need. That clears space, but it usually does not solve the deeper issue if your library is built around high-resolution originals.
The next decision is format. HEIC is one of the most efficient formats Apple supports for everyday photo use. It keeps image quality high while dramatically reducing file size compared with RAW. If a photo has already been selected, edited, and organized, converting it from RAW or ProRAW to HEIC is often the cleanest way to reduce storage without changing how you use Photos.
That is where many workflows become annoying. Traditional conversion tools typically push you into an export-import routine. You export the file, convert it somewhere else, re-import it, then clean up duplicates manually. Albums break. Favorites disappear. Captions, locations, metadata, and edit context can get messy. The storage problem gets replaced by a workflow problem.
Save iPhone photo storage without breaking your library
A good storage-saving workflow should do three things well. It should reduce file size meaningfully, keep your organization intact, and let you stay inside the Photos app.
That last part matters more than it sounds. Photos is where most Apple users already sort albums, mark favorites, add captions, search by location, and make non-destructive edits. If you have built your photo life there, a file-based workaround is not just slow. It is a step backward.
The cleanest approach is to convert finished RAW images directly inside Photos, then verify deletion of the larger originals only after the smaller files are safely created. This gives you the storage benefit without the loose-file workflow. You keep the library you already organized, rather than rebuilding it from scratch.
For the right kind of photo, the savings can be dramatic. A HEIC version may be several times smaller than the RAW original, sometimes up to 10x smaller depending on the source file and image content. That is the difference between a library that constantly triggers storage warnings and one that feels usable again.
When to keep RAW and when to convert
Not every image should leave RAW behind. If you are still editing heavily, testing different white balance choices, or planning large prints, keeping the original RAW file makes sense. RAW exists for a reason. It preserves more image data and gives you more latitude.
But once a photo is finished, the trade-off changes. If the image already looks the way you want and now mostly needs to be stored, shared, and found later, HEIC becomes a very practical format. You retain excellent quality with much lower storage overhead.
A simple rule works well here. Keep RAW for in-progress work and hero images. Convert the rest when editing is done. That split respects both quality and storage reality.
Why iCloud alone does not fully solve it
Many users assume iCloud Photos with Optimize iPhone Storage is the answer. It helps, and for some people it is enough. But it does not reduce the original size of your library. It mostly shifts where the full-resolution files are stored and how aggressively your device caches them.
That means you can still end up paying for a larger iCloud plan because RAW and ProRAW files remain large at the source. You also still carry a library that is heavier to sync, back up, and manage over time. Optimization is useful. It is not the same thing as making your files smaller.
If your goal is to save iPhone photo storage in a lasting way, format reduction matters more than temporary offloading.
A better workflow for RAW-heavy Apple users
If you regularly shoot on iPhone Pro or import camera RAW files into Photos, the ideal workflow is simple. Edit first. Convert later. Keep everything on device. Avoid exports. Verify safety before deleting originals.
This is exactly why tools built natively for Apple workflows are so much more practical than generic converters. RawToHEIC, for example, converts supported RAW files directly inside the native Photos app on iPhone, iPad, and Mac. The point is not just conversion. The point is preserving the context you already built – albums, favorites, captions, locations, metadata, and edits – while reducing storage dramatically.
That difference is easy to underestimate until you have tried both methods. A generic converter gives you a new file. A Photos-native workflow gives you a smaller library without the cleanup project afterward.
Privacy also matters here. Photo libraries are personal, and many users reasonably do not want to upload original images to a third-party service just to save space. On-device processing avoids that problem. It is faster, more private, and much easier to trust when there is no analytics-heavy cloud handoff in the middle.
How to decide what to convert first
Start with the photos that combine three traits: large original size, completed editing, and low need for future RAW adjustments. Old ProRAW shots are usually the first candidates. Imported mirrorless or DSLR RAW files are next, especially if they live in albums you keep for reference, travel, family, or finished client selects.
Recent work still under active review can wait. The same goes for images you may re-edit for print or publication. Storage strategy works best when it follows real usage, not just file size.
It is also worth thinking in batches. Converting a few scattered files helps a little. Converting a completed album, project, or date range is where you notice the difference. Your free space jumps faster, and your library becomes easier to manage consistently.
The trade-off that matters most
The real question is not whether RAW is better than HEIC. RAW is better for capture flexibility. HEIC is better for efficient storage and everyday use. The question is when each format makes sense in your library.
For Apple users who rely on Photos as their main system, the best answer is usually not extreme. You do not need to keep everything in RAW forever, and you do not need to flatten your entire library into the smallest possible format either. A mixed strategy is smarter. Keep the files that still benefit from RAW. Convert the ones that are already done.
That gives you the part that matters most: lower storage pressure without sacrificing the way you organize, edit, and trust your photo library.
Your iPhone does not need fewer good photos. It needs fewer oversized files pretending to still be active work.
Shrink your RAW library, right inside Photos.
RawToHEIC converts camera RAW and iPhone ProRAW to HEIC up to 10× smaller — keeping every edit, album, favorite, and location. On-device, no account, one purchase for iPhone, iPad, and Mac.
Not sure yet? Convert a few sample photos free — no install, nothing uploaded.
Try it free — no install →