ProRAW Post Editing Archive Guide for Photos
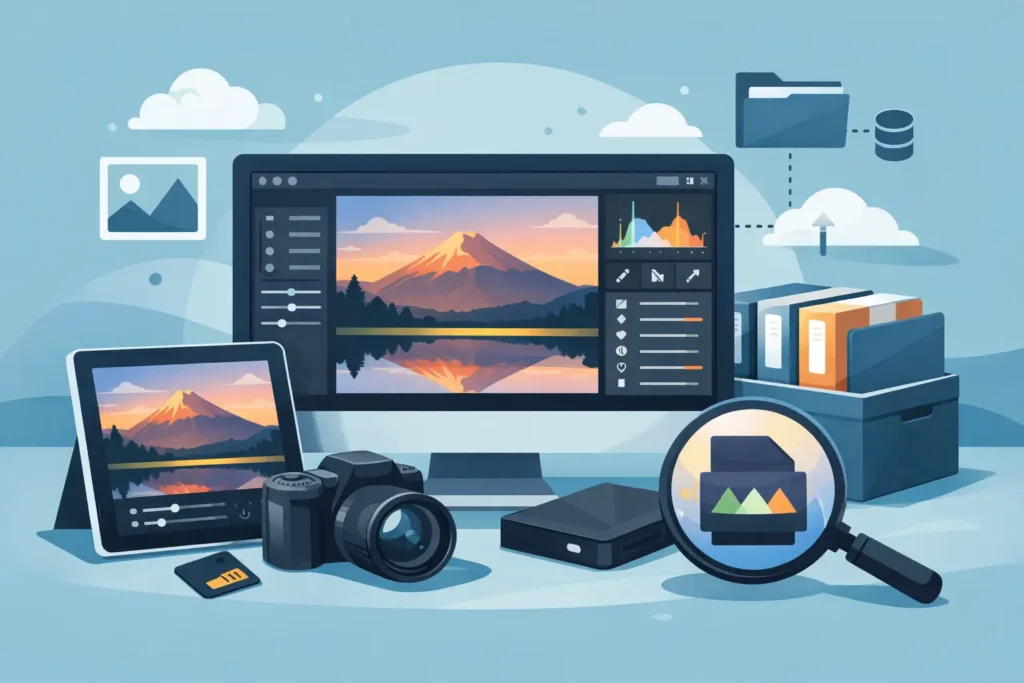
A 48MP ProRAW photo can occupy far more space than the finished image needs. That is the trade-off for the editing latitude Apple gives you: a large DNG file with extensive color and exposure data. Once an image is edited, approved, and safely part of your library, keeping every ProRAW original on every device is not always the best use of storage. This ProRAW post editing archive guide explains how to reduce that pressure without breaking the Photos workflow you already rely on.
The goal is not to treat RAW as disposable. It is to separate working files from finished photographs with intention. Your best selects can remain editable where it matters, while completed images move into a smaller, high-quality format that still belongs in Apple Photos.
Start with the right archive decision
ProRAW is valuable before and during editing. It gives you more room to recover highlights, adjust white balance, manage difficult mixed lighting, and make substantial tonal changes. If you expect to revisit an image for a large print, client delivery, or a different creative treatment, the original DNG may deserve to stay.
But many photos reach a clear endpoint. A vacation favorite has been cropped, color-corrected, captioned, and shared. A family portrait is finished. A product image has been delivered. At that point, the ProRAW file can become expensive insurance you may never use.
HEIC is usually the more practical archive format for those completed images. It is substantially smaller than ProRAW while retaining excellent visual quality, wide color, and HDR support where available. Storage savings vary with scene detail and capture settings, but a finished HEIC can be up to 10x smaller than its RAW source. Across a library of hundreds or thousands of ProRAW shots, that difference is immediate.
The right choice depends on the image. Keep the RAW when future re-editing has real value. Archive to HEIC when the current edit is the version you want to preserve and easy access matters more than maximum sensor data.
Use albums to separate working RAWs from finished work
Photos already gives you a better organizing system than a folder of exported files. Use it.
Create one album for active ProRAW work and another for finished selects awaiting archive. This is especially useful after a trip or event. You can review a set at your own pace, flag the images worth keeping as originals, and move the rest into a deliberate conversion batch only after edits are complete.
Avoid using storage size alone as your selection criterion. A technically imperfect photo may still be irreplaceable. Conversely, a beautiful image may not need the full RAW file once its final edit is established. Archive decisions should follow the value of the source file, not just the number beside it.
Favorites, captions, dates, locations, people recognition, and albums are part of a photo library’s value. A good archive workflow keeps that context intact. Exporting files to the Files app, converting them elsewhere, and importing them again creates duplicates and forces you to rebuild organization. It also makes it harder to know which version is the current one.
Finish the edit before conversion
Treat conversion as the point where you commit to a finished look. Review the image at full size, check the crop, and make sure highlight recovery, noise reduction, and color are where you want them. If you use Apple Photos editing tools, this is also the moment to confirm that the image looks right on the device where you expect to view it most often.
For HDR photos, check the result on a compatible Apple display. An image can look very different if its bright highlights or color rendering have been adjusted heavily. You are not trying to preserve every possible editing option in the original DNG. You are preserving the finished photograph faithfully in a more efficient form.
This is why archiving immediately after capture is rarely ideal. ProRAW earns its space while you are making decisions. Archive after the edit, not before it.
Convert inside Photos, not through a loose-file workflow
The traditional conversion process is clumsy: export a RAW to a folder, choose settings in another app, save a new file, import it into Photos, compare duplicates, then manually delete the original. That workflow introduces several opportunities for confusion. You can lose metadata, miss an album, import a lower-quality version, or delete the wrong item.
A Photos-native workflow is cleaner because the library remains the source of truth. You select the completed ProRAW images where they already live, create efficient HEIC versions on-device, verify the results, and remove originals only when you are comfortable doing so. No desktop folder cleanup. No cloud upload to a third-party converter. No rebuilding your library around exported files.
RawToHEIC is designed for this exact handoff. It converts supported ProRAW and camera RAW images directly within Apple Photos, preserving the library context that makes Photos useful. Your organization stays organized, while the finished image takes up far less room.
On-device processing also matters for personal photos. Family images, location data, and private work do not need to pass through an external service just to change formats. A privacy-first archive workflow should keep the conversion on your Apple device.
Verify before deleting the original
The only irreversible part of this process is deleting the source RAW. Do not rush it.
First, open the converted HEIC in Photos and inspect the image at normal viewing size and at full resolution. Check areas that commonly expose issues: bright skies, skin tones, deep shadows, fine foliage, text, and strong color gradients. Then confirm that the photo appears in the expected album and retains the details you depend on, such as the date, location, and caption.
Next, make sure your library has finished syncing if you use iCloud Photos. A conversion is safer when the new version is visible across the Apple devices where you manage your library. If you maintain an additional backup, let that backup complete before removing the RAW.
Only then delete the original. Photos places deleted items in Recently Deleted for a limited time, which provides a final safety window. Still, think of that window as a last check, not your backup plan.
Keep a small RAW reserve
An all-or-nothing approach is rarely necessary. For a wedding, a major trip, or a once-in-a-lifetime family event, keep the RAW originals for your strongest images and archive the broader set as HEIC. For casual everyday photography, you may decide that finished HEIC files are enough after a short review period.
A useful rule is to keep ProRAW when at least one of these is true: the image has commercial value, you may print it large, the edit required heavy recovery, or you can imagine wanting a very different version later. If none applies, the final HEIC is often the better long-term resident of your Photos library.
This approach also makes future editing simpler. When you open your library, you see a collection built around finished photos rather than thousands of oversized working files. Your available device storage grows, iCloud pressure eases, and the images you care about remain easy to find.
Make it a repeatable monthly habit
The best archive workflow is not a massive cleanup performed once under a storage warning. It is a short routine after each project, trip, or month of shooting. Edit your selects, identify the RAW originals worth retaining, convert the finished remainder to HEIC, verify them, and then remove the source files.
That sequence respects both sides of ProRAW photography. You get the freedom to edit without compromise when the image is still in progress, then the efficiency of a compact Apple-native library when the work is done. Storage should support your photography, not make every new capture feel like a negotiation.
Shrink your RAW library, right inside Photos.
RawToHEIC converts camera RAW and iPhone ProRAW to HEIC up to 10× smaller — keeping every edit, album, favorite, and location. On-device, no account, one purchase for iPhone, iPad, and Mac.

Not sure yet? Convert a few sample photos free — no install, nothing uploaded.
Try it free — no install →