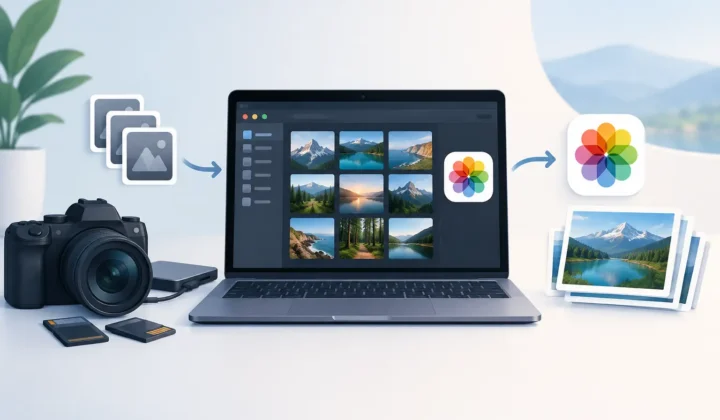
HEIC Library Optimization Guide for Apple Photos
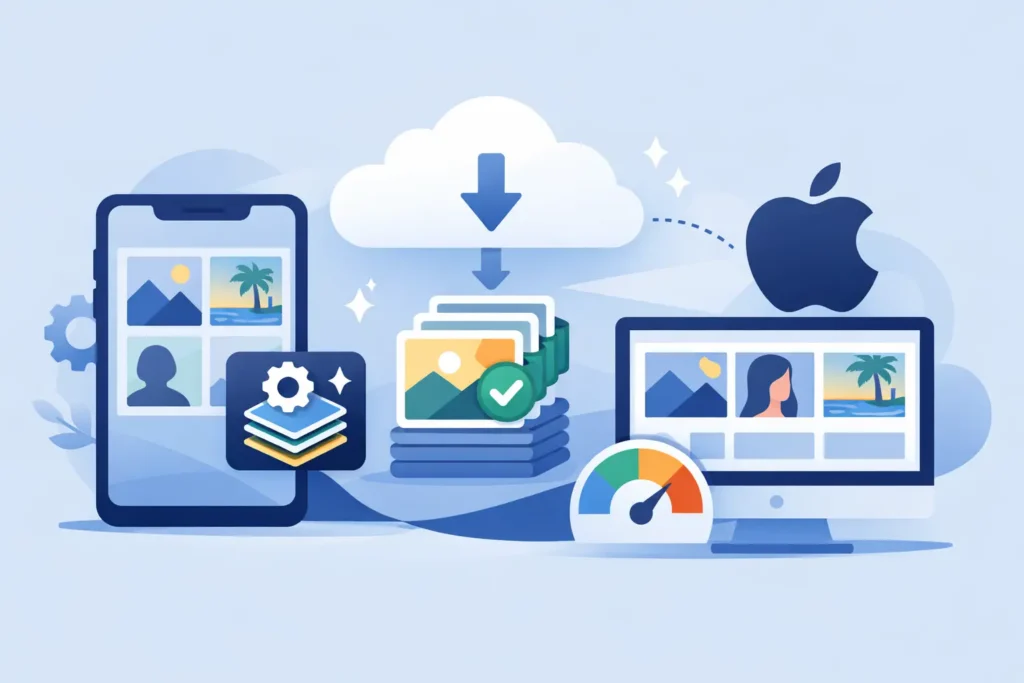
A Photos library can feel perfectly organized while quietly consuming hundreds of gigabytes. The usual culprit is not duplicate screenshots. It is completed RAW work that is still stored as large camera originals long after the edit is finished. This HEIC library optimization guide is for Apple Photos users who want to reclaim that space without breaking albums, losing captions, or turning their library into a folder-management project.
HEIC is not a replacement for every RAW file. It is a smarter destination for images you have already edited, delivered, shared, or decided to keep as finished photographs. The goal is simple: retain the photo experience you use every day in Photos while reducing the storage cost of keeping it.
Start with the right photos, not your whole library
The fastest way to create a mess is to convert everything without a retention plan. A better approach is to separate your library into three practical groups: active RAW files, finished keepers, and images you no longer need.
Active RAW files are still in progress. You may want to revisit white balance, recover highlight detail, make a large print, or create a different crop later. Keep these originals. RAW earns its storage cost when its editing latitude is still useful.
Finished keepers are different. These are images with edits you like and a clear purpose: family favorites, travel selects, portfolio shots, event deliveries, or photos you want available across your Apple devices. Once you are happy with the result, a high-quality HEIC version can be dramatically smaller while remaining easy to view, search, share, favorite, and organize in Photos.
The third group is obvious but often ignored: near-duplicates, missed frames, and accidental captures. Delete those first. Conversion is valuable, but it should not become a reason to archive every frame forever.
Know what HEIC saves and what it does not
RAW files contain far more sensor data than a finished image needs for everyday use. That is the point during editing. After editing, that same extra data can become expensive dead weight, especially with iPhone ProRAW files or high-resolution mirrorless camera files.
HEIC uses efficient modern compression and can often make a finished photo up to 10× smaller than its RAW source. Actual savings depend on camera format, resolution, image detail, and the original file size. A 48-megapixel ProRAW image and a compressed Fujifilm RAW file will not produce identical results, so measure a representative batch before forecasting your total savings.
The trade-off is straightforward. A HEIC is a rendered image, not a RAW negative. You retain an excellent finished photo, but you do not retain the same freedom to reinterpret exposure, color, and other RAW-level adjustments years later. For most completed images, that is a sensible exchange. For your best work, client masters, or images you may heavily re-edit, keep the RAW original as well.
Protect the Photos context you already built
Your photo library is more than image files. Albums, Favorites, people, places, captions, keywords, dates, and edits represent time spent organizing your life and work. A loose-file workflow can strip that value away.
Exporting RAW files to Finder, converting them with a desktop utility, and importing the results back into Photos creates avoidable decisions. Which export setting should you use? Did the new file retain the capture date? Is it in the same album? Did you accidentally create duplicates? Can you tell the imported HEIC from the original later?
A Photos-native conversion workflow avoids that detour. The finished HEIC should remain part of the library where you already manage it, rather than becoming another file to name, move, and reconcile. This matters most on shared iCloud Photos libraries, where organization has to remain dependable across iPhone, iPad, and Mac.
Before converting a meaningful batch, check a few representative results. Confirm the date and location look correct, captions are present, albums still make sense, and the photo appears as expected on another Apple device. This small test gives you confidence before you process a larger collection.
Use a safe conversion sequence
A good HEIC library optimization process is deliberate, but it should not be complicated. Work from finished selections rather than broad date ranges, and use batches small enough to review comfortably.
First, create or identify a Finished RAW album. This can include images you have already edited and are ready to keep as everyday photos. If you use Favorites as your final-select system, that is another useful starting point.
Next, convert a test set of 10 to 20 images. Include a mix of portraits, landscapes, low-light photos, images with strong edits, and HDR shots if those are common in your library. Review them at normal viewing size and, if you print, inspect a few at your expected print size.
Then verify the replacement before removing any original. The correct order is convert, confirm, then delete the RAW source only after the new HEIC is safely present and looks right. A tool that performs verified deletion checks reduces the chance of removing an original before its replacement is ready.
Finally, repeat in manageable batches. This gives you a natural stopping point if your storage needs are urgent, and it keeps review practical. You do not need to optimize five years of photography in one afternoon to see a meaningful result.
Preserve HDR and treat high-value photos differently
HDR is worth special attention. If you shoot on a recent iPhone or work with HDR-capable source images, your archive format should preserve the intended brightness and color range where supported. Flattening an HDR image into a standard result can make bright skies, reflections, and high-contrast scenes look noticeably less alive.
Test HDR images on the Apple displays where you actually view them. Look for highlight detail, skin tones, and smooth gradients rather than judging only by file size. Smaller is the benefit, not the sole requirement.
For especially valuable work, use a hybrid archive. Keep the RAW original for a small group of portfolio images, paid work, once-in-a-lifetime events, or photographs you expect to print large. Convert the broader group of finished personal images to HEIC. This approach delivers most of the storage savings without forcing one archival rule onto every photo.
Optimize for your storage pressure
The best order depends on what is full. If your iPhone is constantly warning about storage, start with large ProRAW batches you have already completed. If your Mac library is the constraint, look for older camera imports that are fully edited and synced to iCloud Photos. If your iCloud plan is near its limit, prioritize the largest completed RAW collections first.
Photos can help you identify large media types, but do not let size alone make the decision. A 40 MB RAW from a vacation you love may be worth keeping. A 100 MB test shot with no long-term value is not. Storage optimization works best when it follows your actual relationship with the image.
RawToHEIC is designed for this exact use case: converting supported camera RAW formats and iPhone ProRAW directly inside Photos on iPhone, iPad, and Mac. Processing stays on device, with no loose-file workflow and no need to hand your library to a cloud conversion service. The app is free to try, and unlimited conversion is available through a one-time lifetime purchase or an annual option.
Avoid the mistakes that erase the benefit
Do not convert images before you have completed the edit you want to keep. Do not delete originals merely because a conversion finished. And do not assume every third-party export preserves the Photos context you care about.
Also avoid creating a second archive problem. Saving every RAW to an external drive while keeping every HEIC in Photos may be appropriate for professional master files, but it is not necessary for every family photo. Choose a retention rule you can follow consistently. For example, keep RAW for portfolio work and personal milestones, then use HEIC for completed everyday photography.
The best library is not the one with the fewest gigabytes. It is the one that stays easy to browse, safe to trust, and ready on the device in your hand. Start with one finished album, verify the results, and let your storage savings grow without giving up the organization you already built.
Shrink your RAW library, right inside Photos.
RawToHEIC converts camera RAW and iPhone ProRAW to HEIC up to 10× smaller — keeping every edit, album, favorite, and location. On-device, no account, one purchase for iPhone, iPad, and Mac.

Not sure yet? Convert a few sample photos free — no install, nothing uploaded.
Try it free — no install →