How to Enable ProRAW on Your iPhone Camera
A bright window, a difficult sunset, a portrait with mixed indoor light – these are the moments when it makes sense to enable ProRAW iPhone camera capture. Apple ProRAW gives you far more room to correct exposure, recover highlights, refine color, and edit white balance than a standard HEIC photo. The trade-off is simple: those files are much larger, so the right capture settings and a considered storage plan matter.
What Apple ProRAW Changes
A regular iPhone photo is processed heavily at capture. The iPhone combines frames, reduces noise, applies tone mapping, and saves a compact HEIC image that is ready to share. That is exactly what most photos need.
Apple ProRAW keeps much more of the sensor data while retaining Apple’s computational photography information. The result is a DNG RAW file that gives editors greater latitude in Photos and compatible editing apps. You can make stronger exposure and color adjustments before image quality begins to break down.
ProRAW is not automatically better for every shot. It does not make a blurry image sharp or fix poor focus. In good light, for everyday snapshots, standard HEIC is usually the smarter choice: smaller, fast to process, and excellent straight from the camera. Reserve ProRAW for scenes where you expect to edit, where lighting is challenging, or where preserving maximum flexibility is worth the storage cost.
How to Enable ProRAW iPhone Camera Capture
ProRAW is available on supported iPhone Pro models, beginning with the iPhone 12 Pro and iPhone 12 Pro Max. The exact resolution choices vary by device and iOS version. On newer 48-megapixel Pro models, you may be able to choose 12 MP, 24 MP, or 48 MP ProRAW capture.
To turn it on, open Settings, tap Camera, then tap Formats. Under Photo Capture, turn on Apple ProRAW. If your iPhone offers a resolution control, choose the resolution that fits the shot and your available storage.
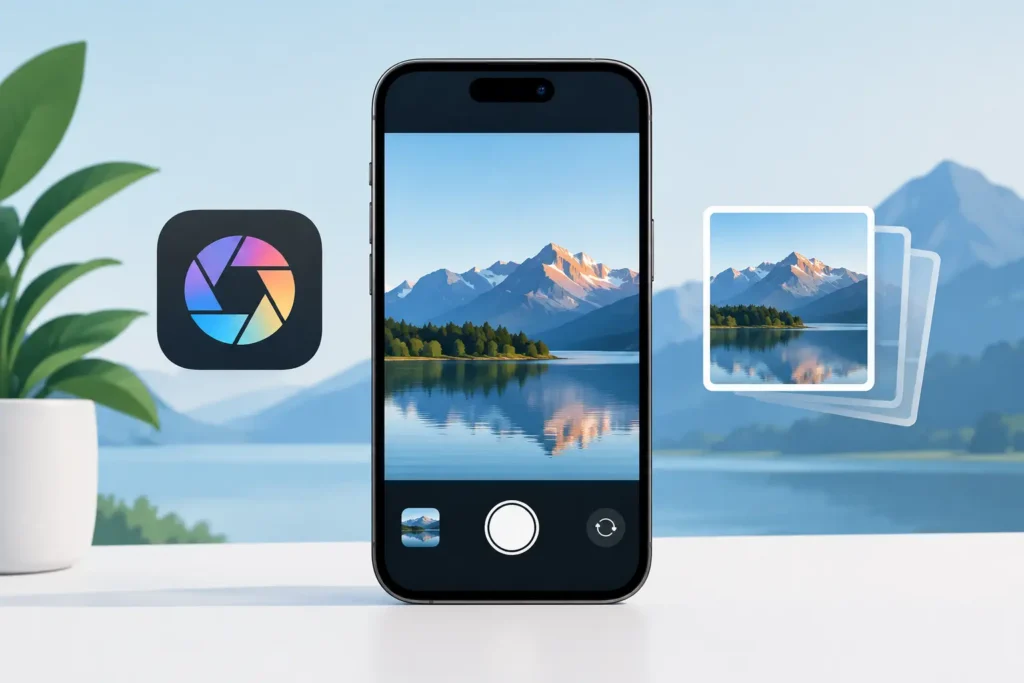
Then open the Camera app and select Photo mode. Tap the RAW button near the top of the screen to turn ProRAW on for the current session. When the RAW badge is active, the next photo will be captured as Apple ProRAW. Tap it again to return to standard capture.
This two-step design is intentional. The setting in Camera Formats makes ProRAW available; the button in Camera lets you decide whether each scene deserves a larger file. It prevents an entire day of casual photos from becoming a library full of RAW files you never intended to edit.
Keep ProRAW enabled between sessions
If you regularly shoot ProRAW, you can ask Camera to remember the setting. Go to Settings > Camera > Preserve Settings, then turn on Apple ProRAW & Resolution Control or the closest option shown on your iPhone.
Without this preference, Camera may return to standard capture after you close the app. With it enabled, your last ProRAW and resolution selection stays in place. That is useful for a dedicated photo walk, but it also makes it easier to collect large files by accident. Check the RAW badge before a casual family photo session or a long event.
Choose 12 MP, 24 MP, or 48 MP With Intent
Resolution is not a quality switch. It is a workflow decision.
For many edited photos, 12 MP ProRAW offers plenty of flexibility with a more manageable file size. It is a practical choice for portraits, indoor scenes, and photos you may edit carefully but do not expect to crop aggressively.
If your iPhone supports 24 MP ProRAW, it can be a useful middle ground. You get additional detail for moderate crops and larger prints without committing every frame to the largest possible file.
48 MP ProRAW is best when the scene has strong light, fine detail, and a clear purpose. Landscapes, architecture, product details, and images you expect to crop significantly are good candidates. A 48 MP ProRAW file can be dramatically larger than a standard HEIC, often reaching tens of megabytes per image. Capture a few hundred of them and storage pressure becomes real quickly, especially on a 128 GB or 256 GB iPhone.
Higher resolution can also be limited by shooting conditions and camera modes. Your iPhone may fall back to a different resolution when light is low or when you use certain features. If a resolution option is unavailable, that is usually a camera-mode or scene limitation, not a setup error.
When ProRAW Is Worth the Storage
Use ProRAW when editing flexibility is the point of taking the photo. It is particularly valuable for backlit scenes, high-contrast sunsets, interiors with window light, night city scenes, and portraits where skin tone needs careful correction.
It is less useful for screenshots, receipts, quick reference photos, social posts you will send immediately, and fast-moving moments where capturing the shot matters more than extensive editing. Standard HEIC preserves excellent image quality at a fraction of the space.
A useful habit is to decide before you shoot. If the image is a keeper you will shape later, turn RAW on. If the image is primarily for sharing or documentation, leave it off. This keeps your library intentional rather than forcing you to sort through unnecessary large files later.
Edit ProRAW in Photos Without Leaving Your Library
Apple’s Photos app can edit ProRAW directly. Open the image, tap Edit, and adjust exposure, brilliance, highlights, shadows, white balance, color, and other controls. ProRAW gives those edits more headroom, especially in highlights and shadow detail.
Photos keeps these adjustments non-destructive. Your original remains available, and you can revert to the unedited version later. Albums, favorites, captions, locations, and other library organization stay attached to the photo because you are editing where the photo already lives.
This is a meaningful advantage for people who use Photos as their real library, not just a camera roll. Exporting a RAW file to a folder, converting it elsewhere, then importing a new image can create duplicates and break the context you spent time organizing. It also makes it harder to know which version is the one you actually want to keep.
Plan for ProRAW Storage Before It Becomes a Problem
ProRAW earns its size while you are editing. After an image is finished, keeping every original RAW file indefinitely may not be necessary. The answer depends on whether you may revisit the edit, make a large print, or want the greatest possible latitude years from now.
A practical approach is to keep ProRAW for active projects and your most valuable images, then convert completed selects to HEIC for everyday storage. HEIC is substantially smaller while remaining high quality, and it works naturally throughout Apple’s ecosystem.
RawToHEIC is designed for exactly this stage of the workflow. It converts supported RAW files, including iPhone ProRAW, to HEIC directly inside Photos. There is no loose-file export and import cycle. Your existing Photos organization stays where it belongs, and the conversion runs on device with no analytics collection.
Before deleting any original, verify that the converted image is present, looks right, and retains the context you need. A conversion tool should make safety checks clear rather than treating deletion as an afterthought. Keep RAW originals for your highest-value work, and reduce storage use only when you are confident the edited HEIC is the version you want to live with.
Common ProRAW Setup Questions
Why is the RAW button missing?
First, confirm that your iPhone is a supported Pro model and that Apple ProRAW is enabled in Settings > Camera > Formats. Also make sure you are in Photo mode. Some camera modes do not support ProRAW, and available controls can differ by iPhone model and iOS version.
Does ProRAW work with every iPhone lens?
It depends on your model, selected resolution, and shooting conditions. Newer Pro iPhones offer broader lens support, but the highest-resolution ProRAW mode is generally tied to the main camera. Check the resolution indicator in Camera before shooting an important image.
Should I use ProRAW for every photo?
No. ProRAW is an editing format, not a default setting for every moment. Use it selectively for photos that benefit from careful post-processing. Standard HEIC is faster, smaller, and usually the better everyday format.
The best ProRAW workflow is not to shoot everything in RAW. It is to capture more information when a scene calls for it, edit with purpose, then keep your Photos library efficient enough to enjoy for years.
Shrink your RAW library, right inside Photos.
RawToHEIC converts camera RAW and iPhone ProRAW to HEIC up to 10× smaller — keeping every edit, album, favorite, and location. On-device, no account, one purchase for iPhone, iPad, and Mac.

Not sure yet? Convert a few sample photos free — no install, nothing uploaded.
Try it free — no install →