HDR HEIC Conversion Workflow That Makes Sense
If your photo library is full of RAW and ProRAW images, storage pressure shows up fast. A good hdr heic conversion workflow fixes that without flattening highlights, stripping metadata, or forcing you into a loose-file mess outside Apple Photos.
What an HDR HEIC conversion workflow should actually solve
Most conversion tools talk about file size first, and that matters. HEIC can be dramatically smaller than RAW while still looking excellent for everyday viewing, sharing, and long-term library management. But file size is only one part of the job.
For Apple users, the real problem is workflow breakage. Export a photo, convert it elsewhere, re-import it, and suddenly you are checking whether the favorite flag survived, whether the caption came over, whether the edited version still matches the original, and whether the image still sits in the right album. That is where a lot of conversion workflows go wrong.
A useful hdr heic conversion workflow needs to preserve three things at once: image appearance, HDR range where supported, and library context. If any one of those gets dropped, the smaller file comes with a hidden cost.
Why HDR changes the conversion decision
Standard conversion is easy to oversimplify. HDR conversion is not.
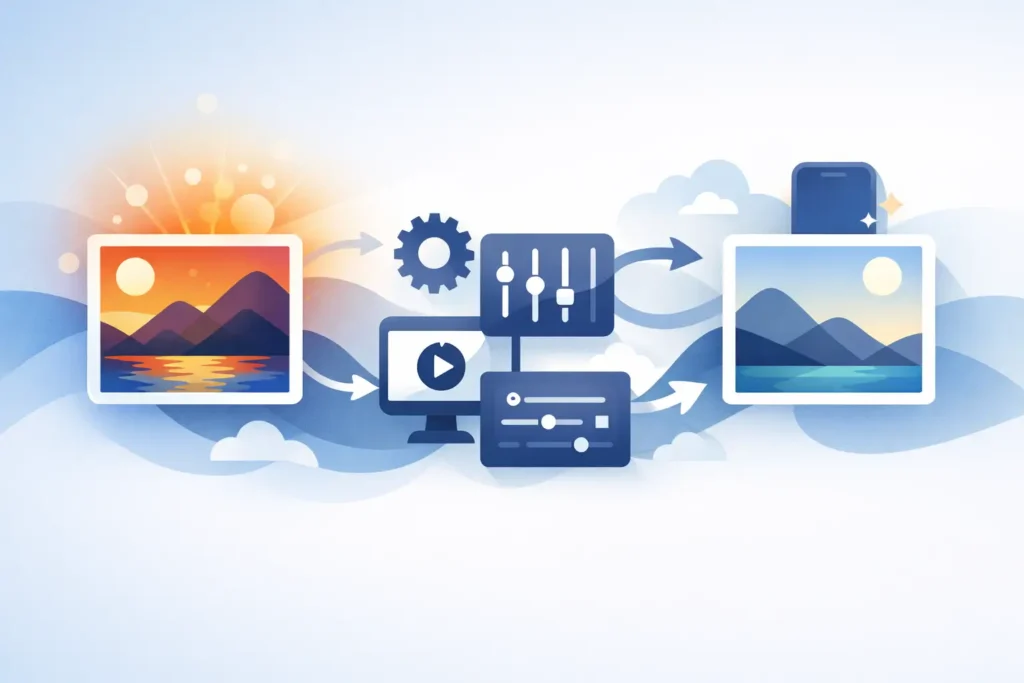
When a photo contains meaningful highlight and shadow detail, especially from iPhone ProRAW or modern mirrorless RAW files, you are not just compressing pixels. You are deciding how much display headroom and tonal depth should carry forward into the HEIC result. If the workflow collapses that into a flat SDR-looking file, the savings may be real, but the image no longer reflects what you edited.
That is why HDR preservation matters most after editing is complete. RAW is still the right capture format when you want maximum latitude. But once you have your keeper images dialed in, many of them do not need to stay as heavyweight RAW files forever. A well-designed HEIC conversion can keep the image visually faithful while cutting storage use dramatically.
The trade-off is simple. RAW remains better for deep re-editing from the sensor source. HEIC is better for efficient library management and day-to-day use. The right answer depends on whether a photo is still a working negative or already a finished image.
The best workflow happens inside Photos
For Apple-centric photographers, the cleanest answer is usually the native one. If your library already lives in Photos on iPhone, iPad, or Mac, your conversion workflow should stay there too.
That means no Finder staging folders, no duplicate exports, no renamed files scattered across drives, and no guessing which version is the current one. It also means your albums, locations, captions, favorites, and non-destructive editing context are far more likely to stay intact because the workflow is built around the library you already use.
This is where many people underestimate the cost of traditional converters. The app itself may work fine, but the workflow around it is fragile. You export a batch, process it, import it again, and then spend time reconciling duplicates or deciding what is safe to delete. The friction is not in the conversion engine. It is in everything before and after.
A Photos-native approach removes most of that friction. For users who care about speed, trust, and preserving organization, that matters as much as image quality.
A practical HDR HEIC conversion workflow for Apple users
The most reliable workflow starts after your edits are done. Keep RAW or ProRAW while you are still adjusting exposure, white balance, or recovering detail aggressively. Convert when the image has become part of your finished library rather than an active work file.
Start by reviewing which photos actually deserve RAW permanence. Some images are portfolio candidates, client-critical selects, or files you may want to reinterpret later. Keep those in RAW. Others are personal favorites, travel images, family shots, event coverage, or archive keepers where your current edit is effectively final. Those are strong HEIC candidates.
Next, convert in place, not through export. That distinction is the difference between a tidy library and a fragmented one. In-place conversion keeps the photo in the environment where it already belongs. You are not creating a parallel file-management project just to save space.
Then verify the result before deleting the original RAW. This step should not be optional. You want to confirm that the HEIC version preserves the expected look, that HDR rendering still behaves correctly on supported Apple displays, and that the library metadata remains intact. A safe workflow always includes a checkpoint before removal.
Finally, remove the original only after verification. That is where the real storage savings happen. Without that step, conversion just creates duplicates and shifts the problem rather than solving it.
For users who want the shortest path, RawToHEIC is built around exactly this model inside Apple Photos. The point is not just conversion. The point is eliminating the loose-file workflow entirely.
What to check before you convert
Not every image should be treated the same way, and that is where smart workflow beats bulk processing.
If a photo still has major editing potential, keep the RAW. If it is a finished image that you mostly view, share, and archive, HEIC is often the better format. If HDR appearance is a priority, test a few representative files first, especially night scenes, sunsets, stage lighting, or high-contrast interiors where highlight roll-off is easy to notice.
You should also think about device compatibility. HEIC and HDR playback are strongest inside the Apple ecosystem, which is exactly why this workflow makes sense for iPhone, iPad, and Mac users who rely on Photos. If your archive has to move constantly through older software or mixed platforms, you may want a smaller test batch before committing broadly.
Privacy matters too. Photo libraries contain more than pixels. They often include locations, timestamps, device details, and personal context. A conversion tool that runs on device is not just convenient. It is the safer default.
Common workflow mistakes
The biggest mistake is converting too early. If you still need RAW flexibility, keep it. HEIC is excellent for finished images, but it is not a replacement for an active editing master in every case.
The second mistake is trusting file conversion without library preservation. Users often focus on whether the image opens and forget to check albums, captions, favorites, and other organizational details that make Photos useful over time.
The third is skipping verification before deletion. Storage urgency can push people into fast cleanup, but deleting originals without a confirmed result is unnecessary risk. Any serious workflow should include a verified handoff.
The fourth is choosing tools based only on compression claims. Smaller is good. Smaller with preserved HDR, metadata, and Photos context is better. Compression alone is not the workflow.
Why this workflow makes financial sense too
Large RAW libraries push users toward bigger iCloud plans, larger device storage tiers, and external drives sooner than expected. Converting finished images to HEIC can reduce that pressure quickly, especially for people who shoot frequently on iPhone Pro or import camera RAW files into Photos.
That is why the best hdr heic conversion workflow is not really about format theory. It is about reducing ongoing friction. Less space used, fewer duplicate files, less cleanup, and fewer decisions every time your library grows.
A good workflow should feel calm. You finish editing, convert the images that no longer need RAW weight, verify the result, and keep moving. No subscription required. No analytics trade-off. No detour through a desktop folder maze.
The smartest photo workflow is usually the one you trust enough to use regularly, because consistency is what keeps a library organized as it grows.
Shrink your RAW library, right inside Photos.
RawToHEIC converts camera RAW and iPhone ProRAW to HEIC up to 10× smaller — keeping every edit, album, favorite, and location. On-device, no account, one purchase for iPhone, iPad, and Mac.

Not sure yet? Convert a few sample photos free — no install, nothing uploaded.
Try it free — no install →