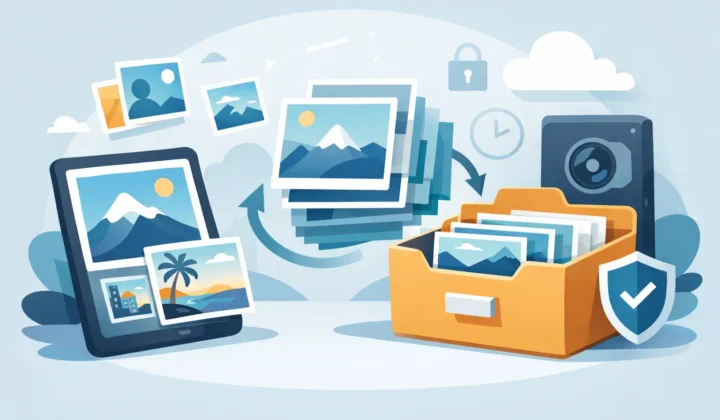
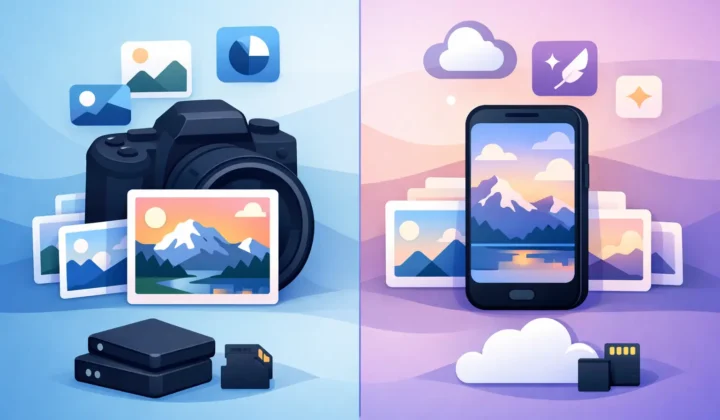
Apple Photos RAW Conversion Guide
A RAW library looks great right up until your iPhone storage fills, your Mac photo library balloons, and every cleanup option seems to involve exporting files into a folder maze you did not ask for. That is exactly where an Apple Photos RAW conversion guide matters. If you use Photos as your real library – not just a temporary import stop – the goal is not simply smaller files. The goal is keeping your albums, favorites, captions, locations, and edits intact while reducing storage pressure.
Why RAW conversion inside Apple Photos matters
RAW is valuable when you are still deciding what a photo should become. It gives you latitude for exposure recovery, white balance changes, and more aggressive edits. But once an image is edited, delivered, shared, or simply kept as part of your everyday library, RAW can become expensive to keep around in bulk.
That expense is not only measured in gigabytes. It shows up as iCloud storage pressure, slower backups, and the mental overhead of deciding whether to keep duplicates in Finder folders or external drives. A lot of photographers tolerate this because the alternatives are worse. Traditional conversion tools usually push you into a loose-file workflow where you export the original, convert it somewhere else, then try to re-import and reorganize everything manually.
For Apple users, that is the real problem. Photos is already where the organizational work lives. Albums, memories, favorites, captions, and locations are not side details. They are the library.
The usual RAW conversion workflow, and why it falls apart
Most guides tell you to export RAW files from Photos, convert them with a separate app, then import the smaller version back in. Technically, that works. Practically, it creates friction fast.
You often lose the clean one-photo-in-one-place feel of Photos because you are now dealing with duplicate items or replacements that no longer carry the same context. Depending on the method, you may also lose non-destructive edits, create confusion around versions, or break the simple timeline your library already had.
There is also a trust issue. If you are deleting original RAW files after conversion, you want to be certain the replacement is there, preserved correctly, and attached to the same library context. A generic converter can make smaller files. That does not mean it respects the way Apple users actually manage photos.
Apple Photos RAW conversion guide: what to preserve
If you are converting RAW files for space savings, the file format is only half the decision. The other half is what stays with the image after conversion.
The best outcome is straightforward. You keep the photo in Photos, preserve its place in your library, and reduce file size substantially. In practice, that means protecting albums, favorites, captions, keywords where applicable, locations, metadata, and your existing edits. If any of that is stripped away, the storage savings may not be worth the cleanup work that follows.
This is why HEIC is usually the right target format for Apple users. It is efficient, widely supported across Apple devices, and aligned with the way Photos already handles modern image workflows. When HDR is preserved where supported, the result feels native rather than like a compromise.
When converting RAW to HEIC makes sense
Not every RAW photo should be converted immediately. There is a real trade-off here.
If you are in the middle of a client job, still evaluating edits, or expect to revisit a file for heavy reprocessing, keeping the RAW makes sense. RAW remains the best source file for maximum flexibility. The point of conversion is not to replace RAW as a capture format. It is to reduce storage once a photo has reached a more final state.
For many Apple users, that means converting older shoots, travel libraries, family photos, iPhone ProRAW images you have already edited, and finished selects that you want to keep accessible across devices without carrying the full RAW storage cost forever. This is where the savings become meaningful. HEIC files can be dramatically smaller, often by enough to change how much of your library comfortably fits on your devices and in iCloud.
A simpler workflow for Apple Photos RAW conversion
A practical Apple Photos RAW conversion guide should not ask you to rebuild your library habits. The cleanest workflow is to convert directly inside Photos, on device, and verify the result before removing the original RAW.
That approach solves several problems at once. First, you avoid exporting into Finder and re-importing later. Second, you keep the conversion tied to the actual photo in the library you already organized. Third, you can apply safety checks before deletion so you are not gambling with originals.
This is the core advantage of a Photos-native utility such as RawToHEIC. Instead of sending files through a detached desktop workflow, it converts supported RAW files directly inside Apple Photos on iPhone, iPad, and Mac. The photo stays where it belongs, and the process is designed around preserving the context users actually care about.
How the process should work in practice
Open Photos and identify the RAW images that are no longer active working files. These might be older camera imports, completed shoots, or ProRAW images that are already edited and shared. From there, the ideal tool should let you convert those items to HEIC in place rather than exporting them elsewhere first.
After conversion, verify that the new image version is present and that the photo still carries the library context you expect. This is the part many general converters ignore, but it matters. You should be able to confirm that albums, favorites, captions, locations, and other metadata remain intact before any RAW deletion happens.
Once the conversion is verified, removing the original RAW becomes a confident storage decision instead of a risky cleanup step. That distinction matters, especially for users managing years of photos.
Device and format compatibility matter more than most guides admit
RAW is not one format. It is a category that includes many vendor-specific formats, plus Apple ProRAW. A useful conversion workflow has to support the cameras people actually use, including Canon, Sony, Nikon, Fujifilm, Olympus, Panasonic, and iPhone Pro models.
This is where many workarounds get shaky. Some tools support a narrow set of files, others change behavior across macOS and iOS versions, and some handle standard RAW but not ProRAW well. If your library spans multiple cameras, compatibility updates are not a small detail. They are part of whether the workflow stays usable over time.
For Apple-first users, broad support combined with native Photos integration is usually the difference between a one-time cleanup experiment and a sustainable habit.
Privacy is part of the workflow
Photo conversion can sound purely technical, but privacy should be part of the decision. Your photo library is one of the most personal data sets on any device. If a converter requires uploads, external processing, or unnecessary account creation, the convenience starts to erode.
An on-device approach is simpler and safer. Your images stay on your Apple device, the conversion happens locally, and there is no need to push private photos through a remote service just to save space. For users who chose Photos because it feels integrated and controlled, that local model is the right fit.
The trade-off to be honest about
Converting RAW to HEIC is a storage and workflow decision, not a universal quality decision. You are choosing efficiency and library simplicity over maximum future editing latitude. For photos that still have creative or commercial value as source material, keeping the RAW may be the better call.
But that does not weaken the case for conversion. It just means being selective. Many libraries are full of images that no longer need RAW-level flexibility yet continue consuming RAW-level space. That gap is where conversion makes sense.
If your Photos library already reflects your finished work – edited, organized, and worth keeping available everywhere – the best system is the one that shrinks the file without blowing up the structure around it. Save space, keep context, and leave the folder juggling behind. That is the version of photo management that actually fits Apple Photos.
Shrink your RAW library, right inside Photos.
RawToHEIC converts camera RAW and iPhone ProRAW to HEIC up to 10× smaller — keeping every edit, album, favorite, and location. On-device, no account, one purchase for iPhone, iPad, and Mac.

Not sure yet? Convert a few sample photos free — no install, nothing uploaded.
Try it free — no install →