How to Convert Camera Files Privately on Apple
A full RAW library can turn a 256GB iPhone, iPad, or Mac into a constant storage negotiation. The obvious fix is to convert camera files privately into a smaller format, but the method matters. Sending personal photos to a web converter can expose sensitive images, strip useful context, and create a loose-file cleanup project before you have saved any space.
For Apple photographers who already organize their work in Photos, the better approach is conversion that happens directly on your device and stays inside the library you have already built.
Why Convert Camera Files Privately?
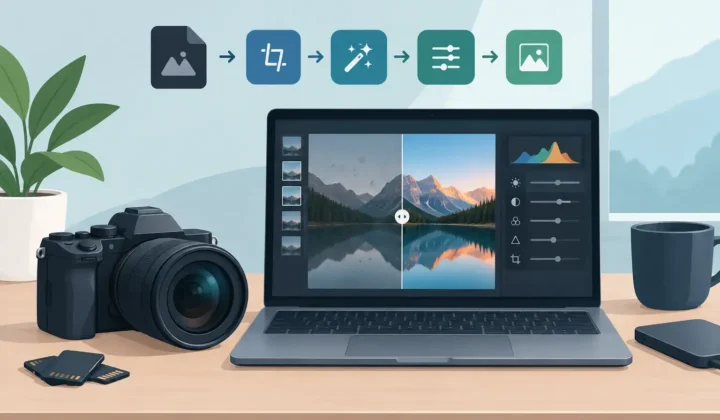
RAW files hold the sensor data needed for detailed editing. That flexibility is valuable while you are correcting exposure, recovering highlights, or refining color. It is less valuable when a photo is finished, approved, and taking up space across every device connected to iCloud Photos.
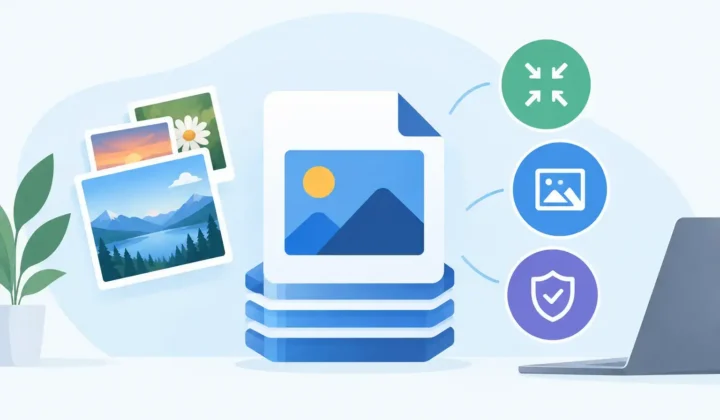
A HEIC file can be dramatically smaller than the original RAW while retaining excellent everyday image quality. Depending on the camera, subject, and original format, the savings can reach up to 10×. That creates room for new shoots, offline music, apps, and iCloud backups without forcing every finished image into external storage.
Privacy is the other half of the decision. Camera files often contain more than pixels. They may include location data, capture dates, camera information, captions, and images of family, clients, homes, travel, or private events. A browser-based converter requires you to upload those files to someone else’s infrastructure before you can download a new version. Even when a service promises deletion, you have still transferred the originals.
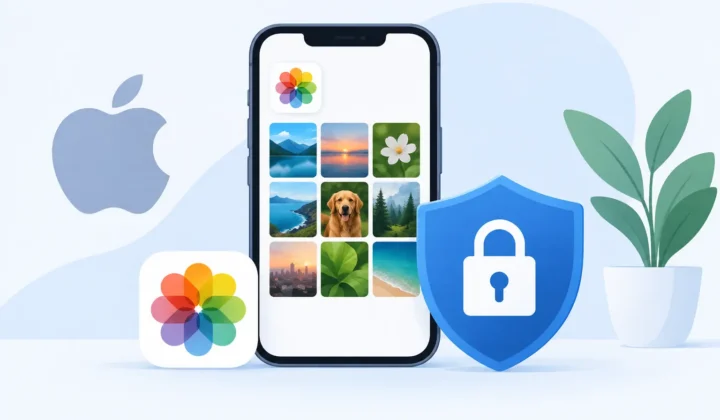
On-device conversion removes that handoff. Your images are processed locally on your iPhone, iPad, or Mac, with no upload queue and no third-party account needed to handle your photos. For a personal library, that is not an abstract privacy preference. It is a simpler chain of custody.
The File Workflow Is Usually the Real Problem
Most conversion tools treat photos as files first. You locate RAW files in Finder or Files, export them to a folder, convert them, import the results into Photos, then decide which originals are safe to remove. That process can work for a small, isolated project. It is tedious and risky when your Photos library is the source of truth.
The friction is not limited to a few extra taps. Exporting and reimporting can separate a converted photo from its albums, favorites, captions, and placement in your existing library. It can also create duplicates that look nearly identical but have different dates or metadata. Later, you are left comparing files and asking which version belongs where.
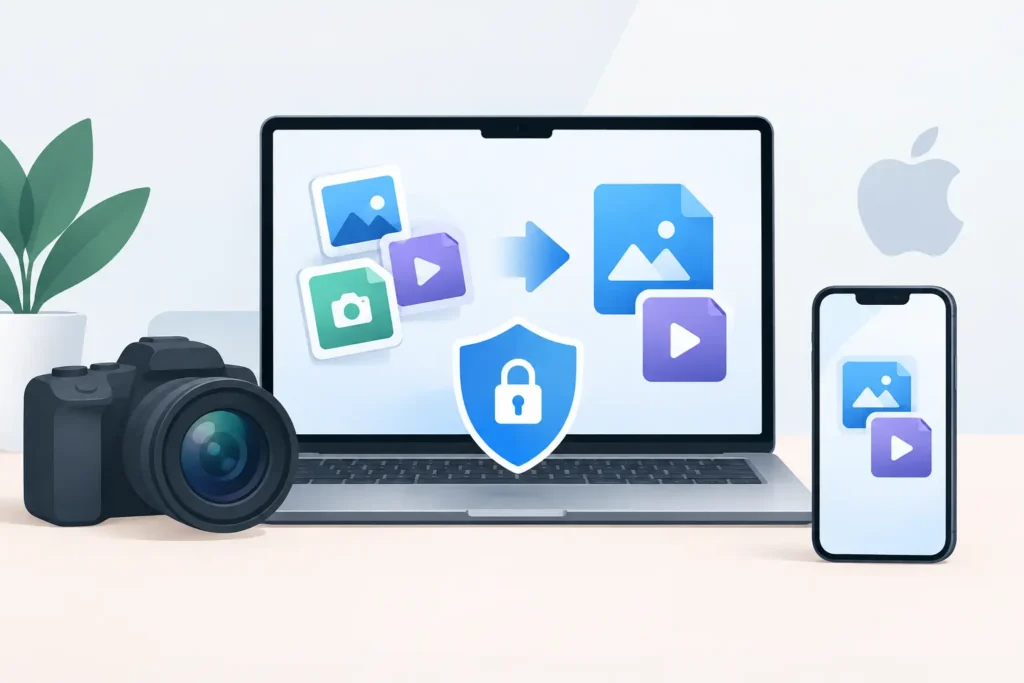
A Photos-native workflow avoids the loose-file detour. Select the RAW images already in Photos, convert them, verify the new HEIC versions, and remove the originals only after the conversion has passed a safety check. Your library remains a library, not a temporary export folder.
This is the design behind RawToHEIC: convert supported camera RAW files and iPhone ProRAW directly in Apple Photos, without moving your images through another file system or cloud service.
What You Keep, and What Changes
Converting a finished RAW image to HEIC is not the same as compressing a ZIP archive. RAW is an editing source file. HEIC is a finished, highly efficient image format. The trade-off is worth understanding before you clean up a large library.
You keep the photo you see, including the finished visual result of your edits, along with the Photos library context that makes the image easy to find and use. That means the image can remain associated with its albums, favorites, captions, dates, locations, and other useful organization already managed in Photos. HDR content can also be preserved when the source and device support it.
What changes is the depth of RAW editing latitude. Once you remove the original RAW, you cannot return to its untouched sensor data for a completely different white balance, highlight recovery, or extensive exposure adjustment. HEIC still supports normal Photos adjustments, but it is not a replacement for the original negative.
That does not mean every RAW should stay forever. It means your keep-or-convert decision should follow the value of the image. Retain RAW originals for portfolio work, paid client deliverables, meaningful once-in-a-lifetime photos, or images you expect to revisit heavily. Convert completed everyday shots, duplicate selects, reference images, social-ready photos, and finished travel albums where storage savings matter more than deep re-editing.
A Safer Way to Convert RAW to HEIC in Photos
Start with a small album rather than your entire library. A completed trip, a burst of test shots, or last year’s casual photos gives you a low-risk way to confirm that the results meet your expectations.
First, review the images at full size. Make sure edits are final and identify any photographs whose RAW originals you want to preserve. If you use iCloud Photos with Optimize Storage enabled, give selected originals time to download before conversion when needed. Local processing needs access to the source file, not just a smaller preview.
Next, select the RAW photos in Photos and run the conversion through a Photos-native extension or app workflow. The best tools make the destination clear: a new HEIC is created in the same managed library rather than dropped into an unlabeled folder. You should not need to export, browse for an import location, or manually reconcile duplicates afterward.
Then verify the output before deletion. Open several converted images, zoom into detailed areas, check highlights and shadows, and confirm that captions, locations, favorites, and album placement look right. Check HDR images on a compatible Apple display if preserving HDR is part of your goal. A trustworthy converter should treat this verification as a required safeguard, not an optional warning buried in settings.
Only after the HEIC files are confirmed should you delete the source RAW images. Leave them in Recently Deleted until you are comfortable with the result. This gives you a final recovery window while Photos and iCloud finish syncing across devices.
Privacy Is More Than “No Account Required”
A converter can avoid asking for a login and still collect data through analytics, crash reporting, advertising frameworks, or cloud processing. For photo utilities, the useful privacy standard is straightforward: processing stays on device, images are not uploaded for conversion, and the app does not collect data about you or your library.
That approach also improves reliability when you are traveling or working away from fast Wi-Fi. There is no multi-gigabyte upload to wait for, no server-side conversion queue, and no download that can fail halfway through. Your available device storage and battery still matter, especially for large batches, but the workflow does not depend on an internet connection.
Local processing is particularly practical for photographers who import from Canon, Sony, Nikon, Fujifilm, Olympus, or Panasonic cameras and then organize selects in Photos. Support for a RAW format should be confirmed before committing to a large cleanup. Apple’s RAW compatibility can vary by camera model and operating system version, so current device and format support matters more than a broad promise of “all RAW files.”
Choose the Right Batch Size
There is a temptation to select thousands of RAW files and reclaim space in one pass. Smaller batches are safer. They make it easier to inspect results, watch available storage, and spot a format-specific issue before it affects a major archive.
For most libraries, convert one finished album or a few hundred images at a time. Keep your device powered during a large batch, especially on iPhone or iPad, and allow iCloud Photos time to sync before switching devices. If the library is near capacity, convert enough images to create breathing room before starting the next batch.
A free trial allowance is useful here. It lets you test your actual camera files, edit styles, HDR photos, and library organization before paying for unlimited conversions. If the workflow becomes part of your long-term photo maintenance, a buy-once lifetime option can be more sensible than another subscription.
Keep the Photos Library You Already Trust
The goal is not to make RAW photography disposable. It is to keep RAW where it earns its space and convert finished images where it does not. Private, on-device HEIC conversion lets you make that decision without handing your library to a web service or rebuilding your organization from exported files.
Start with one completed album. Verify every detail that matters to you, reclaim the space, and let your Photos library stay both private and practical.
Shrink your RAW library, right inside Photos.
RawToHEIC converts camera RAW and iPhone ProRAW to HEIC up to 10× smaller — keeping every edit, album, favorite, and location. On-device, no account, one purchase for iPhone, iPad, and Mac.


Not sure yet? Convert a few sample photos free — no install, nothing uploaded.
Try it free — no install →