Does Conversion Keep Favorites in Apple Photos?
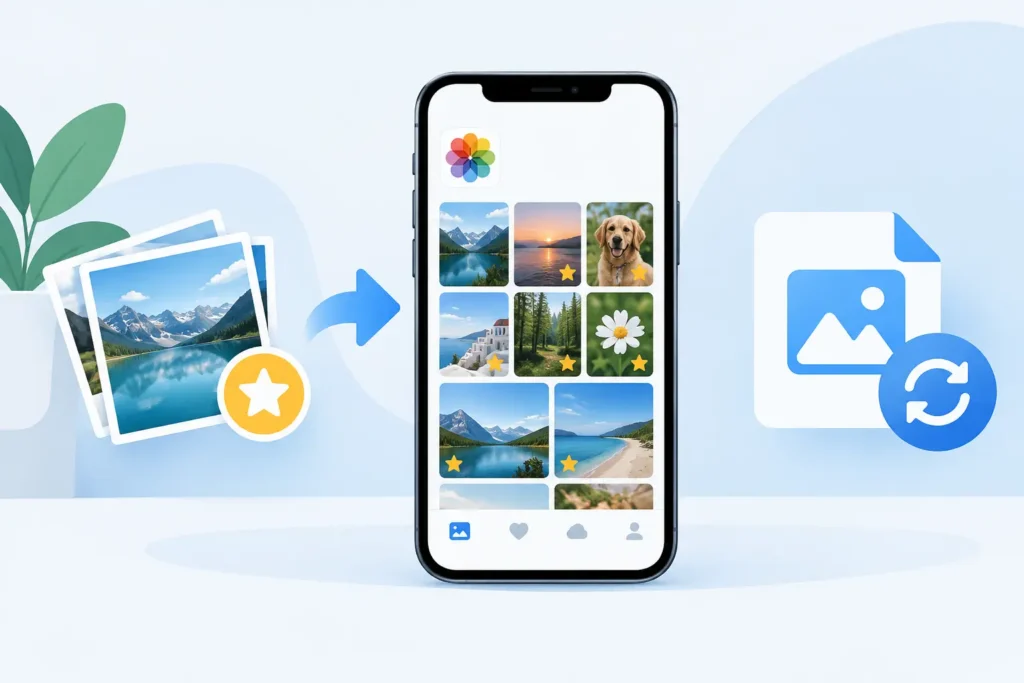
A full Photos library is more than image files. Your favorites identify the shots you want to find again: the portrait you printed, the keeper from a burst, the photo you return to when building an album. So, does conversion keep favorites when you turn RAW images into HEIC? It can, but the answer depends entirely on how the conversion is handled.
A conventional converter usually creates a new file outside Photos. When you import that file, Photos sees it as a new asset. Your original RAW remains the favorite, while the imported HEIC starts without that status. A Photos-native replacement workflow works differently: it can carry the organizational context from the selected RAW photo to its HEIC replacement before the original is removed.
Does Conversion Keep Favorites After RAW to HEIC?
Favorites are not a property stored inside every photo format in the same way as capture date or camera model. In Apple Photos, Favorite is a library-level flag attached to an asset. That distinction matters.
If you export a RAW file to Finder, convert it with another utility, and import the HEIC later, you have made a separate asset. Even if the HEIC has the same filename, capture date, location, and visible appearance, Photos has no reliable reason to assume it should inherit the Favorite flag. The same issue can affect albums, captions, keywords, people associations, and adjustments.
If the conversion happens within the Photos workflow and is designed as a replacement rather than a loose-file export, the new HEIC can retain the photo’s place in your library. That is the workflow to look for if favorites are part of how you manage your collection.
The practical rule is simple: a duplicate usually starts fresh; a replacement should preserve context. Do not assume that every app using the word “convert” performs a replacement.
What Should Stay With the Converted Photo?
A well-designed Photos-native RAW-to-HEIC conversion should preserve the information you actually use to find, organize, and enjoy a photo. That includes its favorite status, albums, caption, date, location, and common metadata. The HEIC should remain in the same logical place in Photos, not become an unfiled import that needs manual cleanup.
This is especially useful when you have spent years curating a library. Favorites often drive slideshows, widgets, smart searches, shared picks, and quick “show me the good ones” moments. Re-favoriting a few images is easy. Rebuilding a carefully organized archive of thousands is not.
There is one necessary nuance: preserving library context is not the same as preserving every editable RAW control forever. RAW editing is non-destructive because Photos keeps the original sensor data and instructions for how to render it. A HEIC is a rendered image. When you convert, the edited appearance can be retained, but format-specific RAW flexibility may not be.
That trade-off is often exactly the point. Once an edit is final, a high-quality HEIC can be up to 10x smaller than the RAW while preserving an excellent image for viewing, sharing, and future lightweight edits. But if you may want to revisit white balance, recover highlights, or reinterpret the RAW later, keep the RAW.
Why Export and Re-Import Can Lose Favorites
The common file-based workflow looks harmless: export a RAW, convert it, import the HEIC, then delete the original. In practice, it creates several opportunities for context to break.
Photos may treat the import as a new moment in the library. The converted image may land outside its original albums. The favorite flag may stay behind on the RAW. A caption added after a trip, a location correction, or a carefully chosen cover photo may need to be recreated. If the conversion creates a separate image with slightly different metadata, duplicate detection may not help either.
The storage savings can still be real, but the organization work shifts back to you. That is a poor exchange when your Photos library is already the system you trust.
A Photos-native approach avoids the loose-file workflow. You select photos in the library, create HEIC replacements, confirm that their context is intact, and only then remove the source RAWs. The library remains the source of truth throughout the process.
Check These Details Before Deleting the RAW
Even with a conversion tool built for Photos, it is smart to verify a small batch before processing a large event or an entire camera roll. Open several converted images and check the details that matter to your workflow.
Confirm that a favorite still appears in the Favorites album and in any regular albums where you placed it. Check its caption, date, location, and visible edits. If you use HDR photos, inspect the result on an HDR-capable Apple display rather than judging only from a thumbnail. Also confirm that the source and converted image are clearly identified while you review them.
This is not busywork. It is how you verify that the workflow behaves the way you expect with your specific library, device, and RAW files. Camera RAW formats can vary, and a photo edited heavily in Photos deserves a closer look than an untouched image.
Only delete originals after that verification. The safest tools make this easier with deletion safeguards: conversion first, a clear confirmation that the HEIC exists, then removal of the RAW only when the replacement is ready. A successful conversion should never depend on deleting first and hoping the output appears later.
When You Should Keep the RAW Instead
HEIC is ideal for photos that are complete: delivered client selects, finished vacation images, family favorites, and everyday photos you want readily available on all your Apple devices. It delivers a major storage reduction without turning your library into a folder of disconnected exports.
Keep the RAW when the original has long-term production value. That can include a portfolio image you may re-edit, a difficult exposure that might benefit from future processing tools, an image intended for a large print, or a scene where you want the widest latitude for color and highlight recovery.
A mixed library is often the sensible answer. Keep RAW for work in progress and your highest-value negatives. Convert final selects to HEIC when you want fast sync, lower storage use, and the same Photos organization you already rely on. There is no requirement to choose one format for every image.
The Better Way to Shrink a Photos Library
The question is not only whether conversion keeps favorites. It is whether the conversion respects the work you have already put into Photos.
RawToHEIC is built around that distinction. It converts supported camera RAW files and iPhone ProRAW directly inside Apple Photos, so the result is not a stray file waiting to be imported and organized. Processing stays on-device, with no analytics and no photo uploads to a third-party service. You can try a small set of images first, verify the results, and decide which finished RAWs no longer need to consume premium device and cloud storage.
That approach is more practical than treating a photo library like a temporary export queue. Your favorites remain useful, your albums remain coherent, and your storage drops without forcing you into a cleanup project.
Before converting a large batch, start with the images you already know are finished. Pick a favorite album, test a handful of RAWs, and make sure the HEIC replacements look right in the places where you actually use your photos. A library should get smaller without becoming harder to trust.
Shrink your RAW library, right inside Photos.
RawToHEIC converts camera RAW and iPhone ProRAW to HEIC up to 10× smaller — keeping every edit, album, favorite, and location. On-device, no account, one purchase for iPhone, iPad, and Mac.


Not sure yet? Convert a few sample photos free — no install, nothing uploaded.
Try it free — no install →