How to Test HEIC Quality Before Replacing RAW
A 45 MB RAW photo that becomes a 4 MB HEIC can feel like an obvious storage win. But before converting hundreds or thousands of images, you need to know whether the new file still holds up where it matters. Learning how to test HEIC quality is less about finding one perfect score and more about checking your own photos, edits, displays, and intended use.
HEIC is a highly efficient, lossy format. It can preserve an excellent-looking final image at a fraction of RAW’s storage footprint, especially for viewing, sharing, and everyday Photos library use. It cannot preserve the full sensor data or the same freedom to radically re-edit exposure and white balance later. That trade-off is the point of the test.
Start with the right definition of quality
A HEIC file does not need to match a RAW file in every technical respect to be the right replacement for your finished photos. RAW is an editing source. HEIC is usually a compact final or near-final image.
For most Apple Photos users, quality means the HEIC looks indistinguishable from the edited RAW in normal viewing, remains clean at close inspection, retains the color and dynamic range they expect, and works correctly across their Apple devices. For a print-focused photographer, the threshold may be higher. For a once-in-a-lifetime image that may need major editing in the future, keeping the RAW is often the smarter choice.
Set your pass or fail standard before you begin. A useful standard is simple: if you can see a meaningful difference at the largest size you actually use, the HEIC setting or workflow needs adjustment.
How to test HEIC quality with a representative sample
Do not test one flattering image in perfect daylight. Compression is most likely to reveal itself in detailed textures, deep shadows, smooth gradients, and highly saturated colors. Build a small test album from photos you already know well.
Include at least these four kinds of images:
- A landscape with foliage, grass, water, or fine architectural detail
- A portrait with skin tones, hair, fabric, and a softly blurred background
- A low-light image with shadow detail, noise, and bright points of light
- A high-contrast scene with a bright sky, sunset, window light, or reflective surfaces
Add any subject central to your work. Product photographers should include labels and fine edges. Wildlife photographers should include feathers and fur. If you shoot iPhone ProRAW, include images that use the highlights and shadow recovery you value most.
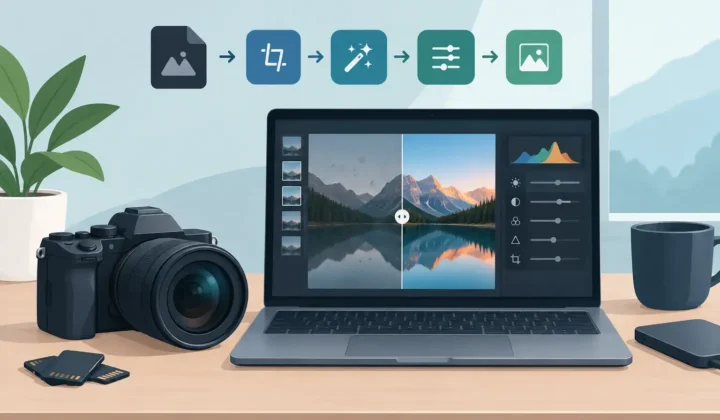
Edit each RAW photo first. Correct exposure, white balance, crop, color, and local adjustments before conversion. Testing an unedited RAW against a finished HEIC creates a misleading comparison because RAW often looks flatter before development.
Keep the original RAW files during this phase. Work from duplicates or a dedicated test album, not from your entire library. A good test is reversible by design.
Compare the same rendered image
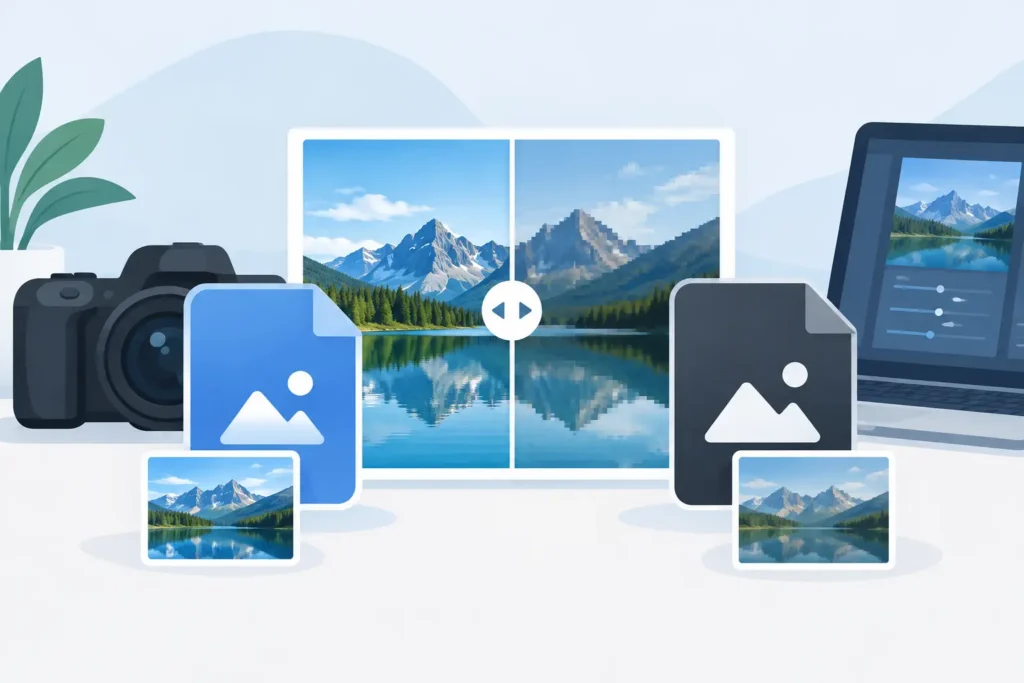
The cleanest comparison uses the edited RAW as your reference and the resulting HEIC as the candidate. Open both in Photos on the same device, with the same display brightness and viewing conditions. Avoid comparing one image on an iPhone outdoors and the other on an uncalibrated monitor later. Display differences can look like compression problems.
Start at normal viewing size. Swipe between images, then look at them full screen. If the difference is invisible here, that is meaningful evidence for a Photos-first library.
Next, zoom in to 100% or beyond and inspect specific areas rather than scanning randomly. Look at eyelashes, hair, leaves, lettering, brickwork, waves, and the edge between a subject and the background. In smooth skies, walls, or studio backdrops, look for banding: visible steps of tone rather than a clean gradient. In dark areas, look for blotchy color, smeared noise, or lost texture.
A small amount of difference under extreme magnification is normal with a compressed format. The question is whether that difference appears in a print, crop, slideshow, shared image, or the way you normally revisit photos.
Check color, skin tones, and HDR separately
Detail is only one part of perceived quality. Compare skin tones, saturated reds and blues, foliage, and neutral grays. Look for shifts that make the HEIC feel less natural, not just numerically different.
If you work with HDR images, test HDR deliberately. View the original and HEIC in Apple Photos on a compatible iPhone, iPad, or Mac display. Check bright clouds, sunlight on water, specular highlights, and bright objects against dark surroundings. Then check the image in an SDR context if you share photos beyond Apple devices. Tone mapping may change the appearance even when the HEIC itself is working as intended.
HDR behavior depends on the source image, the conversion method, the destination format settings, and the screen. A test on your actual devices is more useful than a generic claim that one format is always better.
Test the workflow, not just the pixels
For a Photos library, image quality is only half the decision. A conversion that creates beautiful HEIC files but scatters loose exports across folders can cost you the organization you spent years building.
After converting your test photos, confirm that the details you depend on are where you expect them to be. Check dates, locations, captions, favorites, albums, keywords if used, and the relationship to your original edits. Also confirm that the converted images sync properly to your other Apple devices and appear correctly in the Photos search and sharing interfaces you use.
This is where a Photos-native tool has a practical advantage. RawToHEIC is designed to convert supported RAW images inside Apple Photos rather than forcing an export-import cycle, helping you evaluate a compact result without rebuilding your library around loose files. Still, test the exact behavior with a small set of your photos before making any large-scale change.
If you rely on a particular third-party editor, print service, client portal, or social platform, include that destination in the test. Open the HEIC where it will actually be used. Some services may convert it for delivery, while others may not accept it at all. File compatibility can be as important as visible image quality.
Measure the storage savings that justify the trade-off
Record the RAW and HEIC file sizes for your sample set. One image is not enough. A detailed night scene may compress differently from a bright portrait with a blurred background.
Calculate the average rather than focusing only on the best result. If your RAW files average 30 MB and your HEIC results average 4 MB, that is roughly a 7.5x reduction. Across a 10,000-photo library, the difference can be substantial for device storage, iCloud storage planning, and backup time.
Then ask a direct question: is the quality difference, if any, worth the storage recovered? For completed edits, the answer is often yes. For active client work, portfolio images, or photos you may revisit with new editing tools, it may be no. A mixed strategy is valid. Keep the RAW for your best work and convert the images that mainly need to remain accessible, organized, and easy to enjoy.
Run a small batch before committing
Once your individual comparisons look good, convert a batch of 25 to 100 representative photos. Use that batch for a few days across your normal devices. Browse it, search it, share a few images, crop one, send one to a friend, and check it on a larger screen.
This longer test catches issues a pixel-level comparison misses. You may discover that the HEICs look excellent but a certain HDR source needs different handling. You may find that family snapshots are perfect candidates while heavily edited landscapes deserve the original RAW. That is a useful result, not a failure.
Do not delete originals immediately after conversion. First, verify that the HEIC files are present, open correctly, have synced where needed, and meet your visual standard. Maintain a backup strategy for photos you cannot replace. If a converter offers verified deletion safeguards, use them only after your own checks are complete.
The best HEIC test is the one that reflects your real library, not a compression chart. Give yourself a small, reversible batch, inspect the images you care about, and let the results set your conversion rule. When the finished photo still looks like your photo and takes a fraction of the space, storage savings stop being a compromise and become a cleaner way to keep your library usable.
Shrink your RAW library, right inside Photos.
RawToHEIC converts camera RAW and iPhone ProRAW to HEIC up to 10× smaller — keeping every edit, album, favorite, and location. On-device, no account, one purchase for iPhone, iPad, and Mac.


Not sure yet? Convert a few sample photos free — no install, nothing uploaded.
Try it free — no install →