Mac Photo Archive Cleanup Guide for RAW Libraries
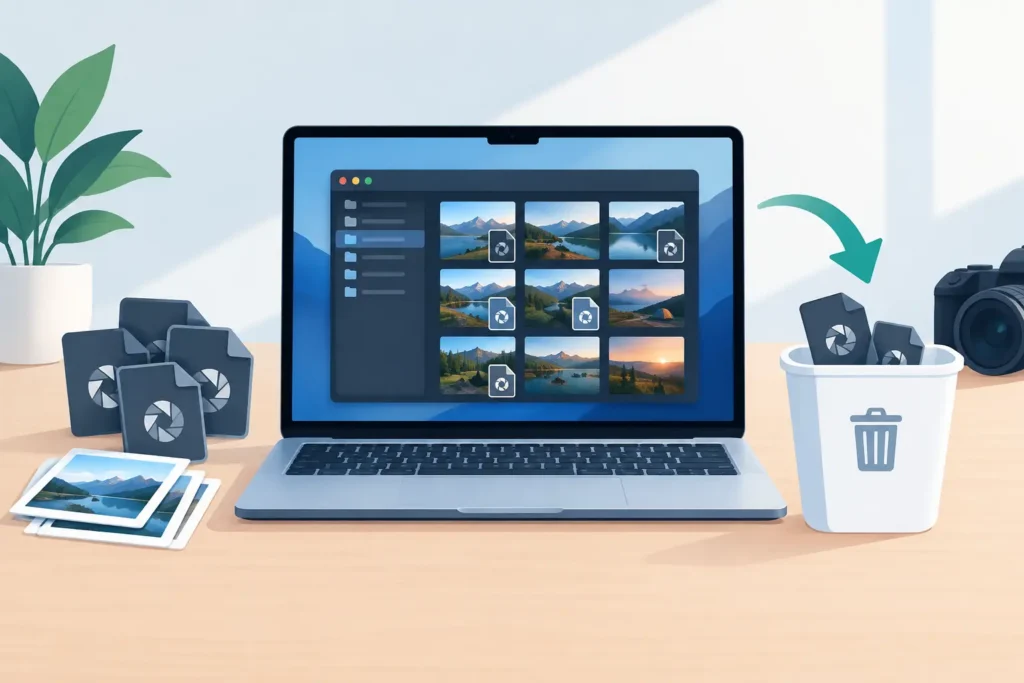
A full Photos library is rarely full of bad photos. More often, it is full of expensive originals: ProRAW shots from an iPhone, high-resolution files from a mirrorless camera, duplicate imports, and finished edits still carrying the weight of their RAW source files. This Mac photo archive cleanup guide helps you reduce that weight without breaking the organization you have already built in Apple Photos.
The goal is not to delete aggressively. It is to keep the images worth keeping, protect the originals that matter, and make smart choices about which files need RAW-level flexibility after editing is finished.
Start With the Storage Problem You Actually Have
Before removing anything, determine whether your Mac is constrained by the Photos library itself or by local copies of cloud content. Open Photos, then check your library size in Finder by locating the Photos Library file in your Pictures folder and choosing Get Info. This gives you a useful baseline, even though the number can change while iCloud Photos syncs.
Then check your Mac storage in System Settings. If Photos is one of the largest categories, focus there first. If it is not, clearing a few screenshots will not solve a library that is primarily consuming space through RAW originals.
RAW files deserve special attention because they are designed to retain far more capture data than HEIC or JPEG. That is valuable while you are editing. It may be unnecessary for a photo that is complete, shared, printed, and unlikely to need a radically different edit later.
This distinction matters: a cleanup is not a quality downgrade across your entire library. It is an archive policy.
Protect Your Photos Library Before Cleanup
Photos is a database, not a folder of independent pictures. Avoid opening the Photos Library package and deleting files from inside it in Finder. That can damage the connection between originals, edits, thumbnails, albums, and metadata.
Make sure iCloud Photos has completed syncing before making major changes. In Photos, scroll to the bottom of Library to check the sync status. If you use iCloud Photos, also confirm that your most important images are visible on another trusted Apple device or in iCloud before you begin.
A separate backup remains worthwhile. Time Machine is a practical baseline, especially if your Mac stores full-resolution originals. For a library you cannot replace, keep a second backup on an external drive and store it separately from your Mac. iCloud sync keeps devices aligned; it is not the same thing as maintaining a long-term backup history.
If your library lives on an external drive, verify that the drive is healthy, formatted for Mac use, and connected reliably. Do not start a large conversion or deletion session on a drive that disconnects intermittently.
Mac Photo Archive Cleanup Guide: Sort Before You Delete
The fastest route to regret is deleting by date alone. Instead, review your library in groups that reflect how you shoot and how you revisit images.
Start with recent imports, because they are usually easier to remember. Search by camera model or browse imports from a particular trip, event, or client project. If you shoot both RAW and JPEG, inspect those groups carefully. A JPEG may be a companion file, an in-camera preview, or the version you actually want to retain for quick sharing.
Use albums to separate decisions rather than forcing an immediate delete. Create a temporary album for images that are clearly disposable, another for files to archive in a smaller format, and a third for originals you want to preserve. Photos albums do not duplicate the photo, so this review step does not add storage pressure.
Look for the categories that usually deliver meaningful savings:
- Unwanted bursts, near-duplicates, accidental captures, and failed exposures
- RAW files from finished edits that no longer need deep adjustment latitude
- ProRAW images kept only because they were captured in ProRAW
- Old imports with both a RAW original and an extra JPEG you do not need
- Screen recordings, downloaded memes, and app screenshots that have outlived their purpose
Do not treat every duplicate as clutter. A RAW file and an exported JPEG are not interchangeable. The RAW file may be your recoverable master; the JPEG may be the version that matches a finished edit or was delivered to someone else. Keep both until you know their role.
Decide What Should Stay RAW
RAW is not a problem. It is the right format when you expect to revisit exposure, white balance, highlight recovery, or detailed color work. Keep RAW originals for your best portfolio images, paid work subject to client expectations, once-in-a-lifetime family photos, and scenes with difficult lighting that may benefit from future editing tools.
For everything else, ask a simpler question: if this image already looks the way I want, would I realistically reopen the RAW file a year from now?
If the answer is no, a high-efficiency archive format can be the better fit. HEIC is especially practical inside Apple Photos because it supports excellent image quality at a much smaller size than many RAW files. Savings vary by camera and scene, but a completed RAW image can often become dramatically smaller, in some cases up to 10x smaller.
There is a trade-off. A converted HEIC does not preserve the same sensor-level editing latitude as a RAW original. That is why conversion belongs at the end of your edit and selection process, not at the beginning. Keep RAW for flexibility. Use HEIC for finished photos you want to keep accessible without paying the storage cost of every original.
Convert Finished RAW Photos Without Leaving Photos
Traditional conversion tools create a loose-file workflow: export images to Finder, convert them elsewhere, re-import the results, rebuild albums, check metadata, and manually remove the originals. It works, but it creates more decisions and more opportunities to lose context.
A Photos-native converter avoids that detour. RawToHEIC converts supported camera RAW files and iPhone ProRAW directly from the Photos app on Mac, iPhone, or iPad. The conversion happens on device, with no analytics and no upload workflow. Your existing organizational context stays where it belongs: in Photos.
A careful conversion workflow should preserve the details that make a library usable, including albums, favorites, captions, locations, metadata, and non-destructive edits. It should also verify that the converted result exists before offering to remove the original. That safety check is not a minor feature. It is the difference between reclaiming space confidently and hoping a conversion succeeded.
Work in small batches at first. Convert a handful of finished RAW photos, confirm the resulting HEIC files look right on your Mac and another Apple device, then check their placement in albums and search results. Once you trust the process, move through larger groups such as completed vacations or previous years.
HDR photos require an extra check. If preserving HDR appearance matters to you, use a conversion path designed to retain it, then review a few images on an HDR-capable Apple display. A flat-looking result is a reason to pause and adjust your archive plan, not to continue blindly.
Clean Up in an Order That Prevents Mistakes
Start by converting or deleting clearly reviewed items. Then empty Recently Deleted only after you have confirmed the library looks right and your backup is current. Photos retains deleted items there for a limited period, which gives you a useful recovery window. Do not rush to remove that safety net on the same day you make hundreds of changes.
If iCloud Photos is enabled, deletions sync across your devices. That is convenient when intentional, but it means a deletion on your Mac is not local housekeeping. It changes the library everywhere. Review the Recently Deleted album from time to time, especially after a large cleanup, so storage savings can actually take effect.
For ongoing maintenance, set a small rule you can keep. After each trip or major shoot, reject the obvious misses, finish the edits you care about, and convert completed RAW keepers that do not need future RAW flexibility. A twenty-minute routine is easier than trying to untangle five years of imports during a storage emergency.
Keep the Library Useful, Not Just Smaller
A smaller library is only a win if photos remain easy to find. Preserve captions for meaningful moments, keep location data when it helps you search, and use favorites sparingly for images you truly want at hand. Albums are useful for projects and events, while keywords and captions help when your memory of the date is less reliable.
You do not need to treat every image the same way. Keep the RAW files that represent your best work. Keep finished everyday images in a compact format. Delete the misses. That approach protects quality where it matters and lets your Mac, iPhone, and iCloud storage serve the photos you actually want to revisit.
The best archive is not the one with the fewest files. It is the one you can trust enough to keep using.
Shrink your RAW library, right inside Photos.
RawToHEIC converts camera RAW and iPhone ProRAW to HEIC up to 10× smaller — keeping every edit, album, favorite, and location. On-device, no account, one purchase for iPhone, iPad, and Mac.

Not sure yet? Convert a few sample photos free — no install, nothing uploaded.
Try it free — no install →